I am new to making wreaths, so I was ecstatic when Katie from Upcycled Treasures reached out to me about a holiday wreath blog hop! It gave me a forced opportunity to try my hand at making another wreath and start creating my Christmas decorations. Can you guess which wreath below is mine just by looking at them? It should be pretty easy if you read the title of this post or came over from Pinterest. 😉
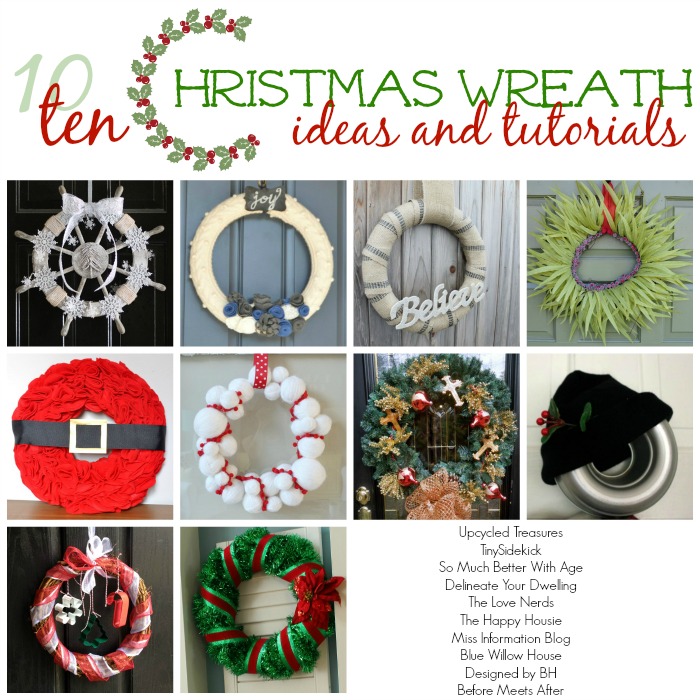
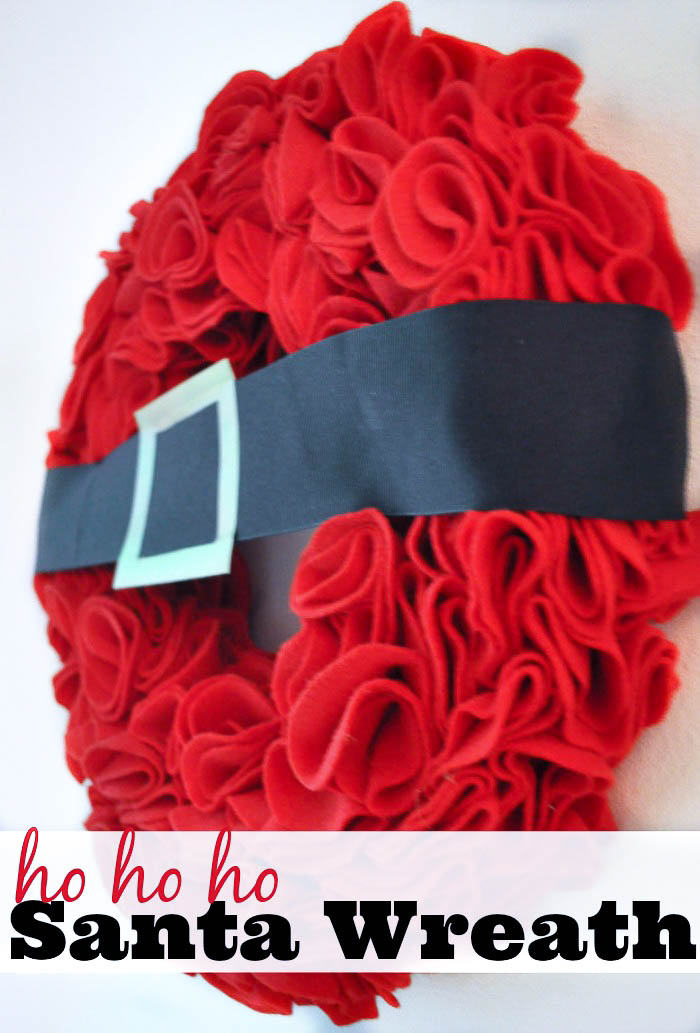
When I heard about the blog hop, I immediately started writing ideas down and finally settled on a red Santa wreath. So below, I will be sharing how to make this Santa wreath with “ruffled” red felt as well as the links to the other great wreaths for you to check out as well. Please make sure to head over to their posts and give all of them lots of love!
MATERIALS:
Rounded wreath form – I used an 11″ form
Red Felt – I used about 25 9×12 sheets for a really full look
Pins
Black ribbon
“Buckle” – I used gold vinyl I had at home; you could also use gold paper or tape
DIRECTIONS:
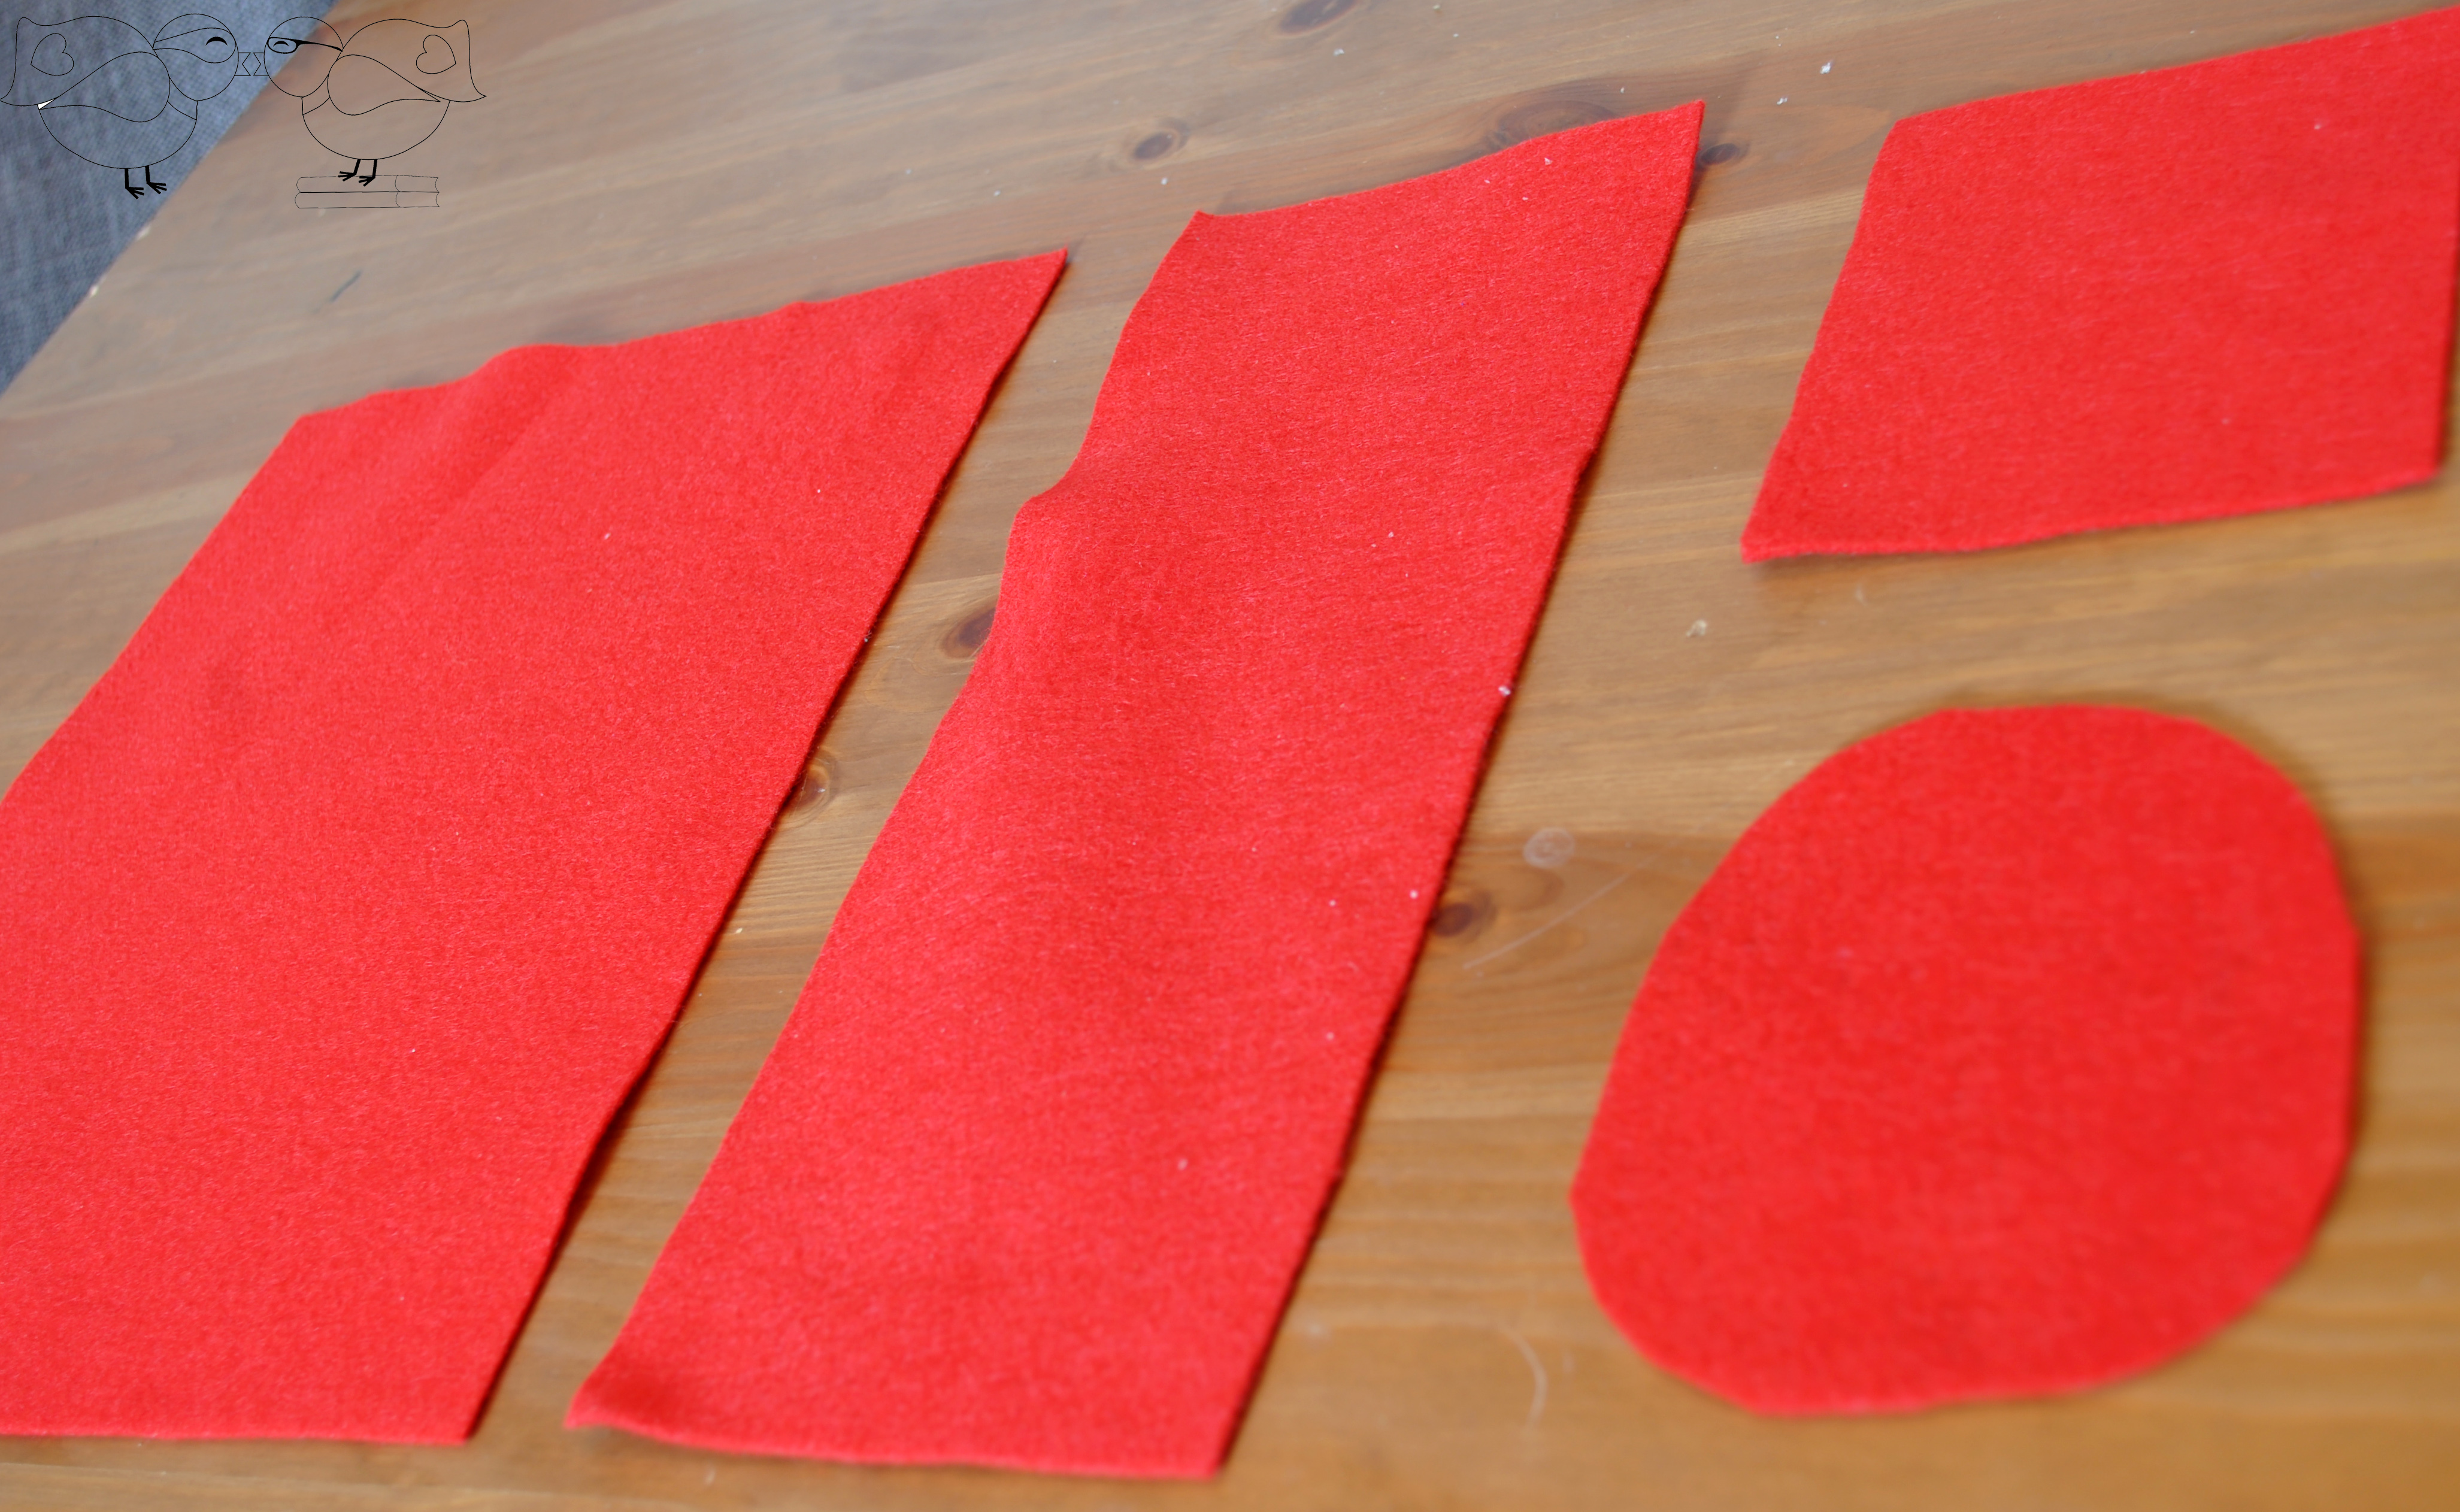
1. Cut the felt sheets down into circles. I first folded the sheet hot dog style and cut along the fold. Then, I cut the 2 long rectangles into three equal squares. From there, I quickly rounded the edges of 3-4 squares at a time. This step is a little tedious, so I just sat on the couch with a small trash bag in my lap while watching a tv show.
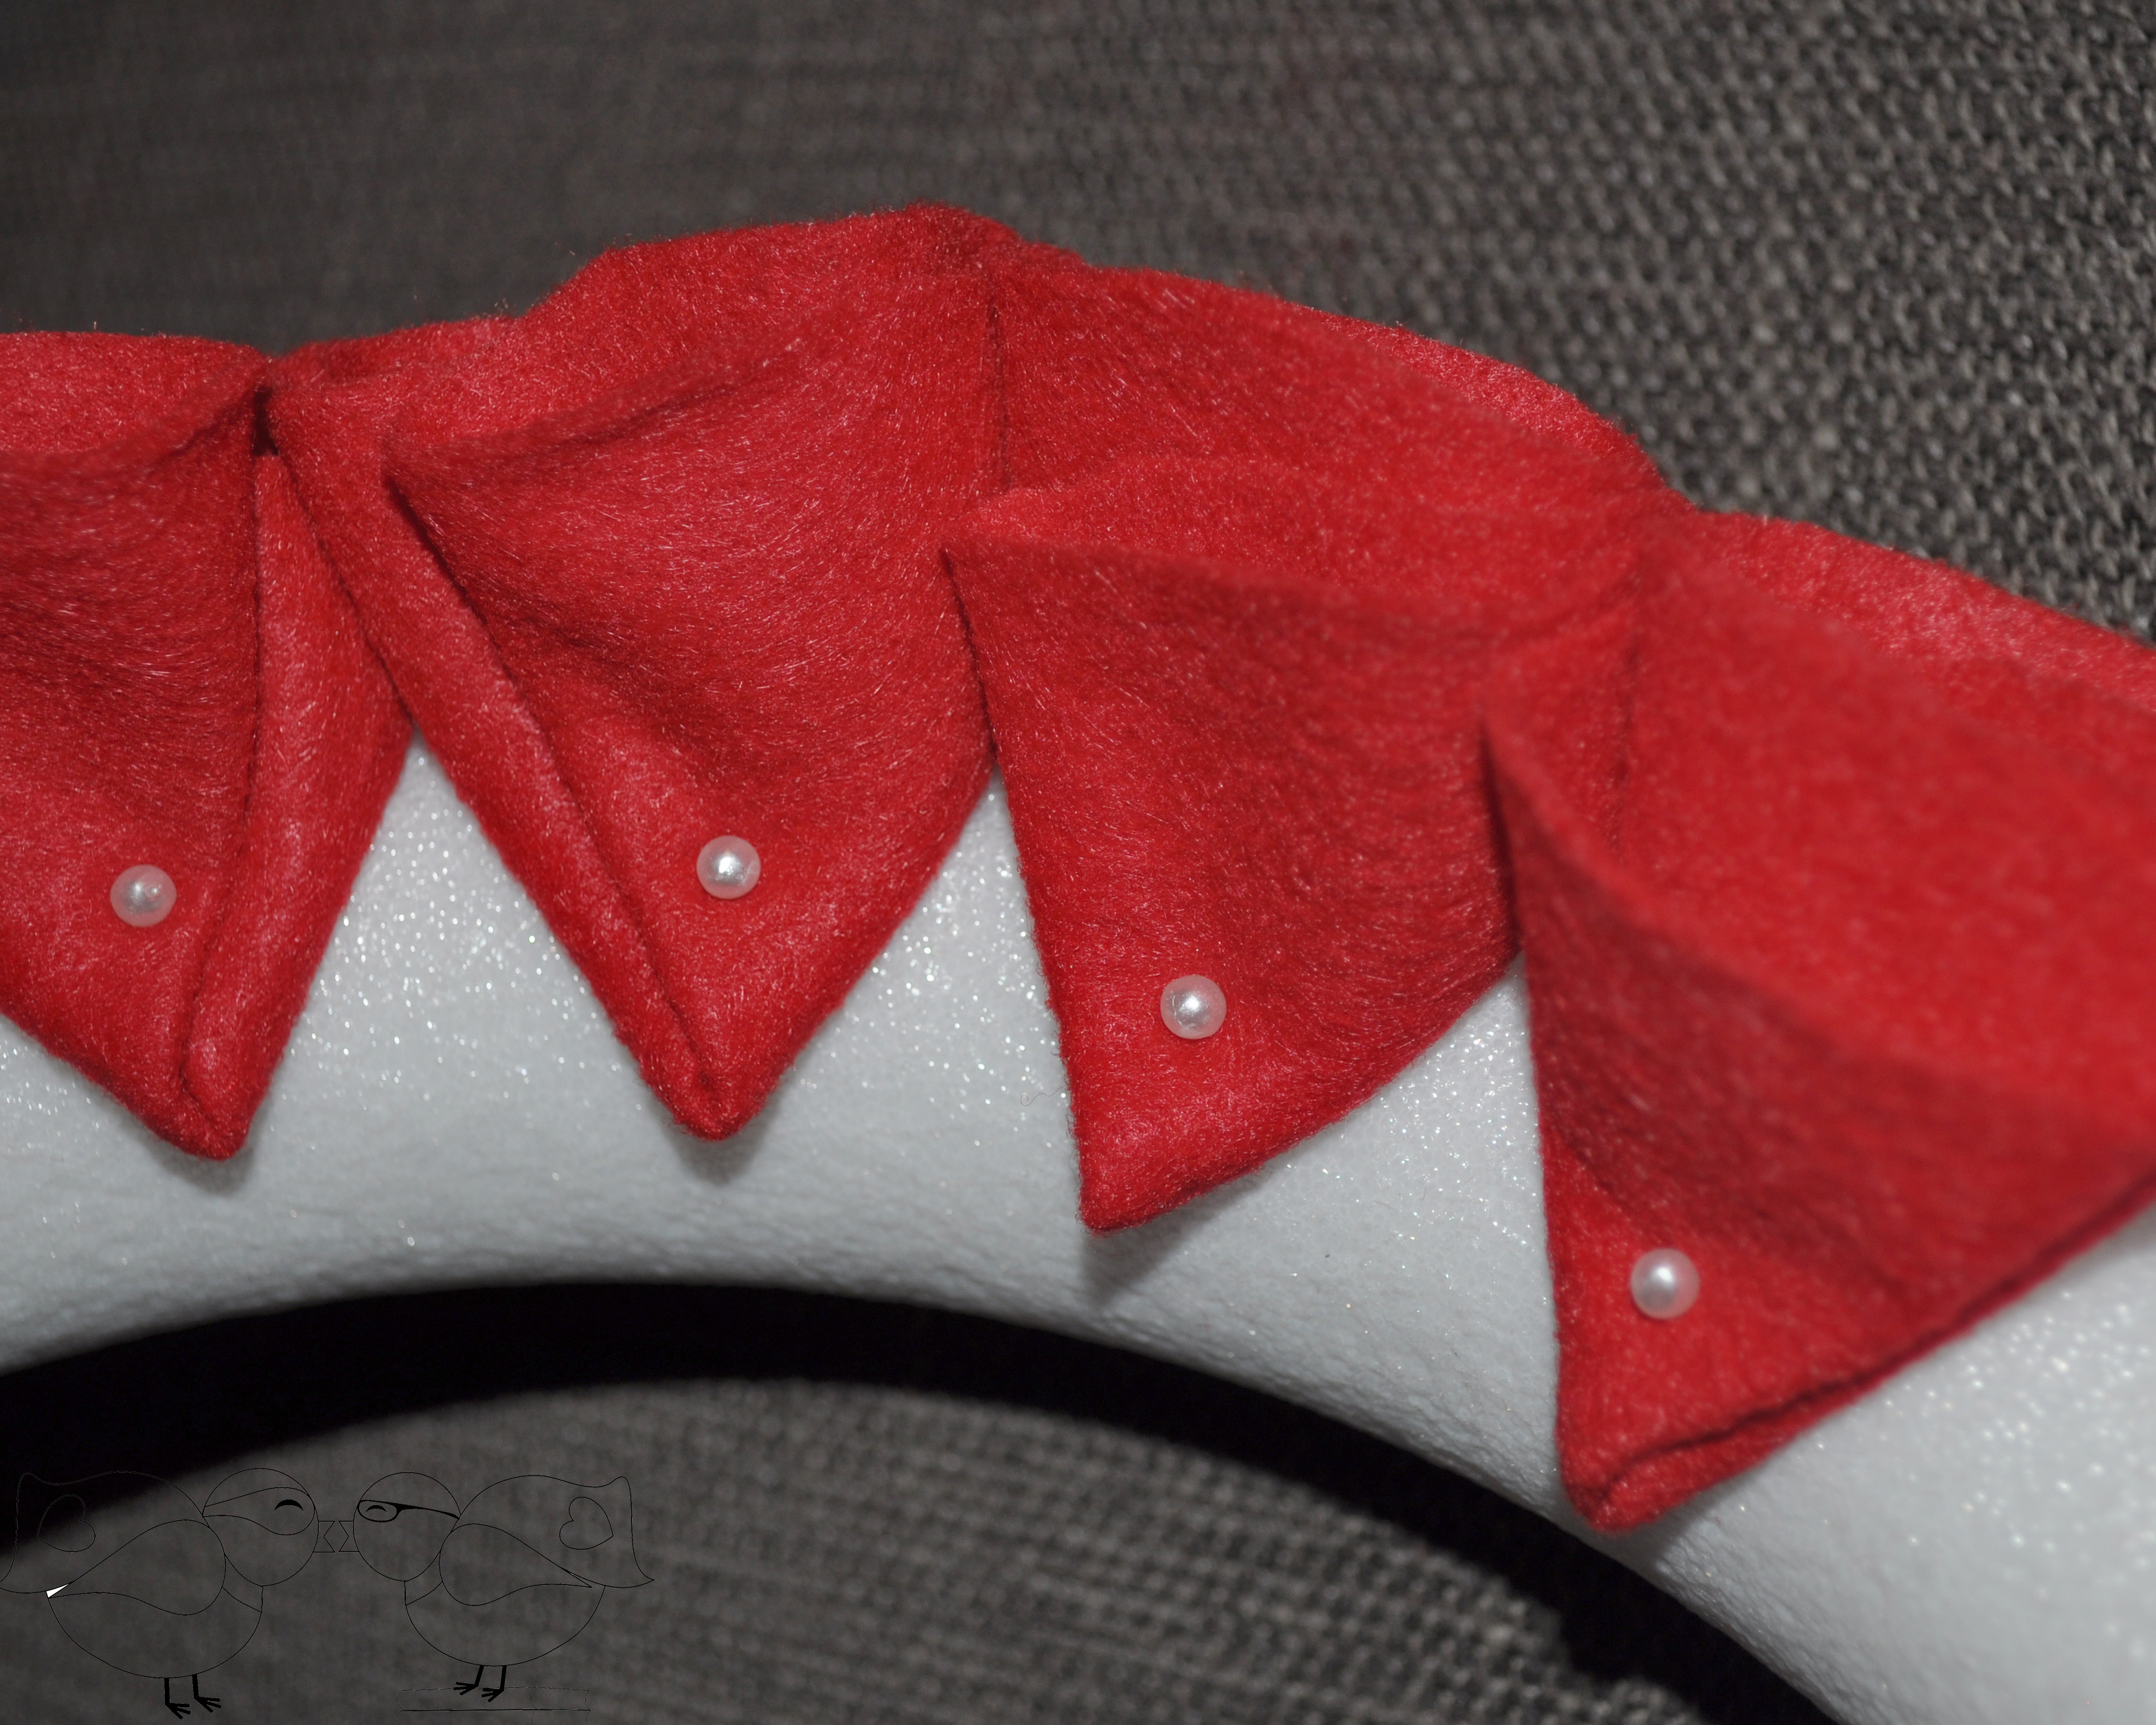
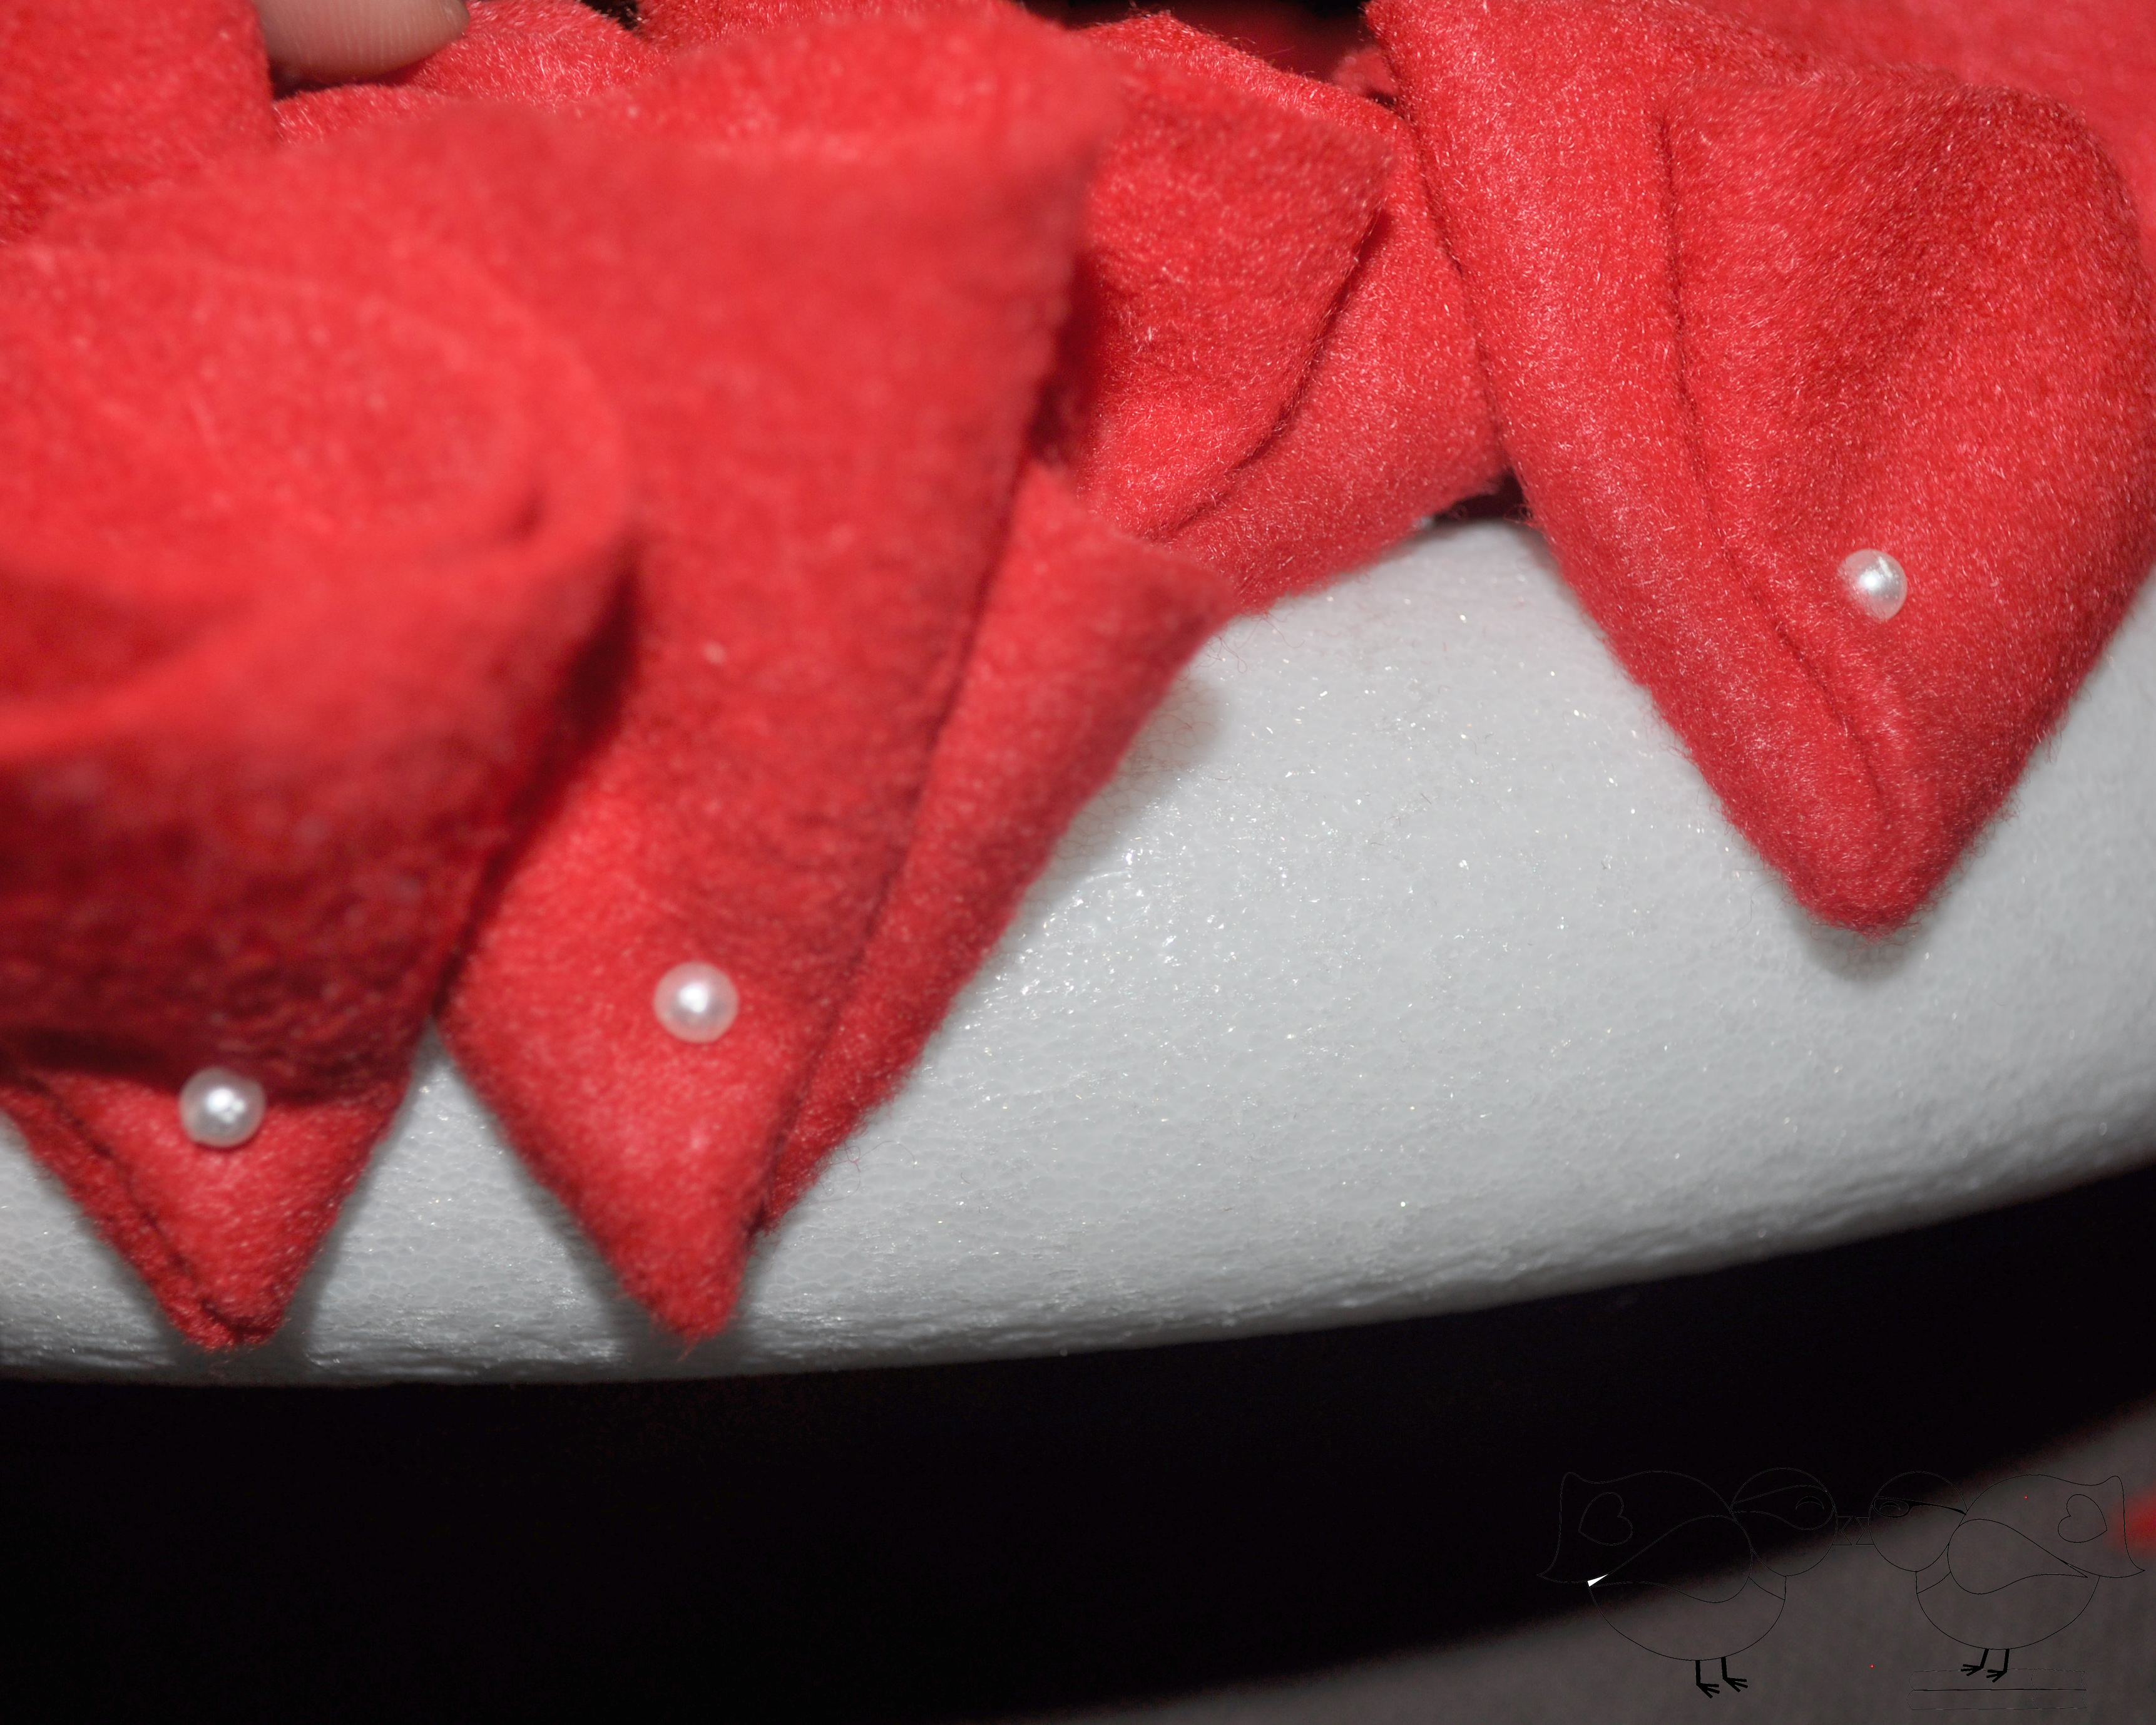
2. Once you have your circles, you will start to make the “rosettes” with the felt. Fold one circle in half, fold one side in to the halfway point, and then fold the opposite side over on top. I then pinned it immediately to the wreath, placing the pin near the bottom of the rosette. (no glue needed)

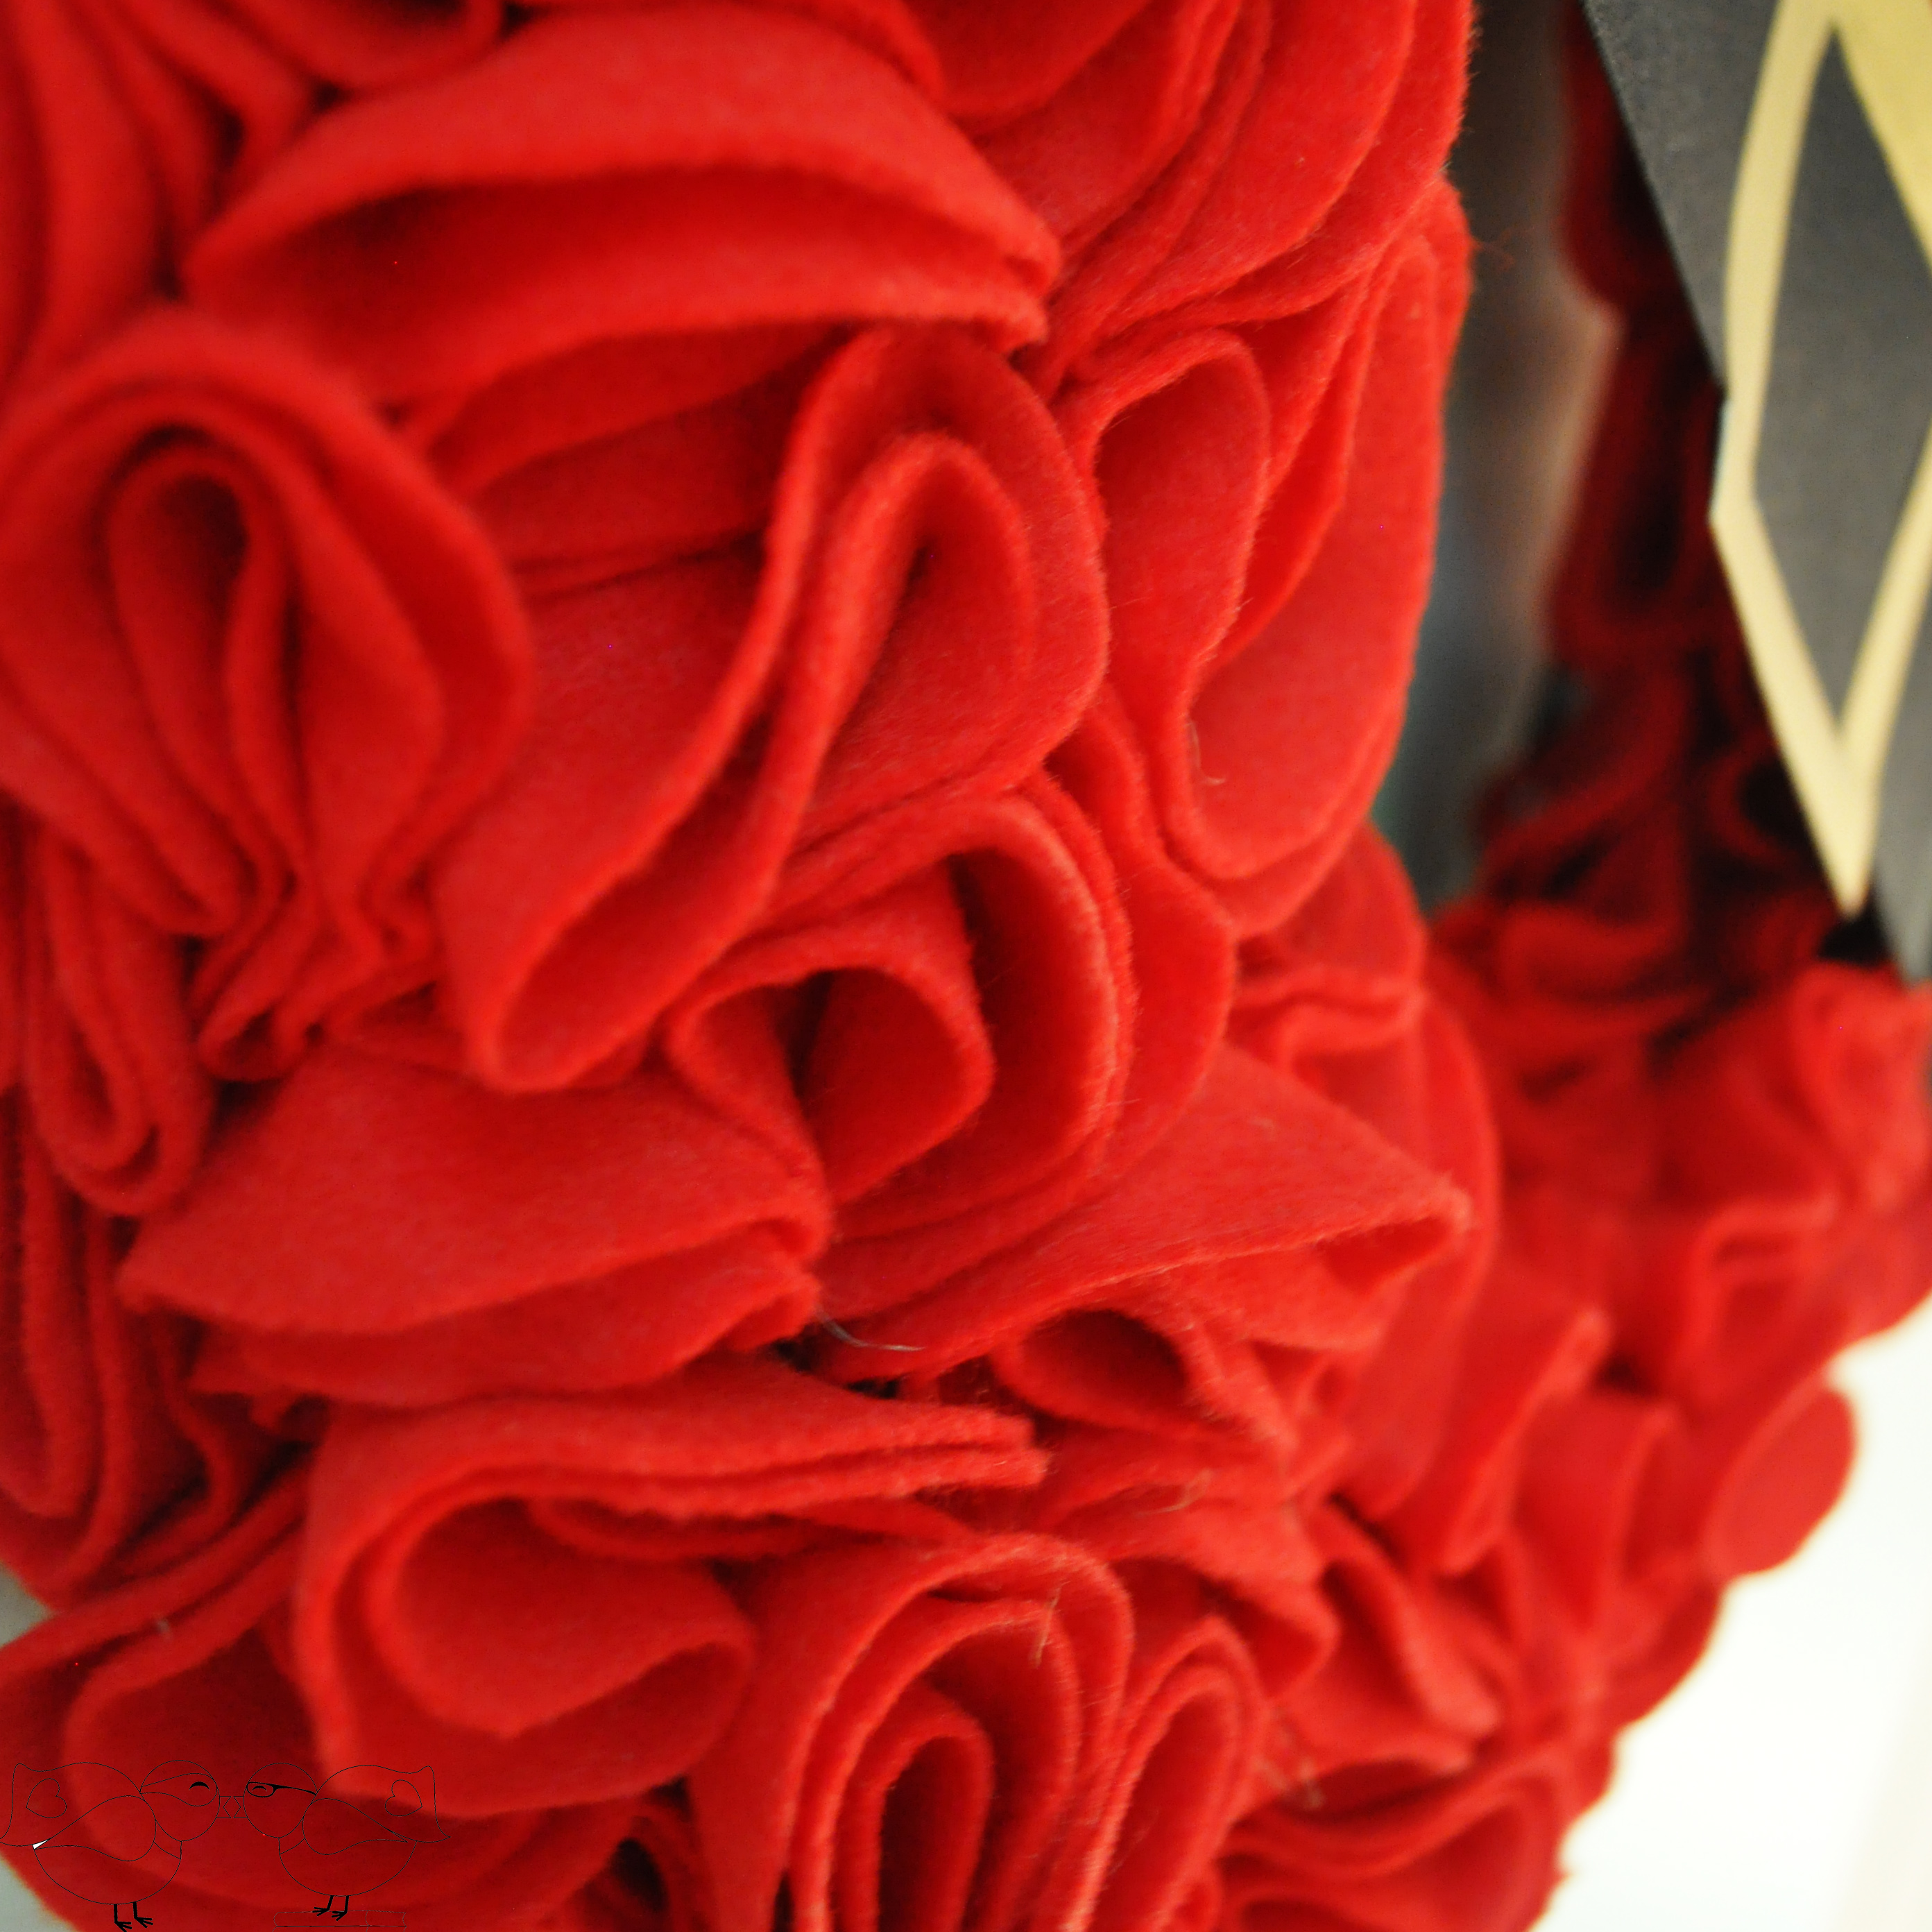
3. I started by doing two rows of rosettes near the top of the wreath form. I made it so the fluffy part of two rosettes met facing each other at the very top of the wreath. You want to avoid white space between them, so they will overlap a little to get a full look.

4. After the first and top two rows were done, I started filling in the outside one row at a time. I offset the rosettes from the prior row to fill in the blank spaces. This is not an exact science though. Your goal is to just fill in and reduce any view of the wreath form. Once the outside is full, move to the inside and do the same.
NOTE: For the last row on the inside and outside, you will want to put the pin very low and try to have the tops of the rosette hide the pins from the previous row. If the pin is placed near the bottom of the wreath form, you won’t see it once it is hung. For reference, I did one more row beyond what you see in the picture below. I placed the pin right on the edge of the wreath form at the bottom there as that would be resting against the wall.
5. Once your felt is filled in the way you like it, you can make and attach a buckle to the ribbon and then pin the ribbon to the back of the wreath form.
OTHER VARIATIONS: If you don’t want to make it into a Santa Wreath, but love the ruffled felt wreath, you could attach a burlap or ribbon bow to finish it off. You could also leave take out one or two of the red rosettes and replace with a white one. Another more complicated idea that I think I want to conquer next year is making a twisted striped pattern with red and white rosettes to make it look like a candy cane.
NOW, go check out the other awesome holiday wreath tutorials and give my fellow bloggers some love.
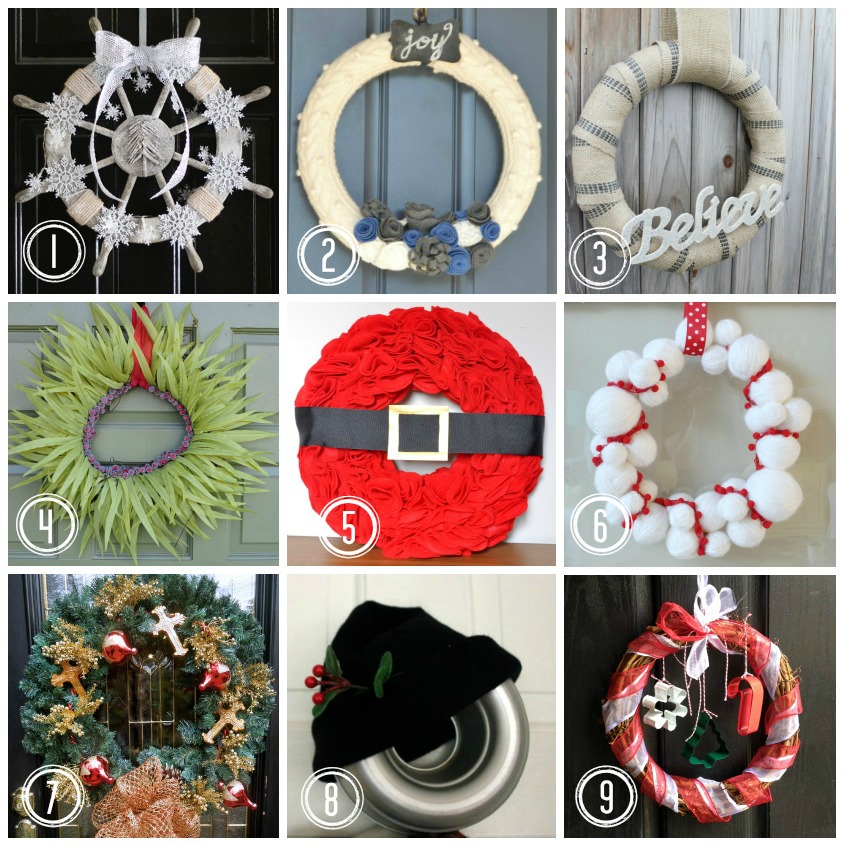
1. Katie from Upcycled Treasures
2. Corey from TinySidekick
3. Jamie from So Much Better With Age
4. Amy from Delineate Your Dwelling
5. Maggie from The Love Nerds
6. Krista from The Happy Housie
7. Kelley from Miss Information Blog
8. Sharon from Blue Willow House
9. Brooke fromDesigned by BH
10. Lisa from Before Meets After
Do you like making wreaths?
Feel free to share links below to a holiday wreath you have made.
Jennie says
I love this! I’m appalling at maths however, so can you possibly help me to work out how many metres I’d need of felt to create a 12″ wreath please?
Maggie says
Math is not my strength either, but 9×300 inches comes out to .23×7.62 meters. Hopefully that is helpful to you!
katie says
I am so glad we were able to team up on this wreath post! Yours turned out to freaking cute and whimsical, and I haven’t seen anything like it!
lovenerdmaggie says
Me too, Katie! Thank you so much for inviting me.
corey says
Hi Maggie! I love this wreath especially the vibrant color. Pinning!
lovenerdmaggie says
Thanks, Corey! I am loving the pop of color on my white apartment walls. 🙂
Sara says
This is adorable! Definitely pinning! Stopping by from the DBB! Have a great week!
lovenerdmaggie says
Thank you for stopping by, Sara, and for pinning!
Christine says
I love it! I may not get around to making one this year, but pinned for next year!
lovenerdmaggie says
Thank you for pinning, Christine! The ruffle look turned out much better than I thought. I think I will be tweaking this to use for Valentine’s day also.
skipthehousewrk says
This wreath is so super cute…and my girl would love to help me make this! Pinned!
lovenerdmaggie says
You are so sweet! Thank you!!
Linda says
UNBELIEVABLE. I have to make this and in the meantime, I’m PINNING. Thanks Linda
lovenerdmaggie says
Thanks so much, Linda! I am pretty happy with how it turned out, especially as my second wreath EVER!!
Deonna says
Hey Maggie! It’s Deonna from the Child at Heart blog! I love this post and would love for you to
link up to the Merriest Blog Hop and share your creations! I came over from Delineate your Dwellings Wreath post.
http://www.thechildatheartblog.com/2013/11/the-merriest-blog-hop-week-2.html
lovenerdmaggie says
Thanks so much for the invite, Deonna! I just linked up and followed you across social media. I am so excited to get to know you more and see more of your posts.
Krista says
This is totally fantastic! I LOVE it- so much texture and the fun bright red with the belt is so adorable. Glad to have the chance to be on this wreath hop with you today!!
Krista says
Oh and I sure love what I see on your blog! I’m your newest follower:)