Today we’re sharing DIY Comic Book Letters for the last day of Avengers Week!
 Hi, Nerds! If you didn’t know, today is Free Comic Book Day, so how could I not post a comic craft today for Avengers Week? It’s been such a fun and nerdy week – Incredible Hulk Smoothie, Captain America Cookies, Avengers Shirt, and a Guide to Reading Marvel Comics.
Speaking of Avengers, have you seen it yet?! We went last night and LOVED it!
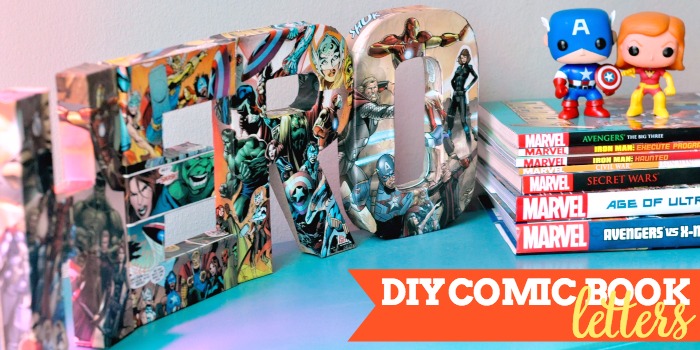
I like to decorate the spot at the top of the stairs for the season or fun events – like AVENGERS! It often includes a wreath or picture on the wall above my favorite blue table but I wanted to do something different this time. With comics in mind and my love for decorating with letters, I thought it would be fun to do DIY Comic Book Letters. Yes, they are so totally nerdy but we love them!
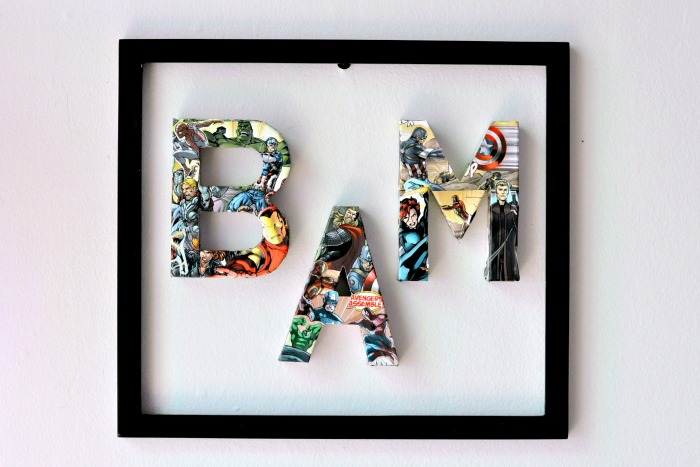
 For the “wreath” I used smaller paper mache letters that would fit into a frame. After they were done, Bryan and I were talking about how this idea would be so cute in a kid’s room or even nursery, especially if they were done with the old time art style of comics with brighter colors. IF you are wondering why BAM, it’s “Bryan And Maggie” in initial form – plus an onomatopoeia you might find in a comic book.
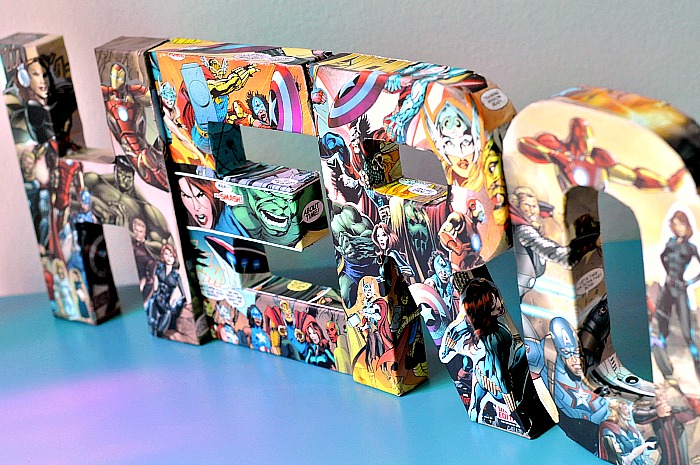
For the table, we used bigger letters for the word “Hero”.
 Here is the thing about making the letters – how long this takes depends on the overall look you want to go for AND your perfectionist level. Here are some general tips and thoughts about making them:
- The process is faster if you do not want the comic design to go onto the sides of the letter, like my ABC Letter Wall. You could leave them the paper mache color or paint them.
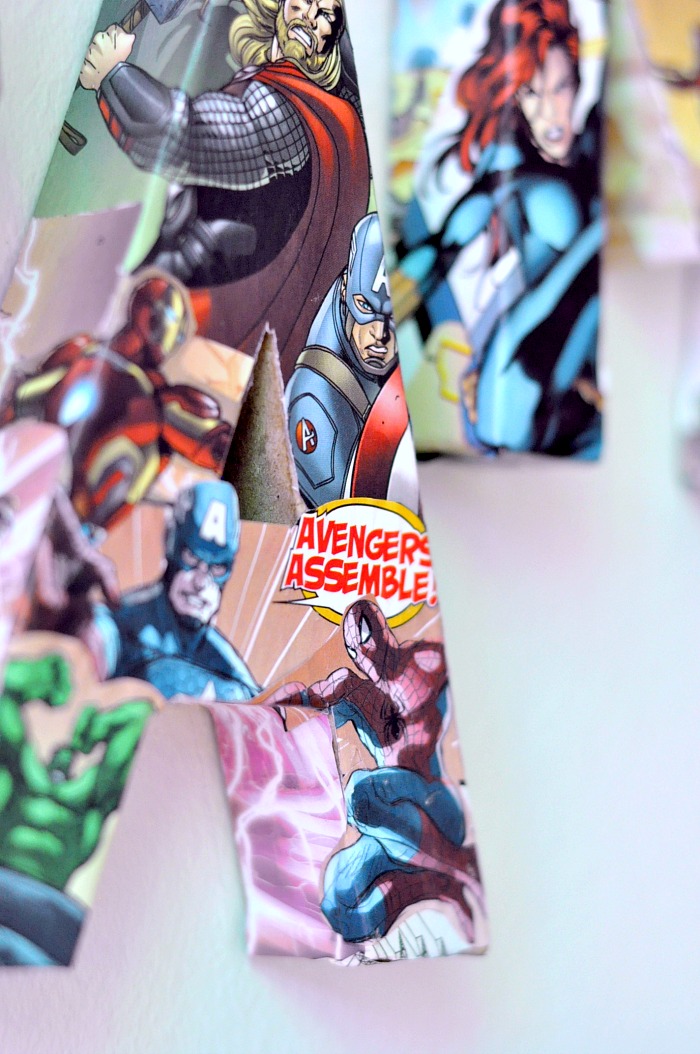
- I created a layered effect which you don’t need to do. You could use 1 page design and you could love the “empty” space between the characters. I wanted a fuller feel.
- Even with the layered look, I tried to find designs that would cover most of the letter right away. I wanted comic book background instead of paper mache background. For the sides, I often put down strips of “background” color from the comic books first. It was a faster way of covering all the paper mache instead of worrying about finding the perfect artwork to fill that space. Not worrying about such a thing would speed up the process.
 MATERIALS
 MATERIALS
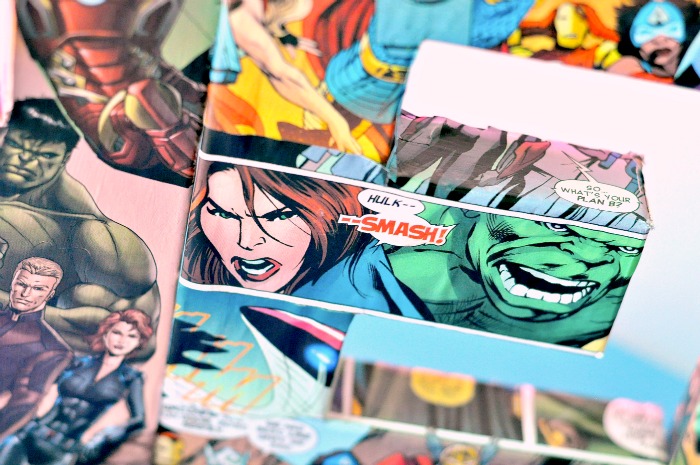
- Comic Books – I used 3 for 7 letters total. I could have probably used 2 but wanted more options.
- Paper Mache or Wood Letters
- Mod Podge Matte
 < – – – AFFILIATE LINK (Glitter Mod Podge would be cute for a girl’s room!)
 - Paint Brush
- Scissors or Craft Blade
 DIRECTIONS
 DIRECTIONS
1. You will need to cut out the designs for the letters. I did this as I went; adding a layer at a time and seeing what fit. There is a lot of creative license here.
2. When you are ready to add a piece of comic book to the letter, put a medium and consistent layer of Mod Podge where you want it to go and place the design. Slowly rub the design onto the letter, smoothing out the design and any slight bubbles. If you are wanting to place a design over top to layer the look, wait at least 15 minutes before adding another layer of Mod Podge.
Cindy Hoffman says
Hi there Maggie, nice to see some Avengers art work here. I realized that this is quite an old post but while looking for some inspirations, google brought me here 🙂 Avengers is one movie series that got me to the bone, it’s even evidenced in the projects that I do. Thanks a lot for sharing, will definitely craft some letters and see how they come out.
Cindy