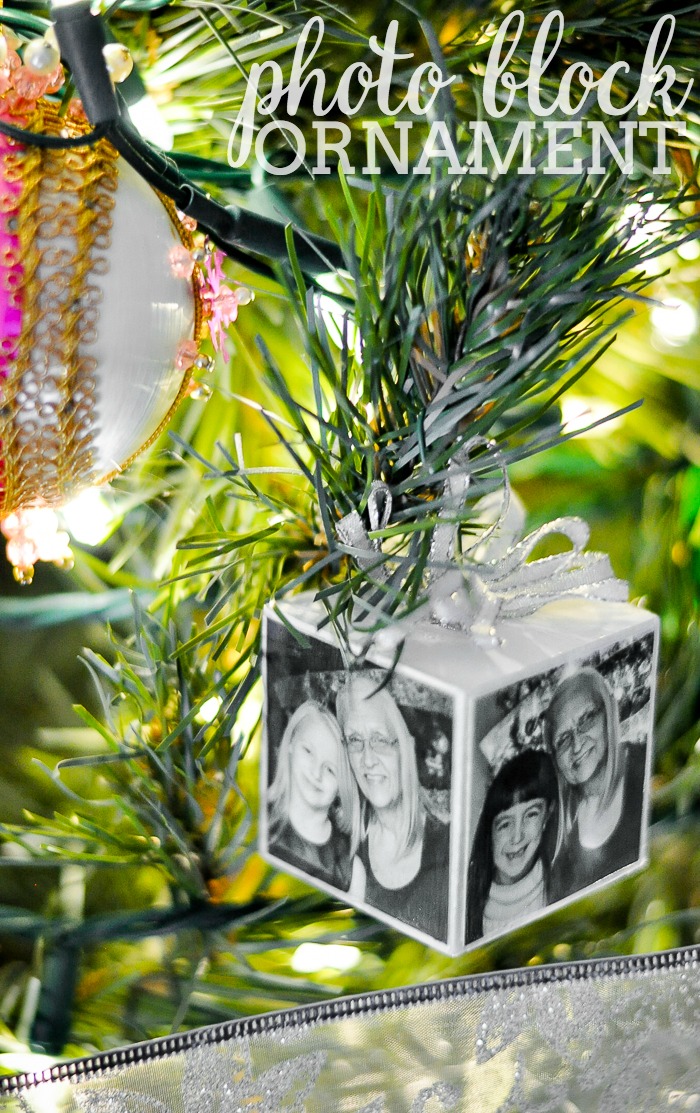
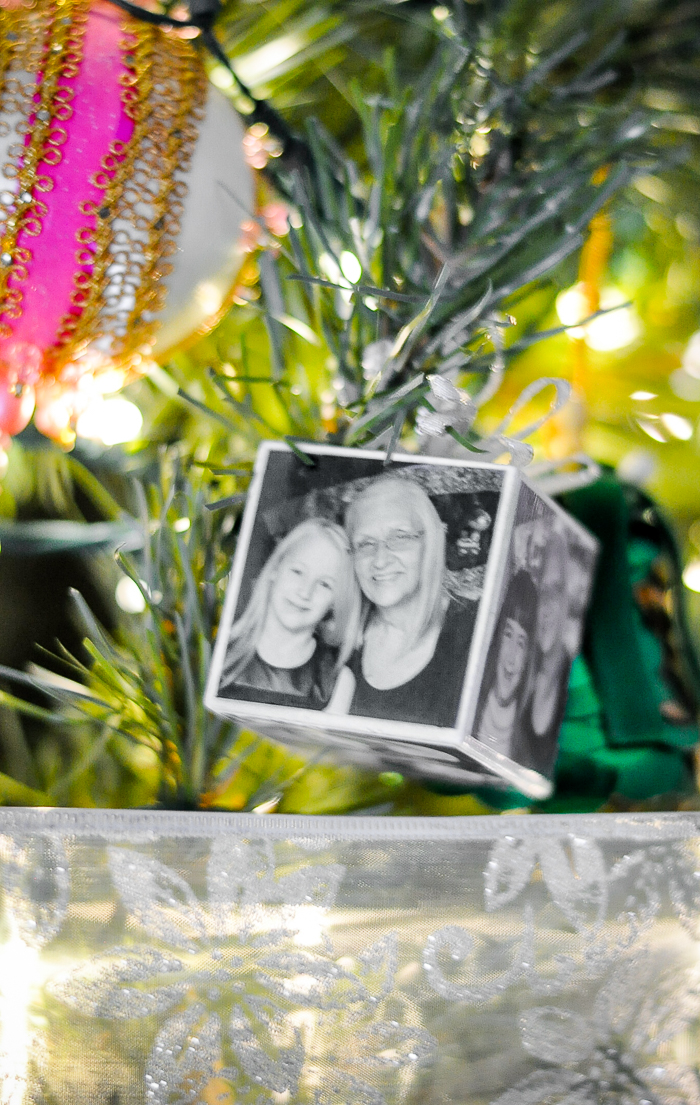
Personalized Christmas ornament that makes a great handmade gift idea – Photo Block Ornament!
Before having a smart phone or digital camera, I used to have rolls of film developed at least once a month. I would put them in scrapbooks, pass along to my immediate family, update picture frames or send them off in cards to extended relatives who we didn’t see very often. Now? They sit gathering digital dust on my computer or phone. It just wasn’t convenient to print photos anymore – until now!
You guys! I finally updated my old HP printer from a decade ago (which is saying a lot for the longevity of the product) and now I can use wifi printing and print great pictures right from home thanks to my new HP Envy 4512 All-in-One Printer/Copier/Scanner . Not only is this great for sending cards, updating the photos on my fridge and the occasional business task, it’s also great for crafting! I literally unboxed the printer, had it set up in no time, and made this Photo Block Ornament for my mom.
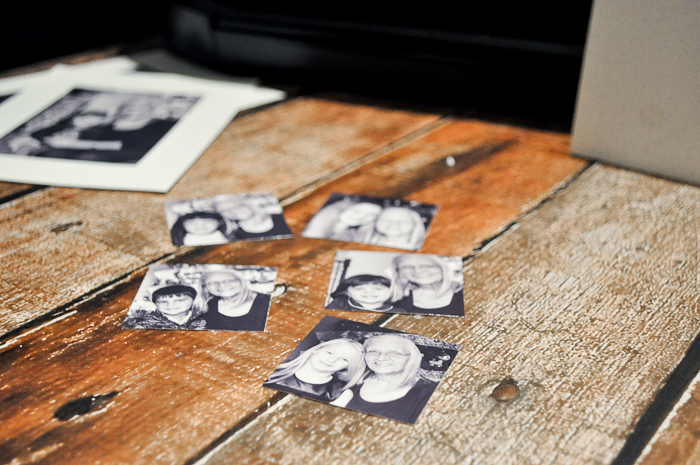
Over Thanksgiving I had taken some updated family photos on my phone, including shots of my mom with all of the grandkids. I did some quick edits on my phone, like turning them black and white, and used my HP app to print them on HP photo paper. I am going to split this tutorial into two pieces – printing from the app (in case you are unsure how to do so) and then making this super cute ornament which works great as a homemade gift idea.
Of course, you don’t have to make an ornament out of this. You could also use a photo block of any size to sit on a side table or serve as a paper weight.
PRINTING PHOTOS FROM THE APP
When setting up the printer, you will be given instructions on downloading an app for your mobile devices. For my iPhone, I have HP All-in-One Printer Remote. You will be given instructions for syncing the printer which are easy. The phone and printer does all the work.
After it’s set up, you open the app, press Print/Share, press Albums, choose your photo, and press Print! Seriously – that’s it! It’s so easy. If you want to be using photo paper, just make sure you have it in the printer and set the paper correctly before printing. If you already have an HP printer with wifi and have never tested the print from mobile feature before, what are you waiting for? Grab this fun 3D Paper Belle (I’m gearing up for a Disney World trip and am SO excited to finally head to Be Our Guest for lunch) and give it a try!
MAKING THE PHOTO BLOCK ORNAMENT
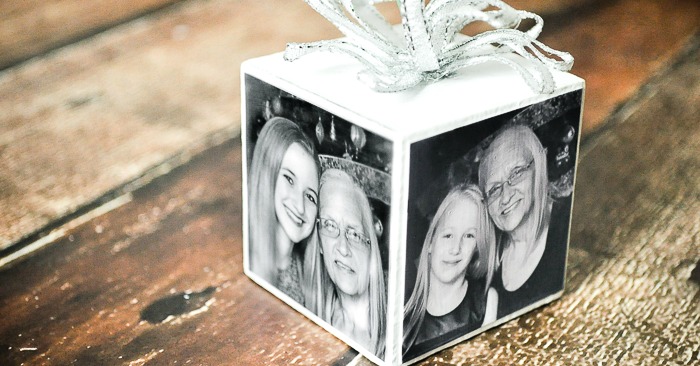
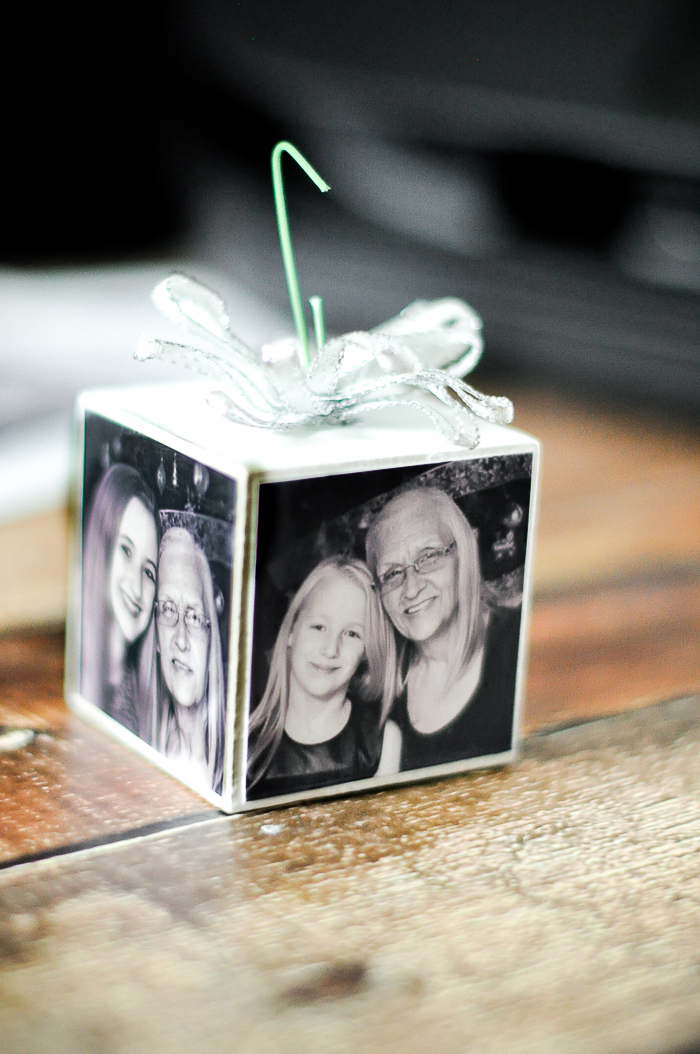
I used a plain, natural 2″ wood block to make this ornament. I decided to use black and white pictures with a white block background, so my first step was painting the block white with acrylic paint. Let the paint dry completely.
Print your photos and trim them to your desired size. Mine are trimmed just shy of the 2″.
Put a medium, even layer of Mod Podge on one side of the block. Add your photo and gently push down the photo. I do gentle rubbing motions all around the photo, paying closest attention to the edges. If a corner won’t stay down, add a little more Mod Podge underneath. When you are satisfied, put a thin layer of Mod Podge on top over the photo. Let it dry completely.
NOTE: Mod Podge does go on white. Don’t worry! It dries clear.
Work around each side of the block with a photo, following the same process. I could manage to do all four sides with only touching the top and bottom, but waited for the sides to dry before tackling the bottom.
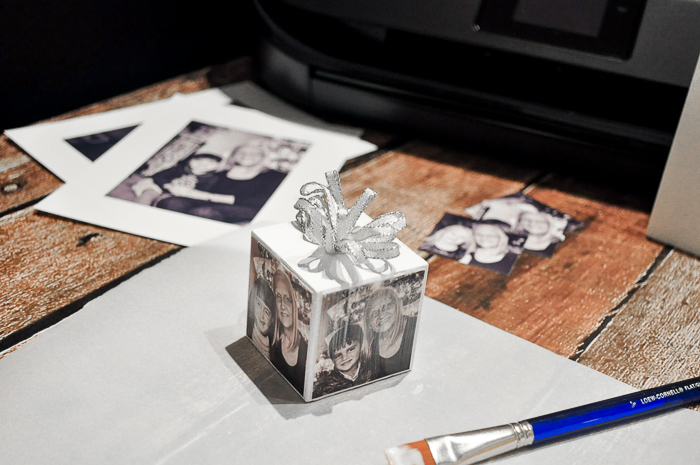
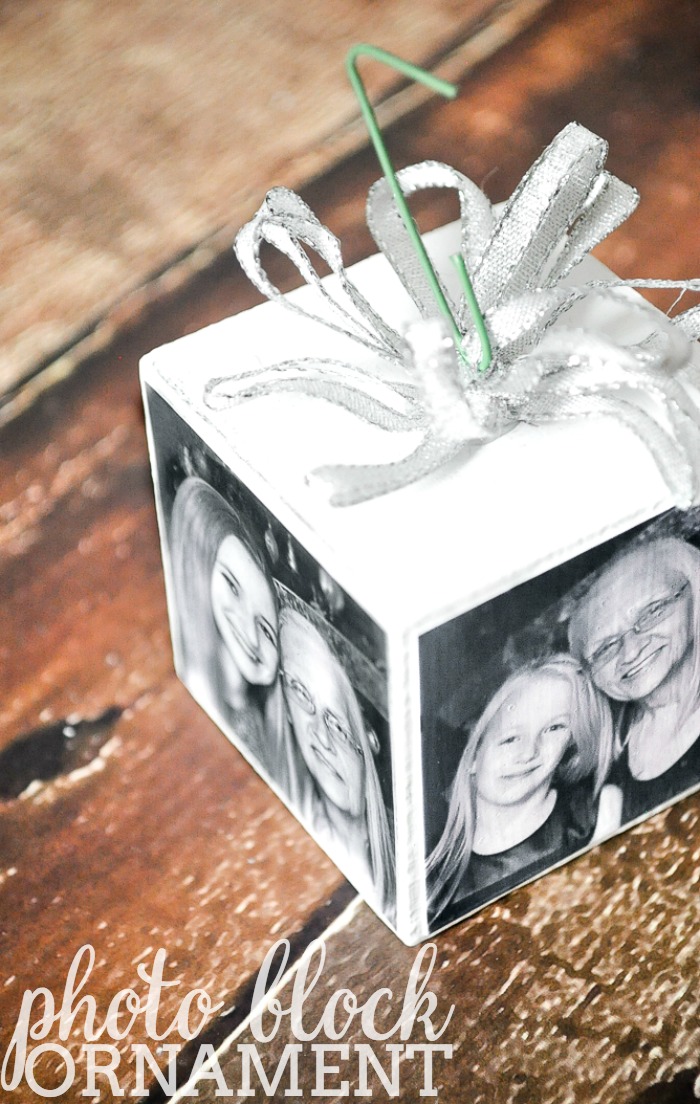
I used thin silver ribbon to make a decorative bow for the top. I continued looping ribbon in circles, pinching down in the center. Once satisfied with the amount of layers, I used a needle and thread to keep it all in place. Nothing fancy! I pulled the needle up through the center than back down and tied it off. I hot glued the ribbon onto the block.
Lastly, I added a green ornament hook to hang on the tree. DONE!
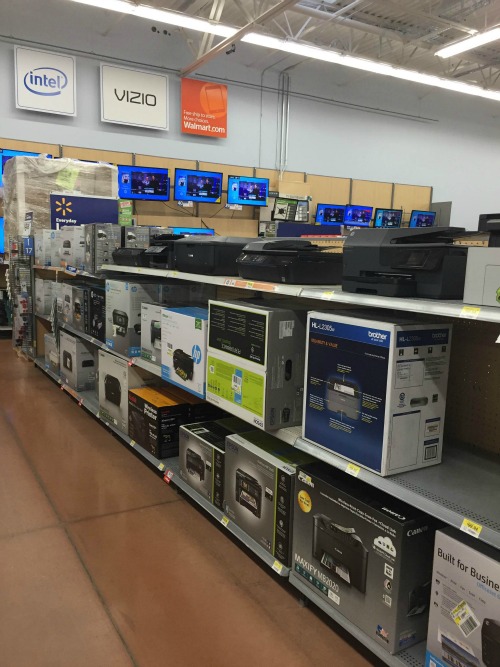
Next time you are in Walmart, make sure you head to the technology section of the store and check out the HP Envy 4512 All-in-One Printer/Copier/Scanner . I am so happy with it so far and I know you will be, too!
What ideas do you have for holiday photography projects? I’m looking for new projects to tackle!
Leave a Reply