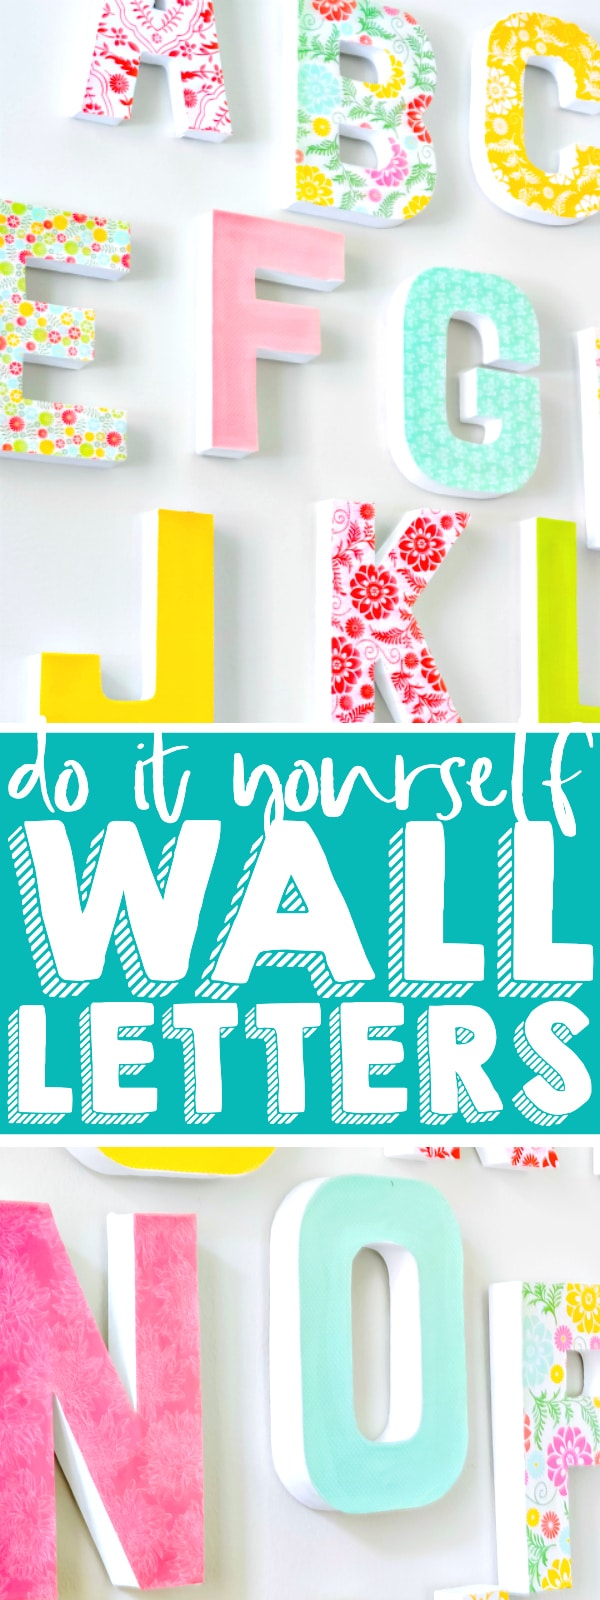
Make custom large letters for your Wall with Simple Tools and Easy DIY Process!
WHAT TYPE OF LETTERS SHOULD YOU USE?
- WOOD LETTERS: If you are decorating letters to sit on a shelf and not a wall or to be a new baby gift keepsake, I recommend wood. They are sturdier and will hold up over time better.
- PAPER MACHE LETTERS: If you are going to solely use these DIY letters to hang up on a wall, then paper mache is usually a less expensive option and will work just fine.
There are a LOT of letter shapes available these days from craft stores, including pre-painted letters, and any of them will work for this project. The more intricate the design, the more challenging it is to cut out the design.
WHAT TYPE OF MOD PODGE SHOULD YOU USE?
I strongly recommend using Matte Mod Podge because it will provide you with a very clean look without a lot of glare, which is especially good for making wall decor.
However, any type of Mod Podge will work. Glossy will definitely give you more shine and glitter could be a fun addition to DIY Letters for a little girl’s room!
RECOMMENDED PAPER FOR DIY LETTERS:
Over the years, I’ve become a bit of a scrapbook paper collector. While you don’t need to buy a collection, I recommend it if you are wanting to choose different patterns or colors.
Using a collection will help you ensure the papers selected are coordinated and therefore look cohesive together.
Here are a few collections I’ve loved over the years:
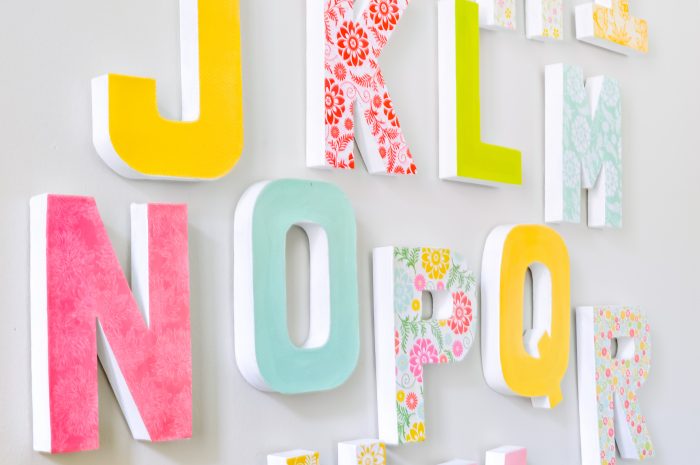
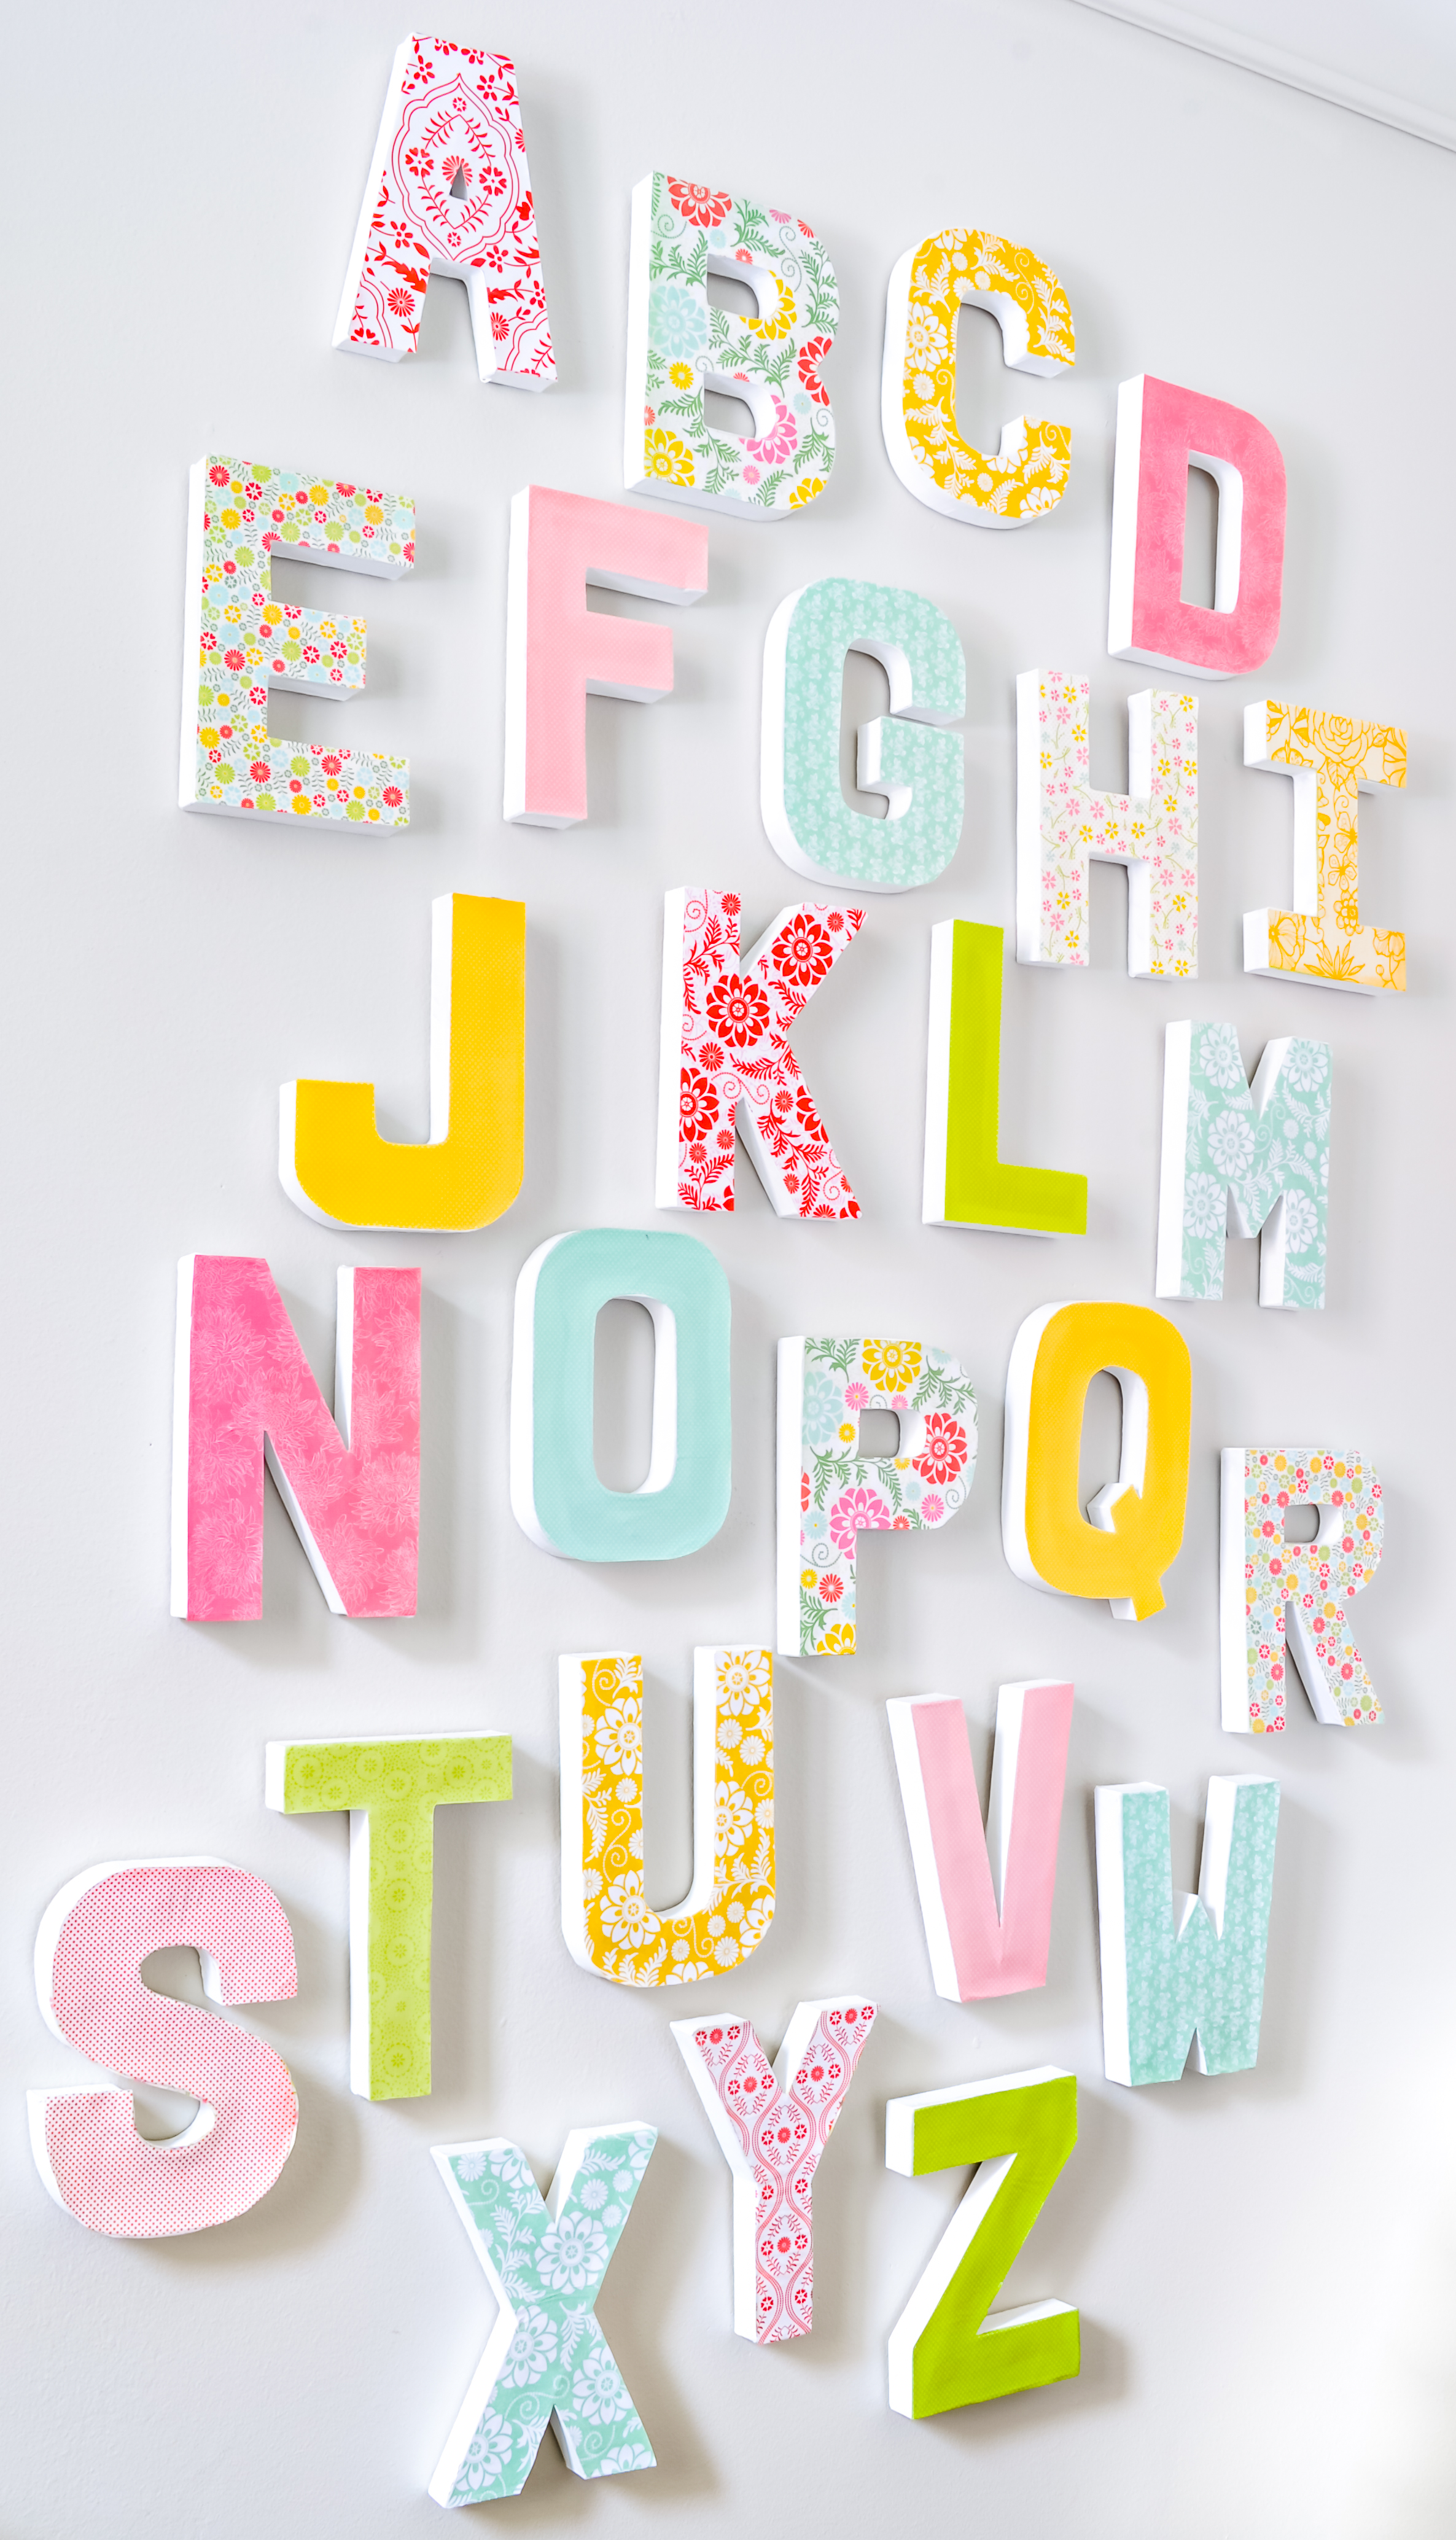
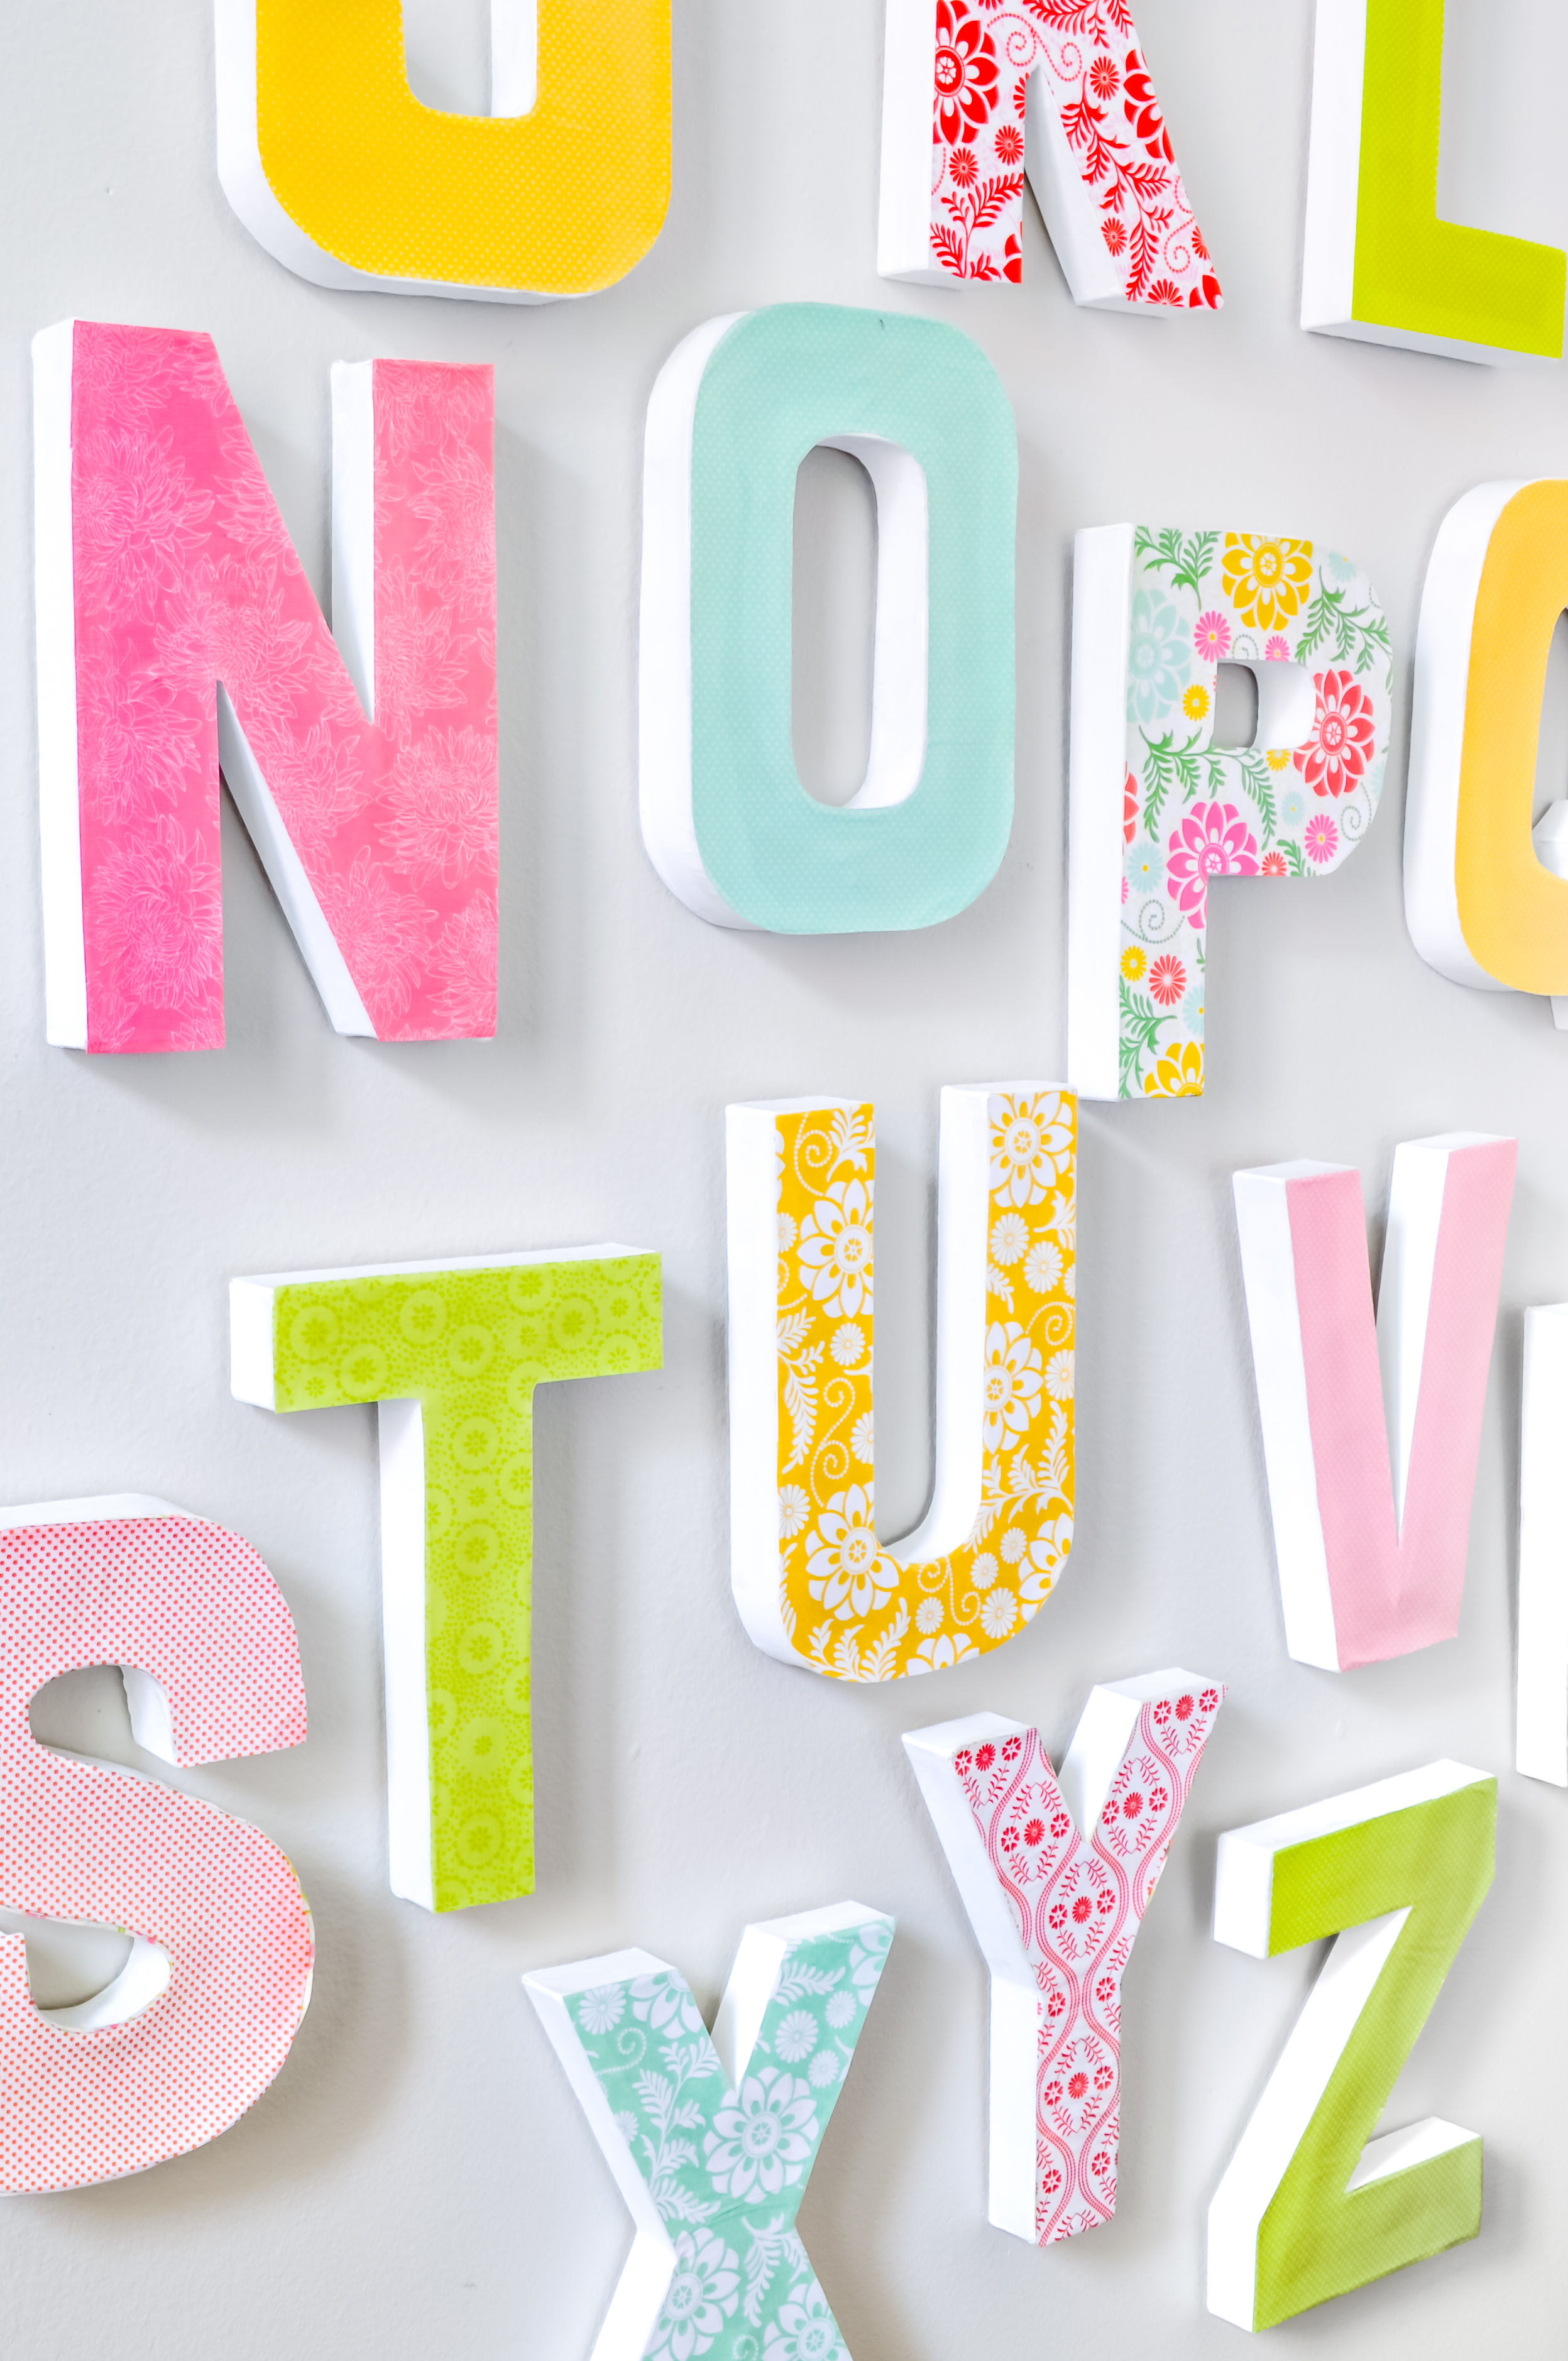
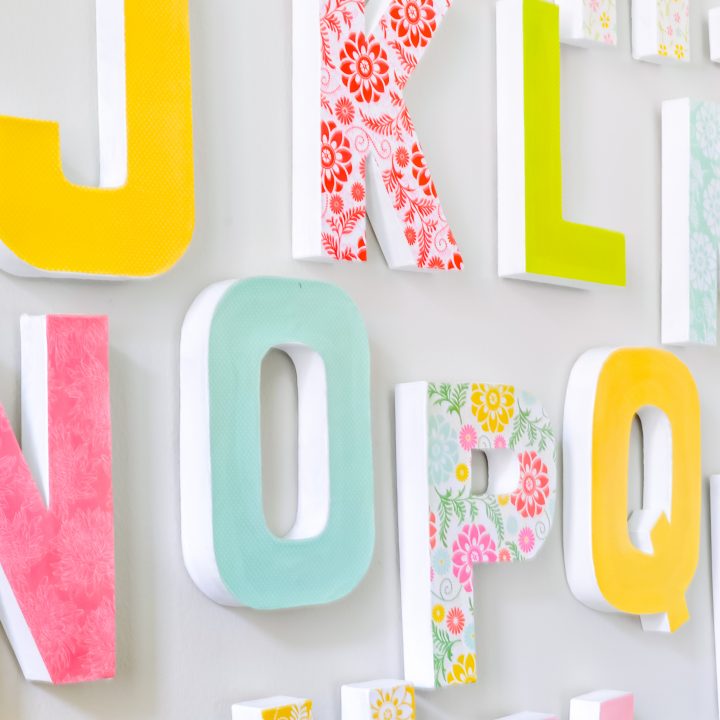
- Fresh Floral Stack – This is the collection I used for the DIY Wall Letters shown in images
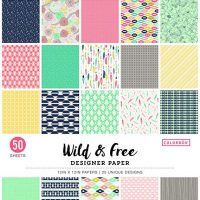
- Wild and Free
- Mint Julep
- Blue Citrus
- Gold and White
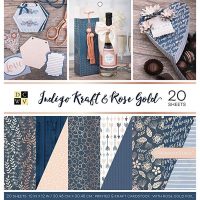
- Indigo and Rose Gold
HOW LONG DOES IT TAKE TO DECORATE THESE DIY WALL LETTERS?
While easy, making these letters is a slightly time consuming DIY project. So what do I mean when I say easy.
The skills used to make these diy letters is basically tracing, cutting, and painting. Attention to detail is beneficial for seeing if the paper is sticking to the letter or the paint layer was consistent, but that’s it.
I truly believe everyone can make this letter wall decor. Even my husband can make these, which is usually one of my tests for how difficult things are.
However, I would say it takes maybe on average 20 minutes a letter. If doing a name, I would say the project would take around an hour of active crafting time. It needs more time in between for drying though!
TIPS FOR DECORATING YOUR WALL LETTERS:
PAINTING THE LETTERS
If you do not like the natural color of the letters, you can easily paint the letter. I recommend painting the entirety of the letter and not just the visible sides. Otherwise, you are likely to see where the paint starts and stops under the paper.
Make sure they dry completely before moving on to next steps. Wet paint will interfere with Mod Podge.
For time management, I would paint your letters after you traced all the letters onto the paper. Doing so will allow the letters to start drying from the paint while you cut out the paper.
PREPPING YOUR PAPER
When you are tracing the shapes of the letters onto the paper, you will want the front of the letter to lay on the back of the paper.
Additionally, you will want to trace your design onto the paper without angling the pencil. If you hug the letter too closely with your pencil, your paper cut out will mot likely be too small.
The same advice can be said when cutting out your paper for your DIY letters. Do not hug the inside of the line. You can always trim off extra paper but you can’t add more on after.
When cutting out the inside of any letters like the A or Q, you will want a sharp precision knife and a cutting board. Using a dull knife with make a sloppier cut out.
MOD PODGE TIPS
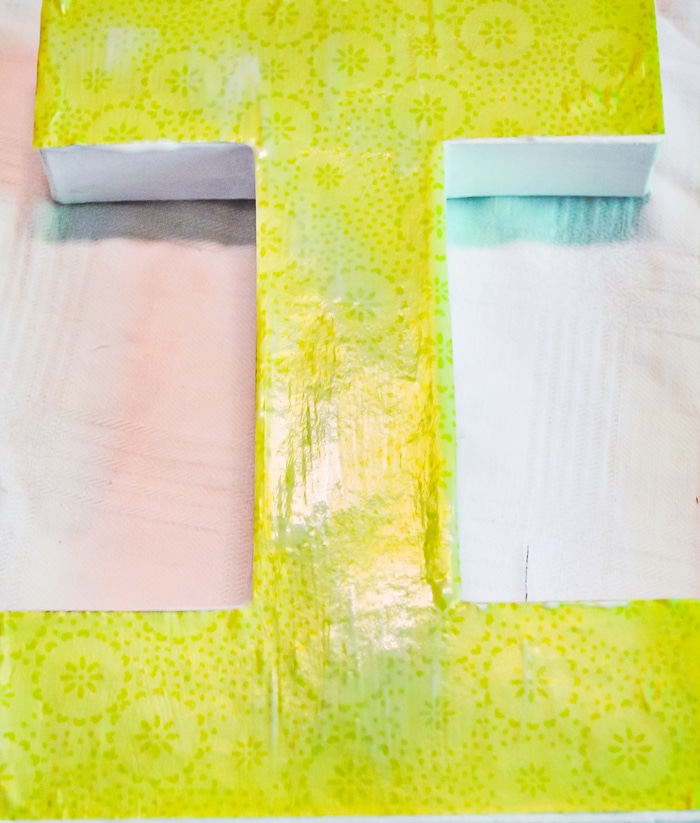
Use even medium layers of Mod Podge. Adding too much will make “wet” looking bubbles that has a hard time drying and too thin will make it hard for it to stick.
After the paper has tried after the first layer of Mod Podge, go back and check the corners. Use the corner of your foam brush to tuck more Mod Podge underneath and then press down for a minute. The extra glue and pressure should fix the issue.
HOW TO HANG PAPER MACHE LETTERS:
- They are so easy to use. There is no need to measure or guess where the nail needs to be to catch the hanger included, which is especially tricky if it’s a wire hanger.
- It’s easy to make adjustments after they’re up on the wall. I hate putting a hole in a wall just to realize it’s hanging wrong and then have to do it again! I hang almost every single thing in our house with these.
- It’s easy to hang things, like paper mache letters, that don’t come with a hanger included.
- After making the first investment, you only have to add one new Velcro strip to rehang the letters or a picture again. This is great if you are moving soon or are redecorating often.
IF YOU LIKE THESE DIY WALL LETTERS, YOU MIGHT LIKE THESE OTHER DECOR PROJECTS:
- DIY Comic Book Letters
- HOME Wall Art in Shadowbox
- DIY Wedding Vow Art
- Gallery Wall Inspiration
- Wrapped Yarn Wall Art
- Canvas Glue Art
HOW TO MAKE DIY WALL LETTERS
Make your own DIY Wall letters are less expensive than buying and easy to customize to your home decor!
Perfect to use for making a whole letter wall in nursery or play room as well as first names in a kid room! Great gift idea!
Materials
Instructions
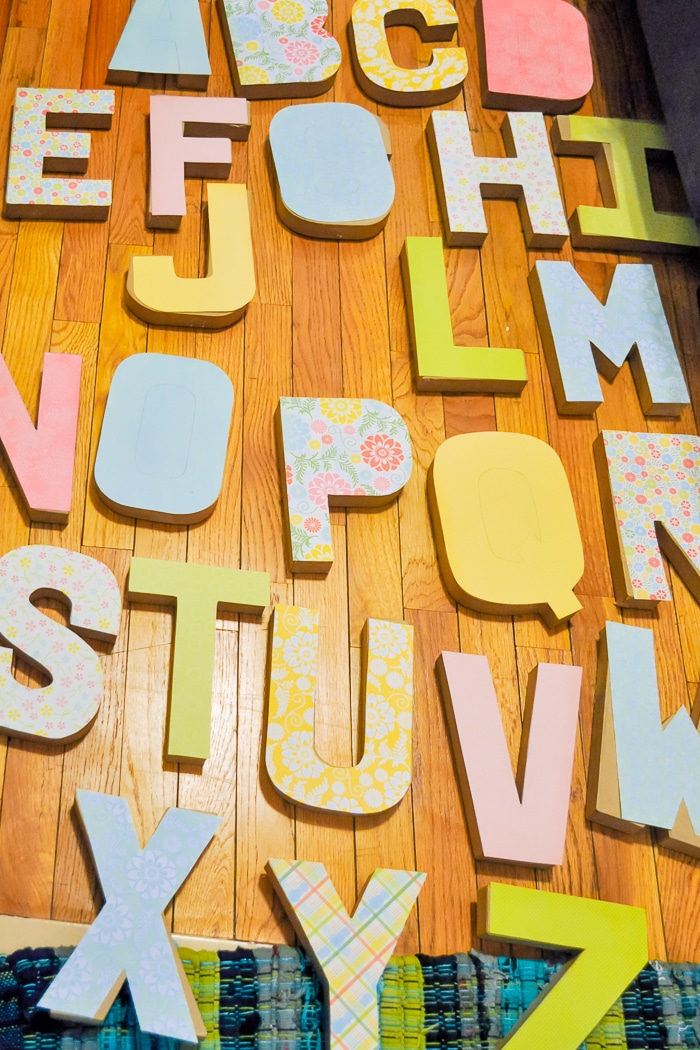
- Choose your paper for each letter. If you want to visually test how they look for bigger projects, cut out squares big enough for your letters to fit and lay them out as they will hang. 9x9 squares worked for me.
- Place each letter flipped face down onto the back of the paper. Trace any outside edges. When tracing, don't angle in your pencil and hug the letter too closely or you will cut out your paper too small. Better to trim later than not have enough.
- PAINTING: If you are going to paint your paper mache letters, this is a great time to do it. It will allow the paint to dry while working on the next step with the paper. Paint the entire letter because you will otherwise see a color difference under the paper where the paint stops and starts. Allow them to completely dry. I let them sit out overnight.
- Cut the outside shape of the letters using scissors. Again, don't cut too closely or inside of the lines. Better to trim more later than not have enough to cover the letter.
- After you cut the outside shape and the paint is dry if you painted, place all of the letter shapes onto your paper mache letters. Do a final check that you're happy with pattern distribution and that no letter needs to be recut. THEN, using a precision blade and a cutting board, cut out any inside parts of letters, like the A, B, and Q.

- Put a medium, consistent layer of Mod Podge on the top of the letter using a sponge brush. Line up the paper onto of the letter, and starting from the top or the bottom, slowly rub the rest of the letter down. Allow the letters to dry completely before touching them further.

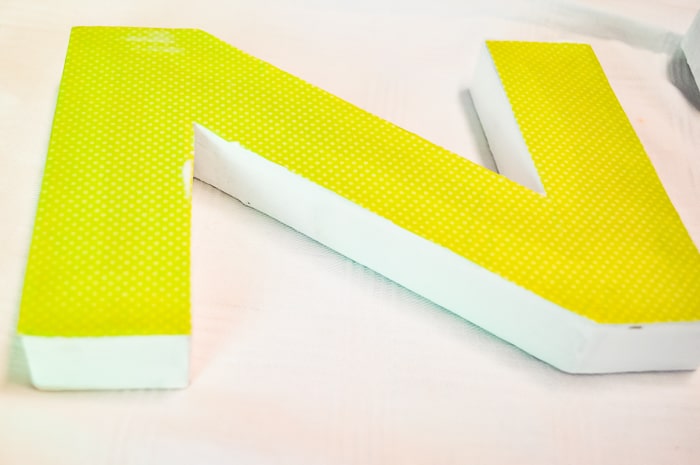
- After your letters are dry, check for any letters that need trimming. Use your precision blade and cutting board to trim off scrapbook paper that is overhanging your letter.
- Check the edges of each letter. If the paper is coming up on the edges, put a little Mod Podge under the paper and press down for a minute.
- Lastly, put a thin layer of Mod Podge on top of each letter. The Mod Podge will be white at first, but it will dry clear. Let dry for at least an hour.

Recommended Products
As an Amazon Associate and member of other affiliate programs, I earn from qualifying purchases.

KilosMom says
I just did this very craft. I have a new parrot name Kilo. Everyone always asked his name so now its above his cage. I love how it looks and planning to use my scrapbook paper for more than pages just albums of family pictures.
Thanks and I’m now on your newsletter list. Can’t wait to try more from your site.