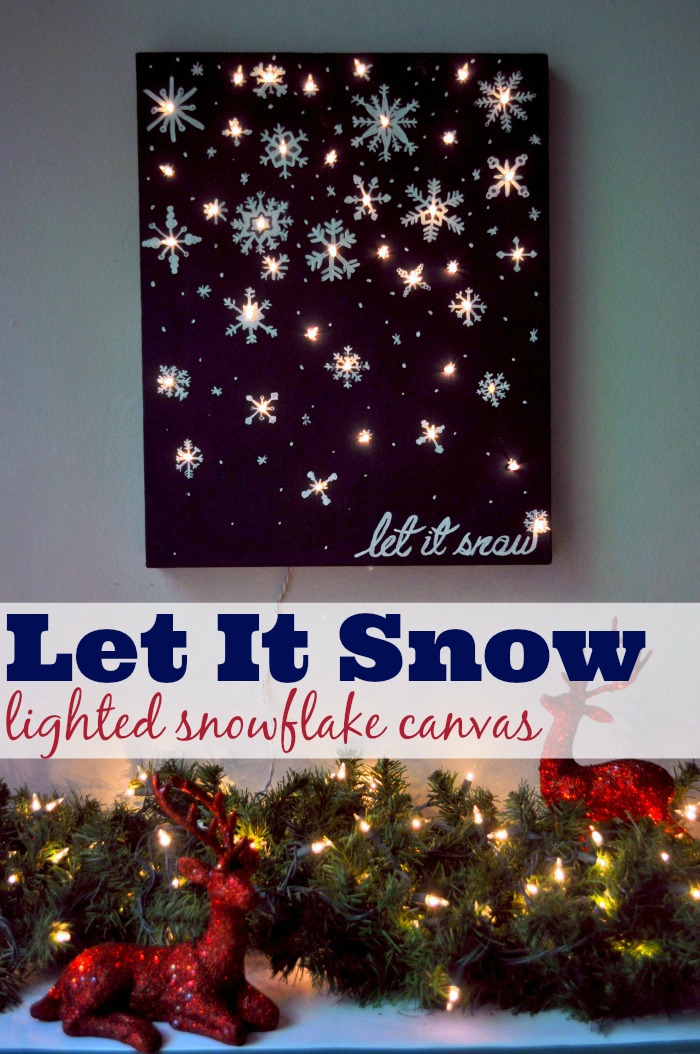
In a strange contradiction, I hate snow but I love snowflakes. I love how each one is unique and special, I love how magical they look when they are floating down in the sky, and I love how they lightly stick to hair and scarves. If only snow would avoid roads and sidewalks, I would probably think it was perfect all together. Since I love snowflakes so much, I decided it was time to add it into our decor with this lighted snowflake canvas.
I am so excited about how it turned out! Plus, I try to add as many Christmas lights into the decor as possible. Growing up, I always loved how many lights my parents had around the house. On the outside, my dad was a mild Griswold. Inside, my mom had greenery and lights hanging around every doorway, so the house at night just glowed. It was so cozy and always made me feel so safe! Lights definitely means Christmas to me.
Overall, the process was pretty easy, too. It took some time in between stages to allow paint to dry, but none of the steps took a lot of time. Plus, since I try not to worry too much about perfection, I free styled all of the snowflakes. There might be one or two that aren’t my favorite, but it doesn’t take away from the overall look which I love! The glow at night is so pretty. 🙂
MATERIALS:
- Canvas (16×20)
- Paint for background and snowflakes
- Paint Brushes: a big one for background and small paint brushes for snowflakes and lettering
- Exacto Knife or other small blade
- Strand of Christmas Lights (I used a 50 strand)
DIRECTIONS:
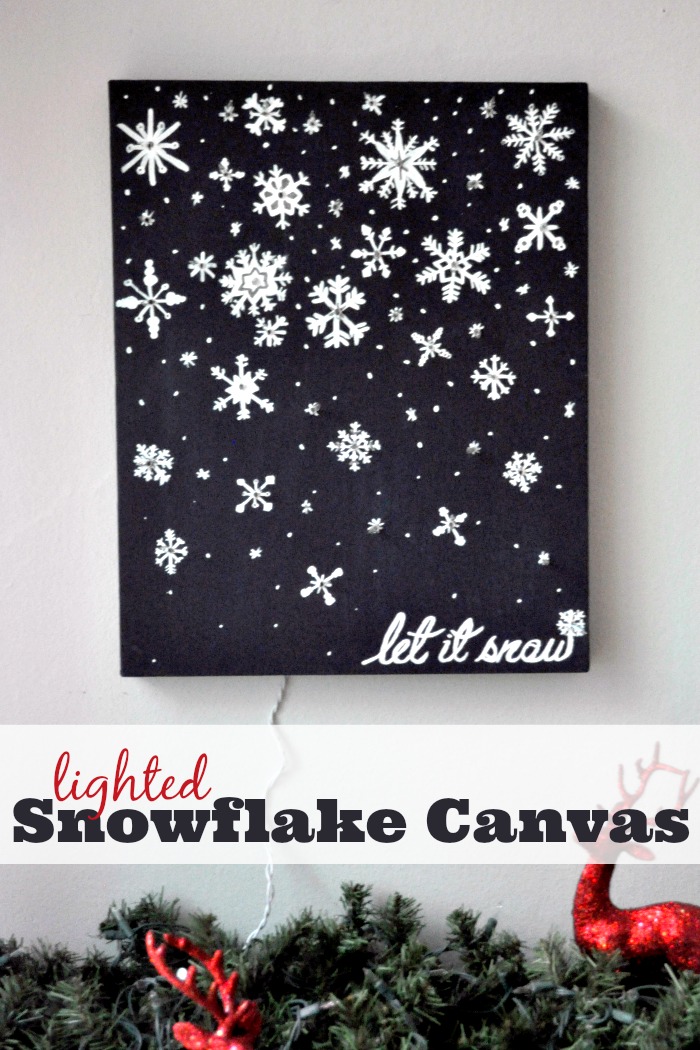
- Paint the background your desired color. I used a basic navy acrylic paint with a tiny bit of black paint mixed in to make it even darker and add some depth to the color.
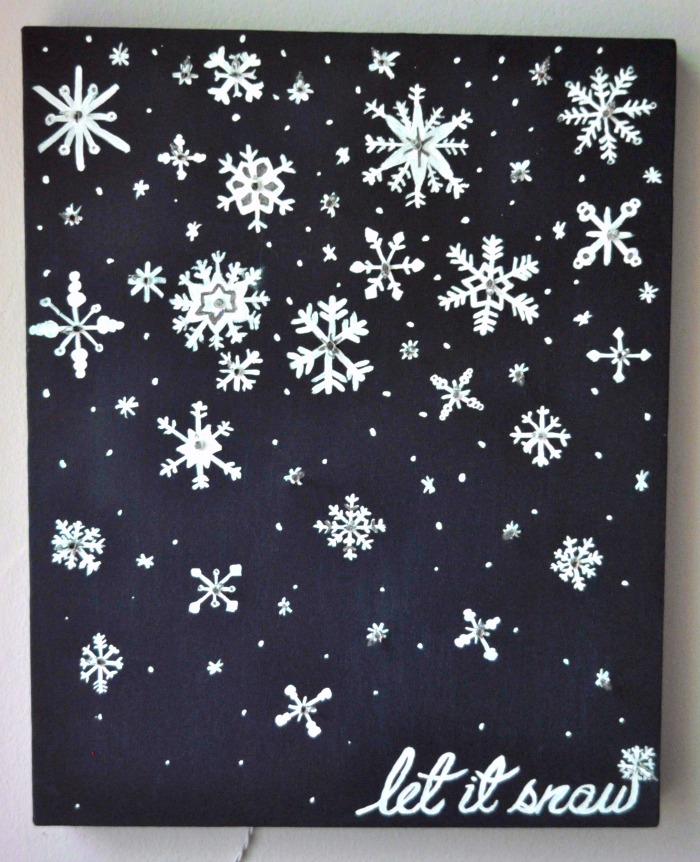
- Once dry, add snow flakes to your canvas. I free styled the snowflakes, not worrying too much about perfection. You could always use a stencil or draw in pencil first. I also decided to add more on top and fade as I got lower because I thought it a “snow falling” look. I also free handed “Let It Snow” into the bottom right hand corner with pencil and then filled it in with paint.
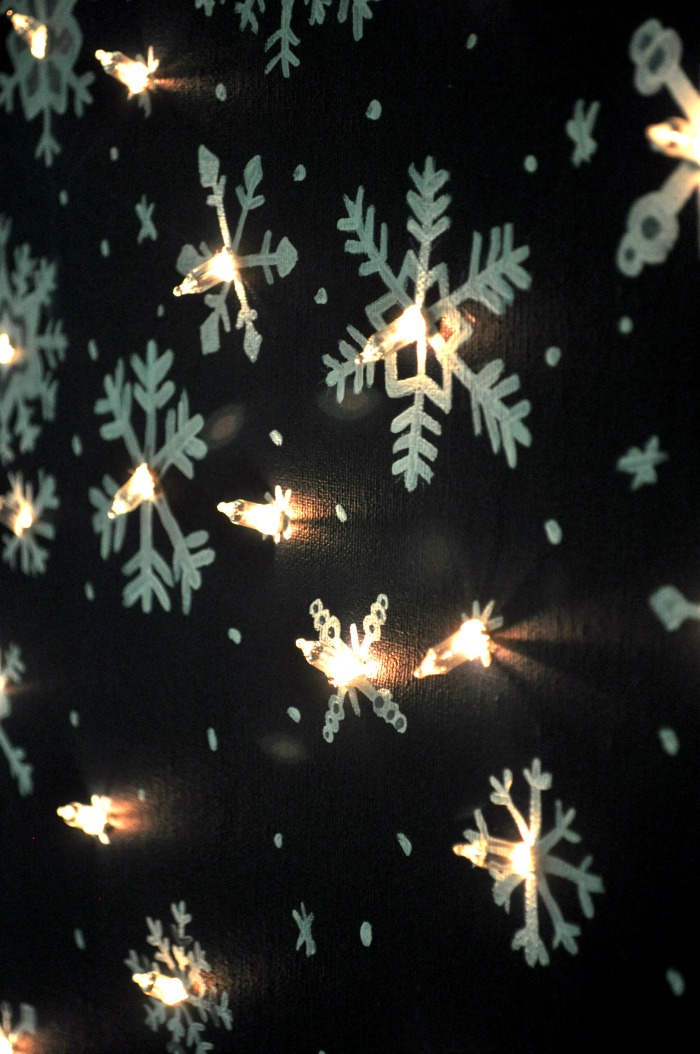
- Once the snowflakes are try, take the exacto knife and cut a very small slice into the canvas at the center of the snowflakes. I did not use all 50 lights because sometimes there was too much space between snowflakes. Keep this in mind as you are cutting to avoid cutting too many spots and that not all snowflakes need a light.
That’s it! 3 overall easy steps to make an awesome statement piece! I hope you love it and would love to see what you do with your own. I promise you won’t regret seeing this Christmas decoration lit up on your wall at night!