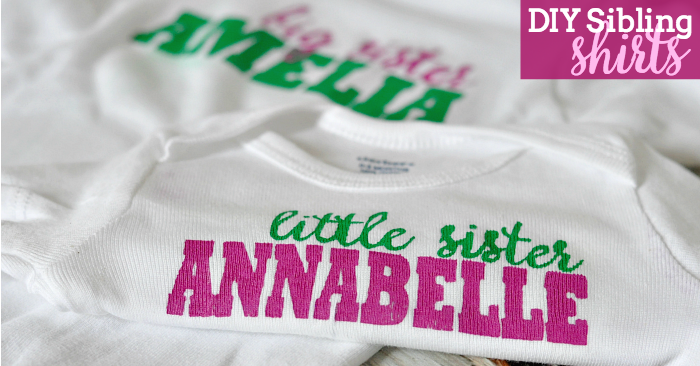
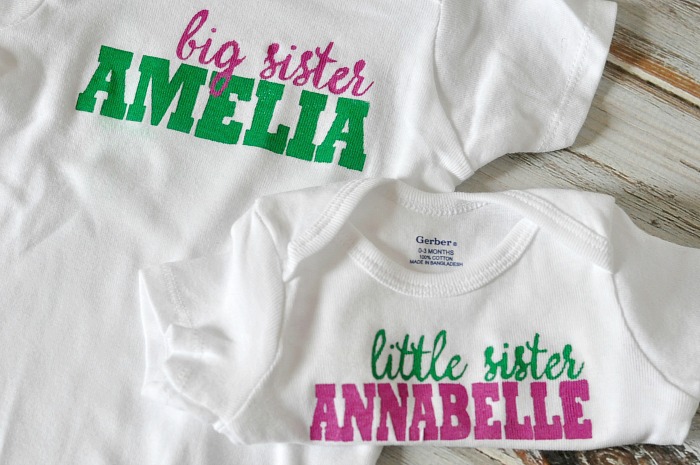
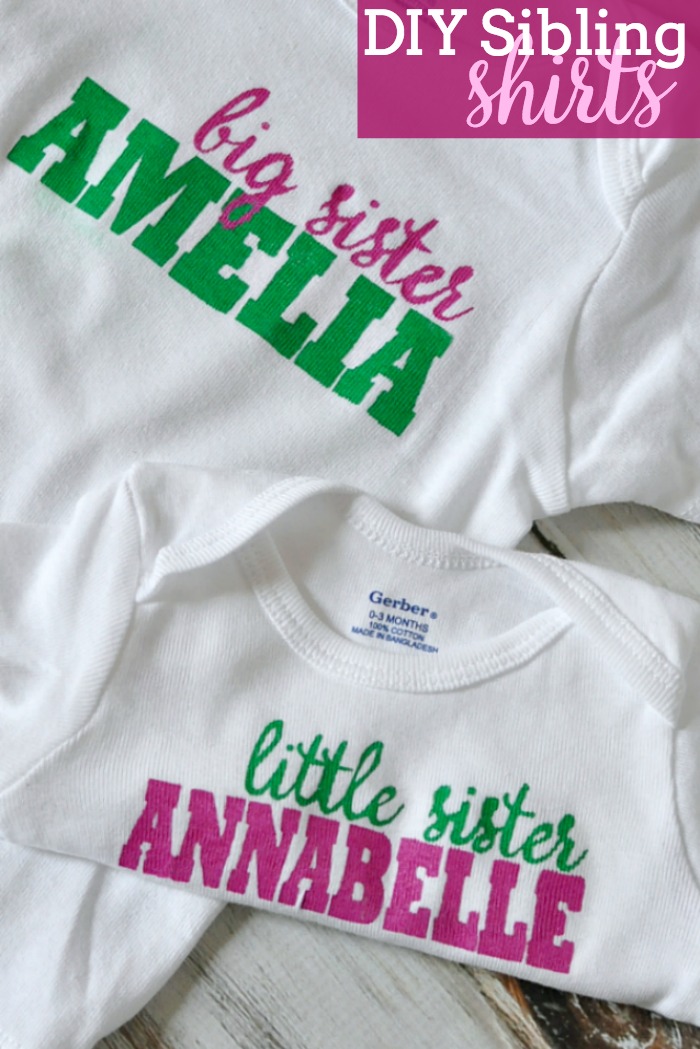
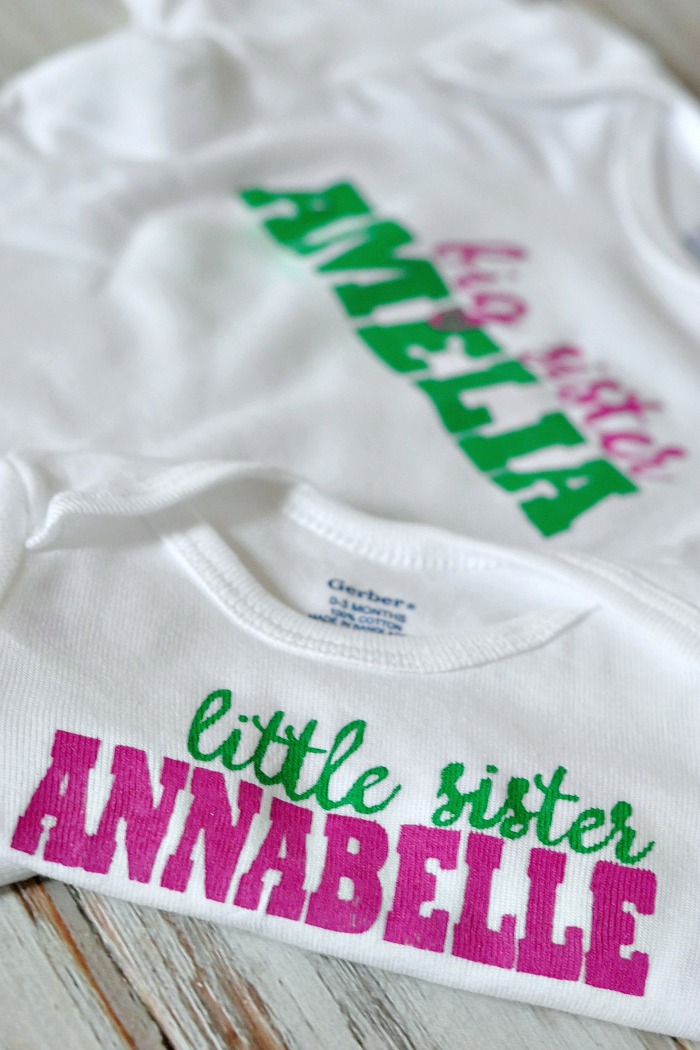
These DIY Sibling Shirts make an adorable gift!
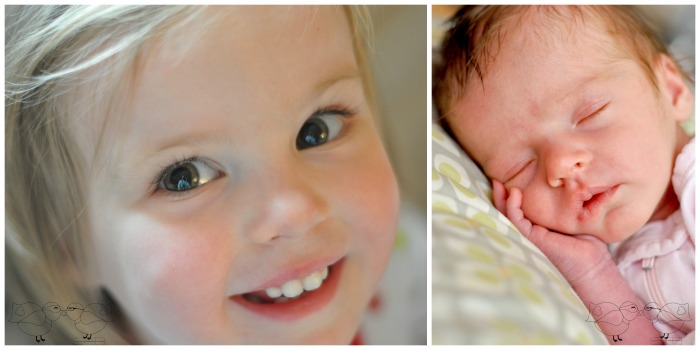
Last week, I was absent from a bit unexpectedly absent from the blog, but it was for a very good reason. These two adorable little girls below and their mom. Can you blame me? Just look at these cuties!
Here is something about me that I don’t really talk about – most of my friends live out of state, including my best friend Erin. Maybe you have all experienced this at one point or not, but finding “new” friends after college is fine. I also work from home so the new friends I’ve made live all over the country.
Erin and I have been friends for over 10 years though. In the beginning, she thought I was annoying and loud; I thought she was a bit sheltered and quiet. Now she is the one I tell everything, too, without fear or judgement. So when she had baby number two, of course I went up to help and spend time with both of her precious little girls.
It was also an opportunity to get crafty. I made some really cute items to update the nursery, which I will be sharing with you all soon, and these fun DIY Sibling Shirts. I always believe the older siblings deserve a little extra love when a new sibling arrives, so I thought this was something the whole family would love. Personalized is always a win in my book!
Plus, these are simpler to make than you might think. There are two ways this can really go – the slow but simple way and the faster but simple way. The faster way means you have a craft machine like my Silhouette Cameo to cut out the letters – faster than cutting out letters by hand.
You will also need Freezer Paper for this project. This is one of the best items I have EVER found for crafting as it makes the perfect stencil material and irons onto fabric with a great seal.
MATERIALS
- Shirt
- Fabric Paint (I use Tulip Soft Fabric Paint
< —- Affiliate Link)
- Freezer Paper
- Stencil or Computer Design to cut out (I have included mine below for you)
- Sponge to apply paint
- Cardboard to put under shirt to make sure paint doesn’t bleed
- Iron
DIRECTIONS
1. Cut out your design onto the Freezer Paper. Keep in mind that you will be ironing on the design shiny side down onto the fabric. If you use a different design in the future and it’s symmetrical, it doesn’t matter which direction you cut out your design. It’s the same either way.
However, if you design is not symmetrical like a name would be, you will need to think about what the design looks like with shiny side down. When using my Silhouette, the matte side of the freezer paper must face down onto your mat (otherwise the shiny side would slip around), so I have to flip my design horizontally when I cut it out.
2. Remove the access of the design and iron the freezer paper stencil onto the fabric shiny side down. Make sure the iron is set to No Steam. If you have any small pieces, like the middle piece of a letter, iron those on after you get the large design ironed on. It is easier to concentrate on just one small little piece at a time. I will say I skipped some of the smaller pieces, too, like the middle of the top of the “s”.
If your two layers do not overlap, you can iron them on together – like the little sister design. You will just need to be careful when applying the paint. If your designs overlap, you will need to iron on the second layer after the first layer of paint dries completely. You will need to iron on quickly as to not worry about spreading any paint color. This isn’t hard – just be deliberate!
3. Put a piece of cardboard inside the shirt and then use a paint sponge to apply fabric paint onto the shirt. Make sure you put on a good amount of paint evenly over the design.
4. Let the paint dry for at least an hour and then peel off the stencil. Let it dry another hour before you add on another layer. At the time, you might want to do a couple small touch ups with a paint brush but those are pretty minimal.
If you decide to take this on, please share a picture with me! I love seeing your crafty creations!