Hi! I’m Yvonne from Tried and Tasty and I’m so excited to be here on The Love Nerds helping celebrate BIRTHDAY MONTH!!! First I’ll tell you a little bit about me! When I’m not at work or spending time with family or friends, chances are you’ll find me in the kitchen wearing an apron and a smile. My passion for cooking and baking is endless and my appetite for trying out new and tasty recipes is unquenchable! In fact, that’s why the name of my blog is Tried and Tasty. I slice, dice, and sauté my way through an abundance of new recipes on a regular basis and deliver only the best to my sites treasured visitors.
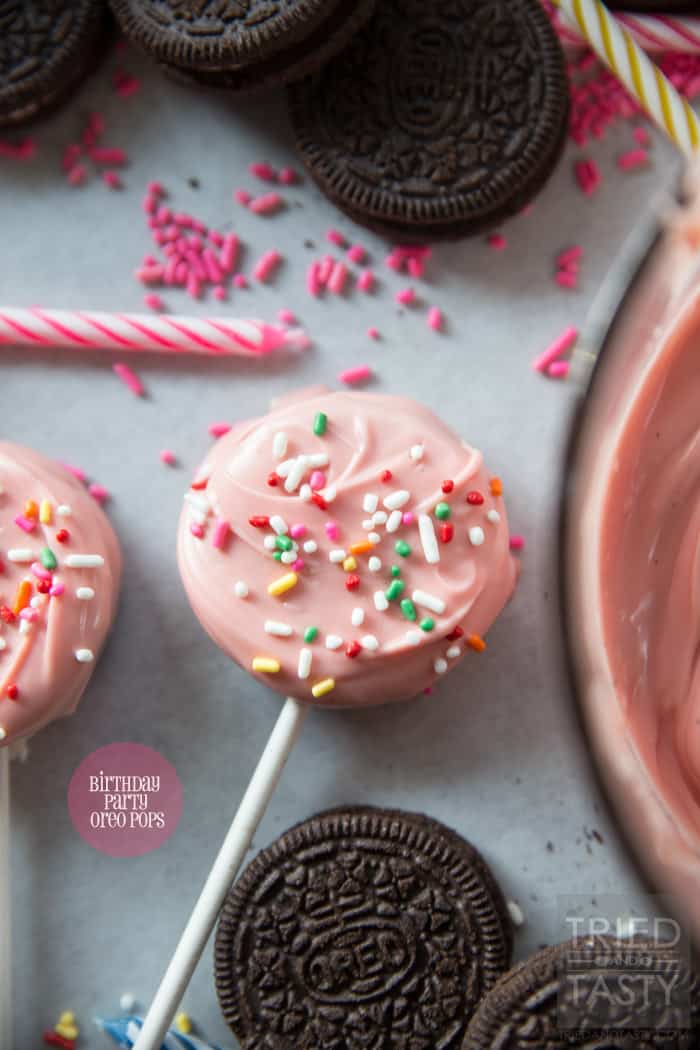
In addition to all of that, I LOVE birthdays. Love, love, LOVE them. I pretty much make a big deal out of my birthday every year.. and have for as long as I can remember. So when Maggie asked if I would be interested in helping celebrate, I couldn’t wait to help out! I wanted to create something fun, simple, and TASTY! These cute little pops are all three wrapped in to one.
Best part about it? You can make them in any color (well, any color you can find candy melts in). They whip together in a flash and all you need is time for them to harden. Make a bunch for a birthday or any special occasion. They are the perfect way to celebrate!


- 1 package of Oreos
- 1 package candy melts any color
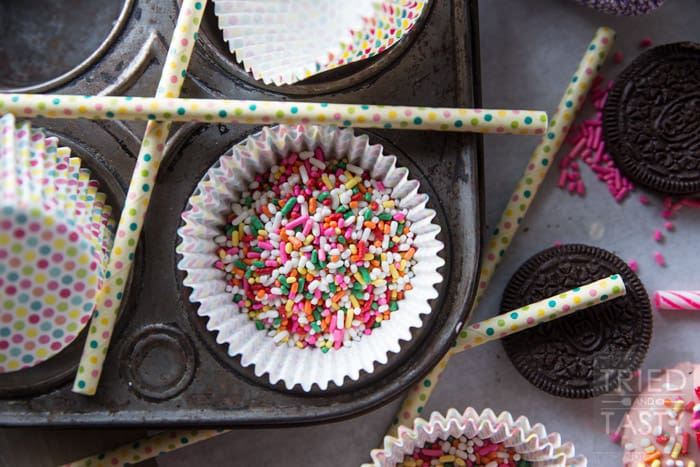
- Sprinkles
-
Melt candy melts according to package directions. Generally in a microwave safe bowl you can melt in increments of 20-30 seconds stirring in between.
-
Place stick in to Oreo and dip in to melted candy coating.
-
Place on parchment paper and top with sprinkles.
-
Let sit several hours until hardened; then store in an airtight container. Enjoy!