I feel like a broken record lately, but I have been in the process of covering some of the white in our apartment.

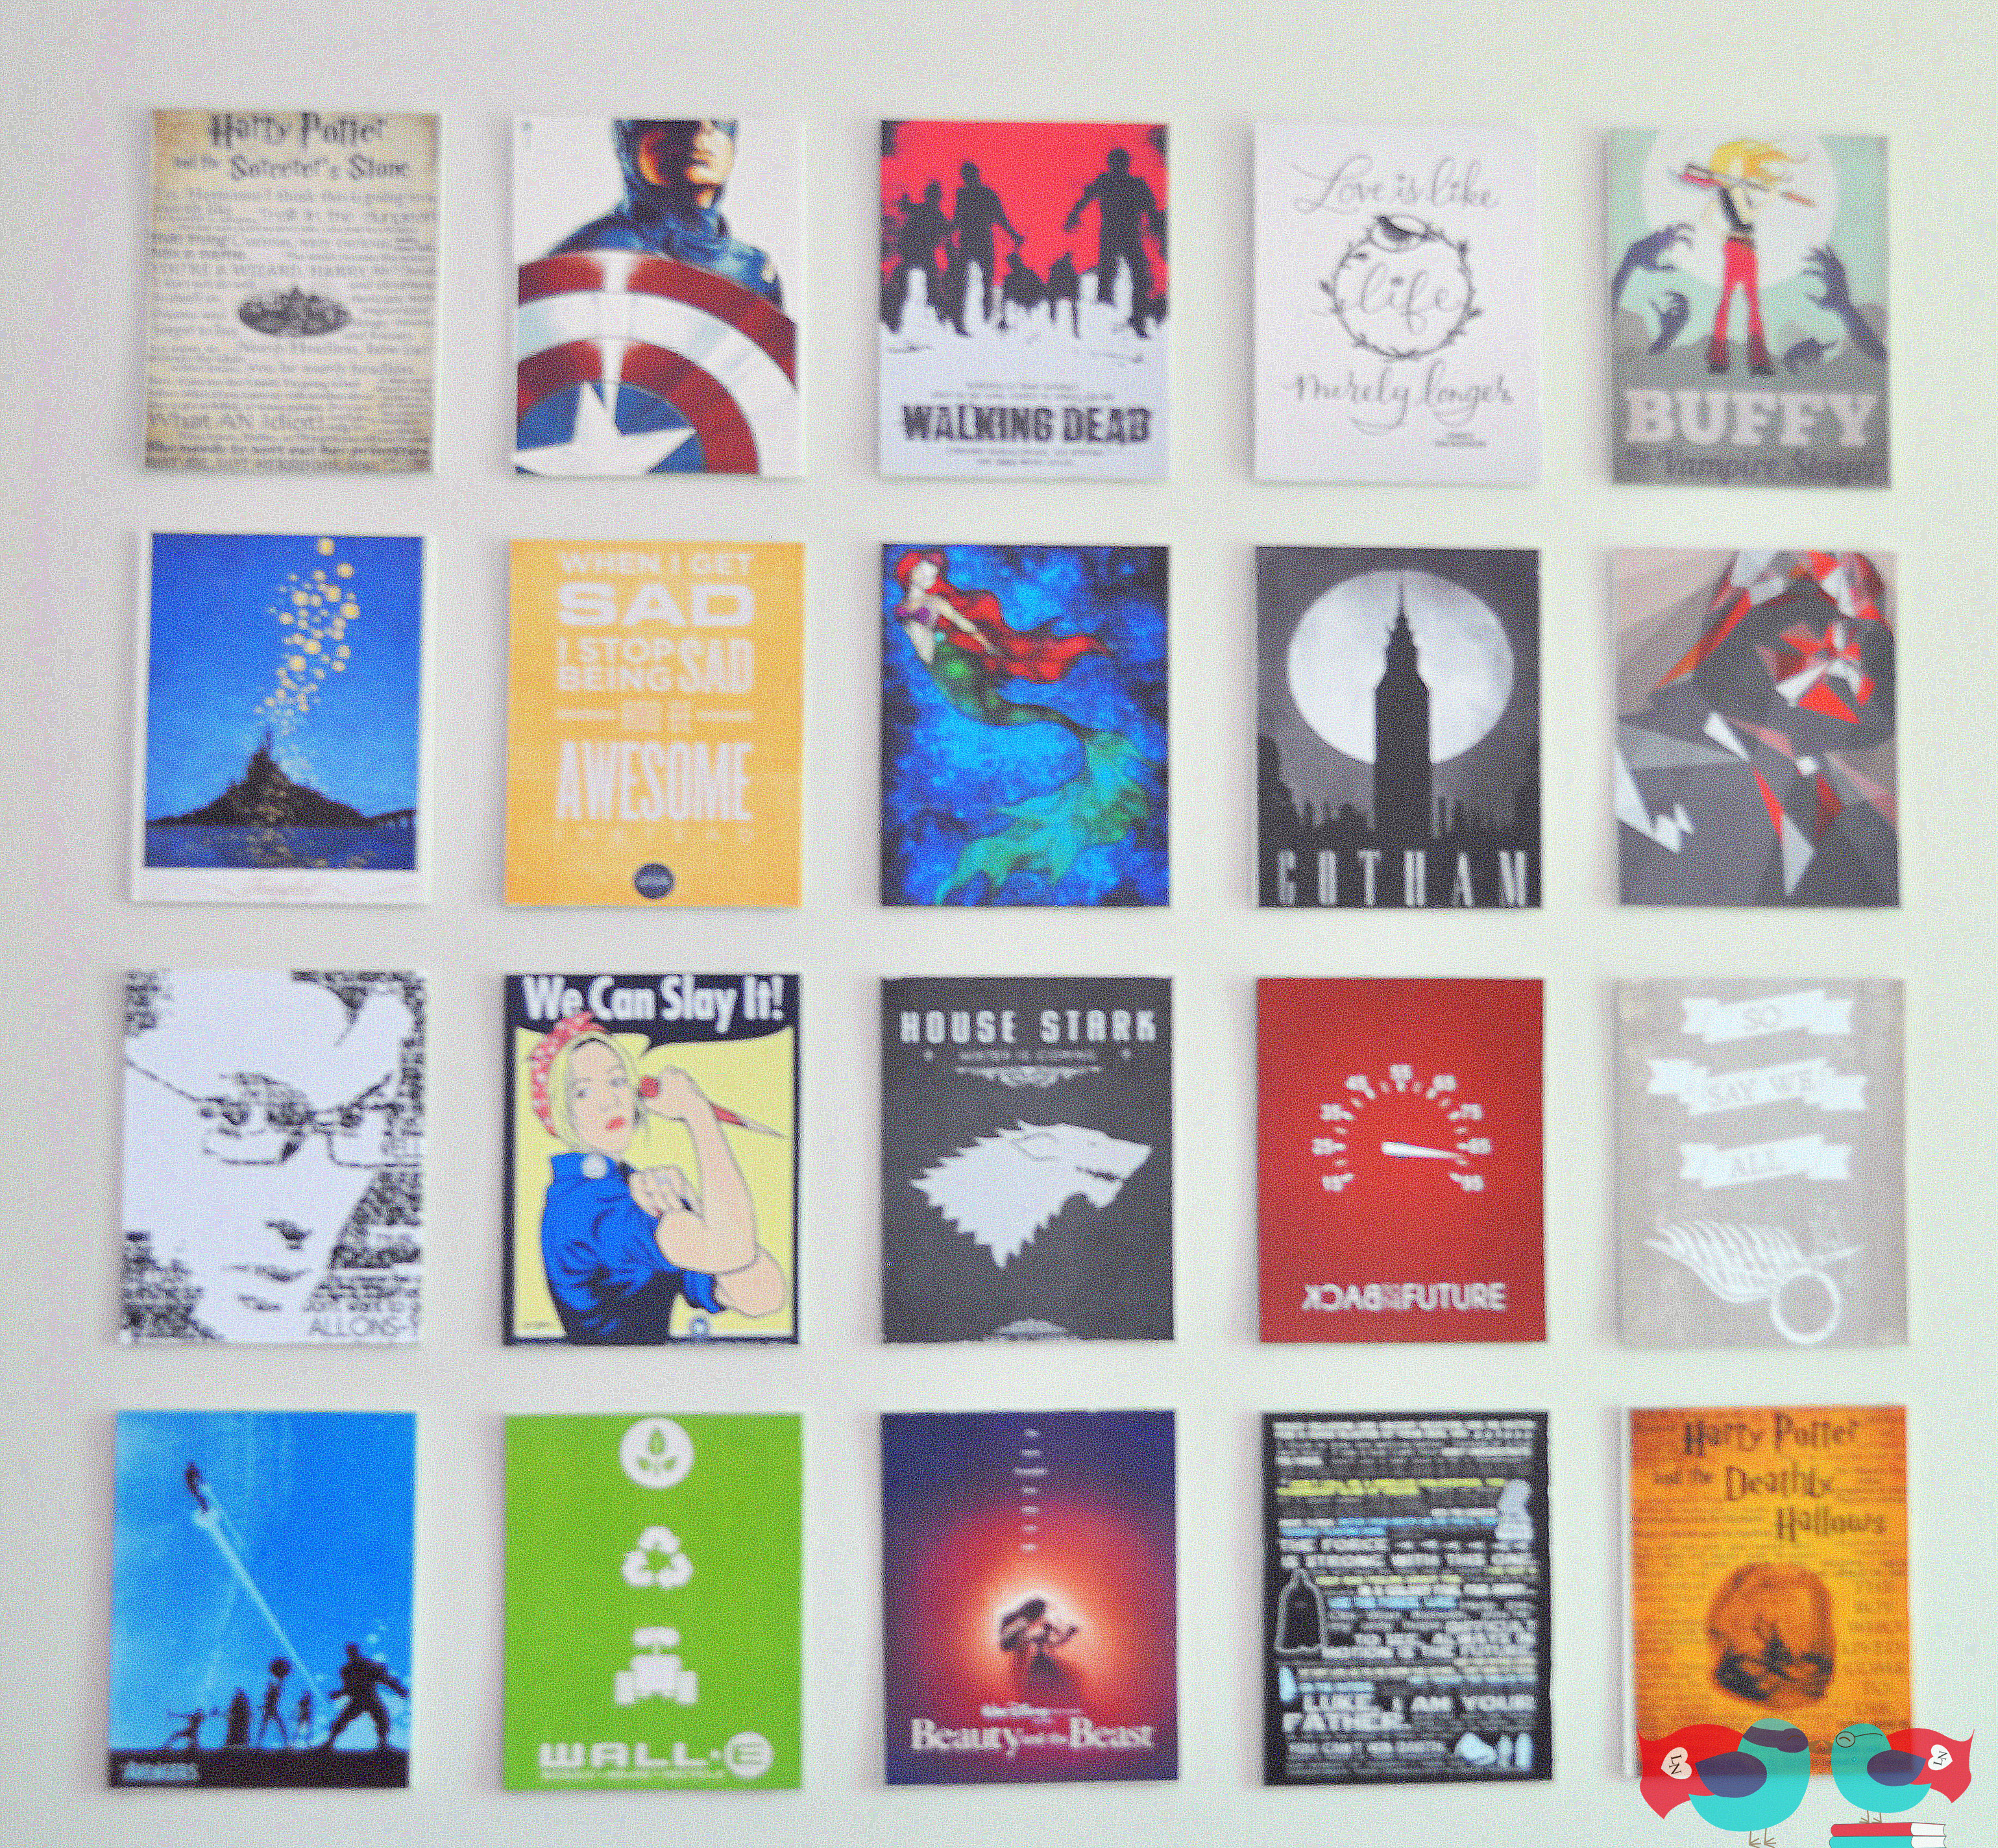
I came up with this idea because it would cover a large space but also because it would allow me to showcase some of our nerdy interests in what I consider a nicer, subtler way (instead of the big Call of Duty poster my husband hung in his old apartment). How many of the nerdy interests can you identify? Some are more obvious than others.
In picking out the prints, I did a google search for what I wanted and made sure to be able to find prints of a large enough size. Then, I went to the Office Max print site and use the “Prints and Copies” section which allowed me to upload the images and print to a store location. The most important thing to note about their program is that black and white is default. You need to go in for every image and change it to color ink and the desired type of paper.
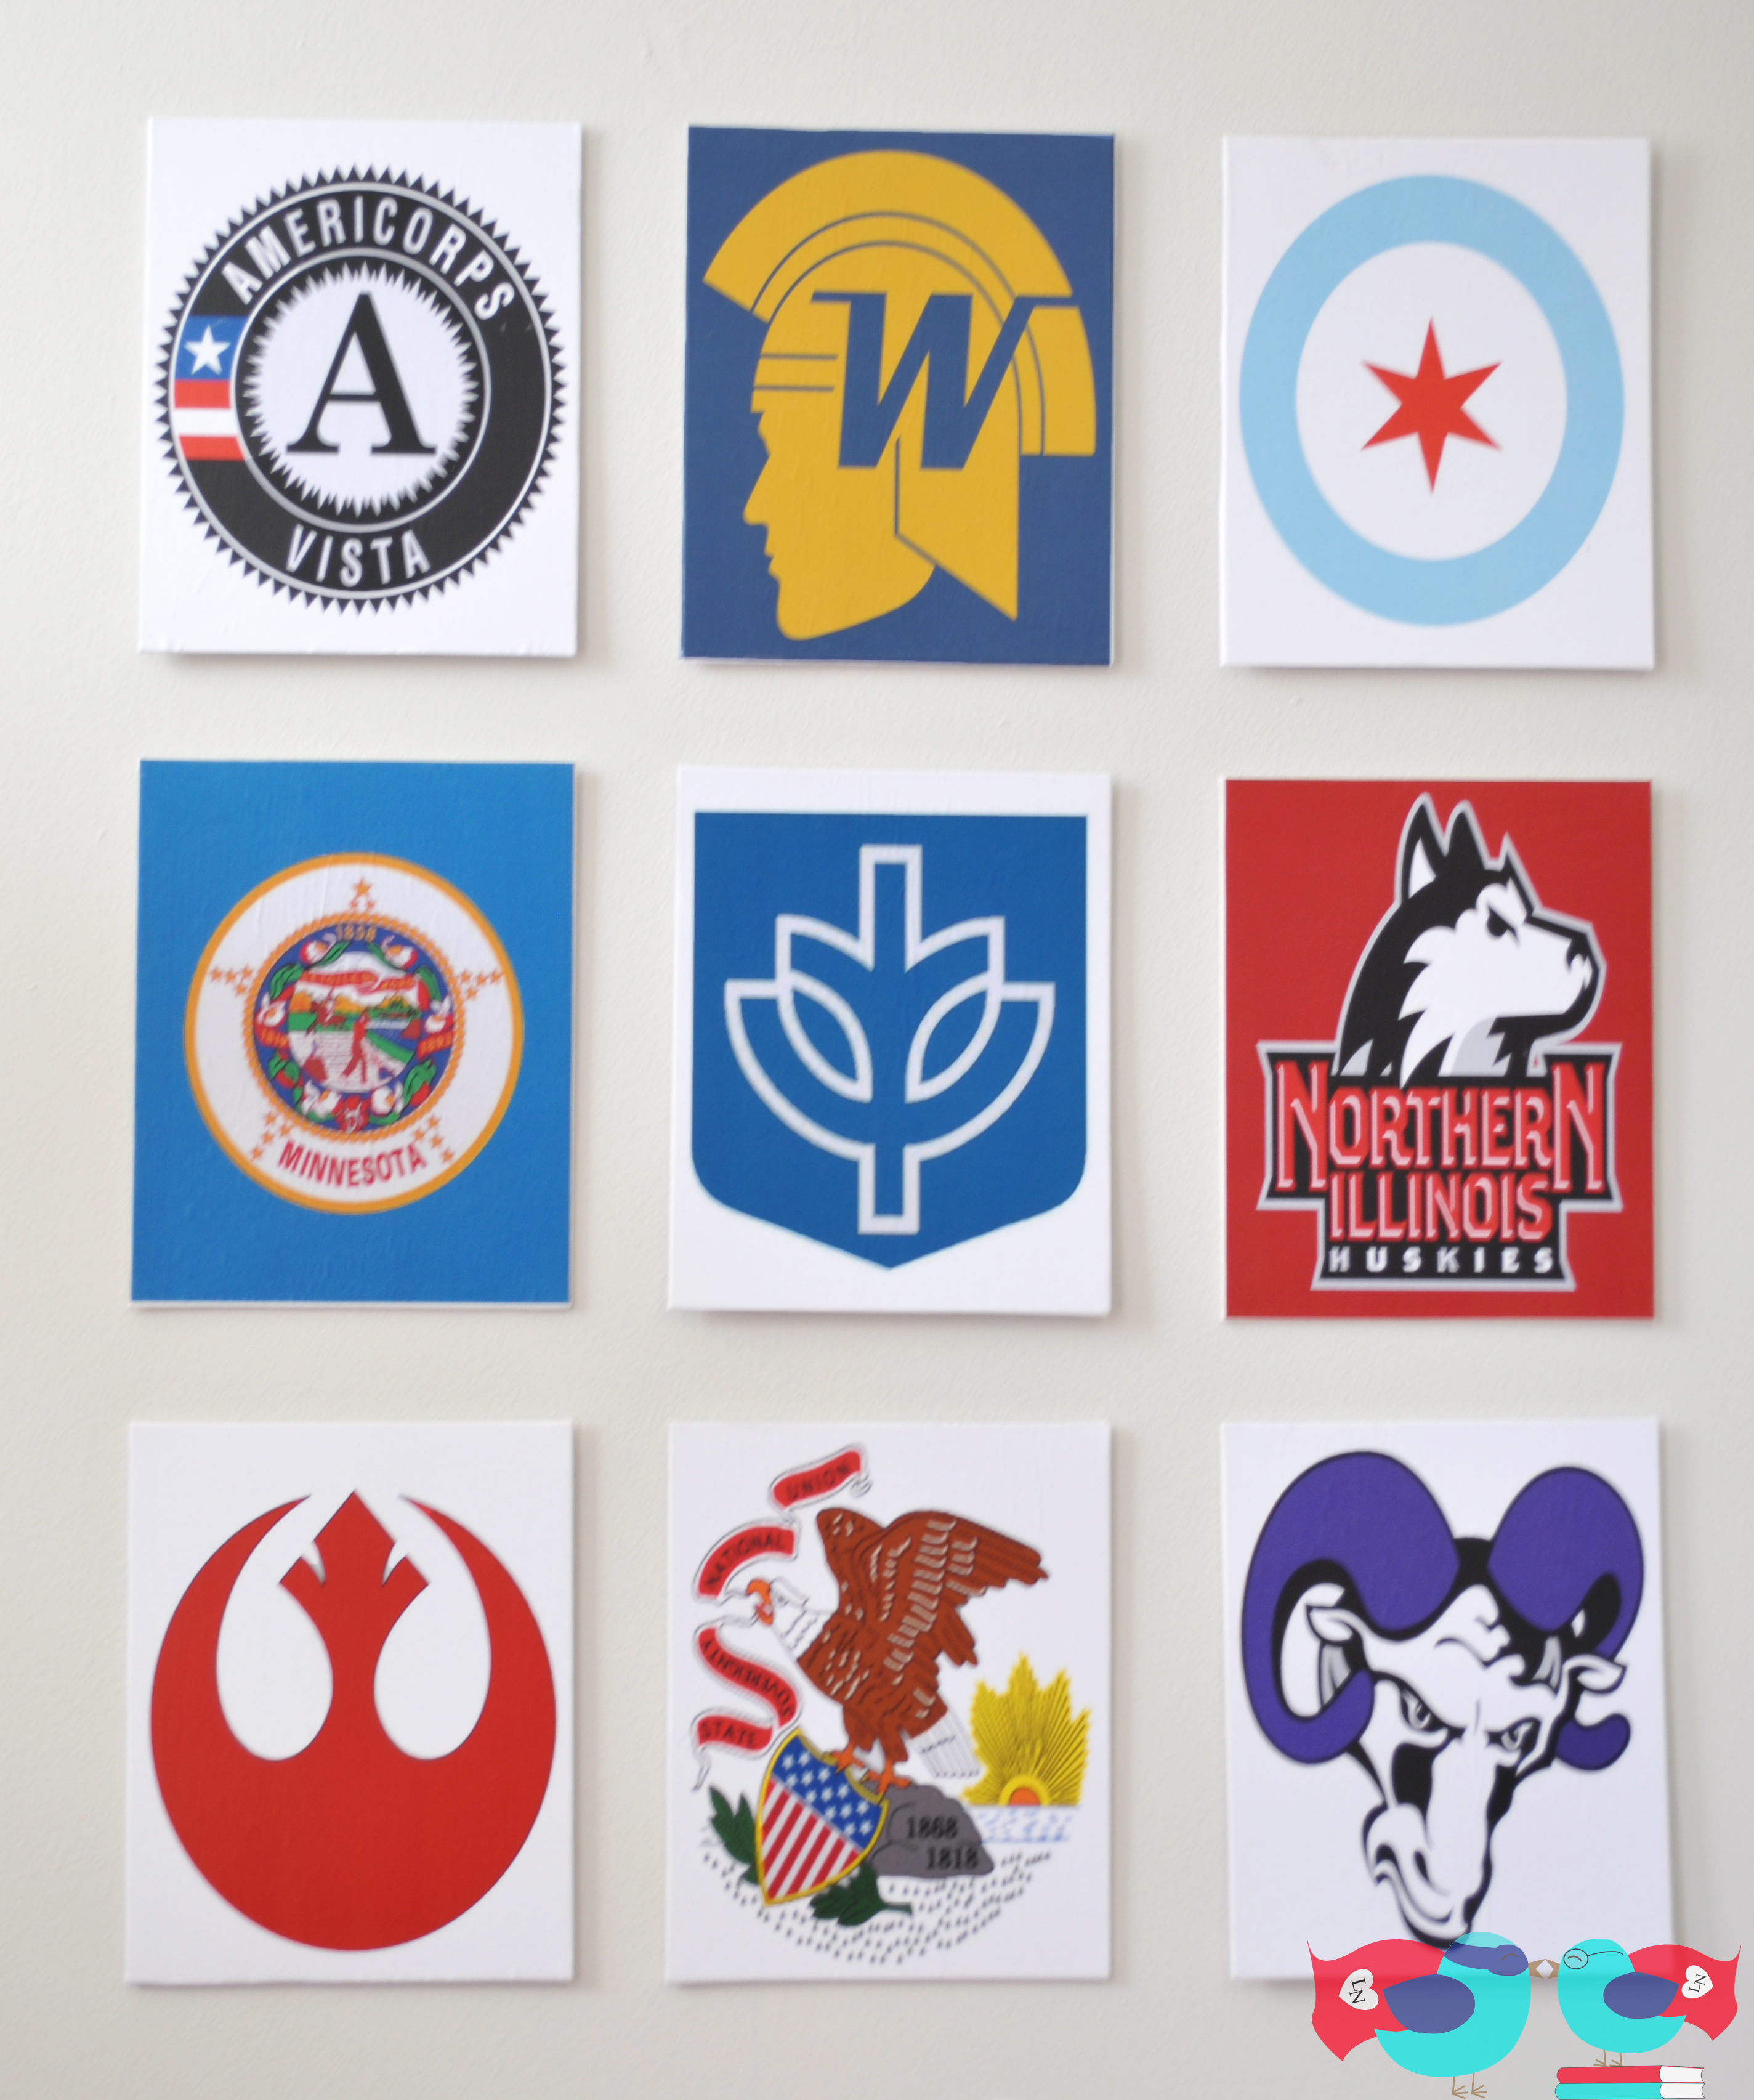
My husband liked these so much that he also wanted me to make some for his work office. These prints focus on where he has lived and the schools he has gone too. He couldn’t help but also include a bit of Star Wars in the mix as well.
Materials:
Canvas (I used thin canvas boards for this project)
Mod Podge (I use the matte)
Brush or Sponge brush for Mod Podge
Something to pour your Mod Podge in
Prints (I ordered from Office Max)
Before I get started on the process, I want to take a moment to talk about the prints. I decided to print mine at Office Max. I knew that I would be able to use their prints without the ink smearing from the Mod Podge. I have since heard some other alternatives that I haven’t yet tried. A few people have suggested that if you use an acrylic sealer on top of a inkjet print before applying the Mod Podge on top that the ink won’t run. Has anyone tried this?
Now, back to the process – I cut the prints down to the correct size. I found that it is easier to error on a little larger than cutting too small. You can always take a blade and cut off the excess later.
Then, I put a consistent layer of Mod Podge on the canvas. You don’t want to put to thick a layer on so make sure it is smoothed out with no clumps.
I start with one edge of the paper on the canvas – making sure it is print is lined up evenly – and start smoothing it on. You want to avoid bubbles, so the idea is to slowly smooth the paper onto the canvas. The key is to have patience – which is always a struggle for me.
Then, you will be putting two layers of Mod Podge on top of the paper and tile about 20 minutes apart– you are sealing and protecting the paper. Again, you don’t want it to be too thick or have any heavier spots. You want to go for consistency. I also recommend putting the two layers on in opposite directions (so one layer will go on vertically and the other horizontally). Doing this will help prevent the Mod Podge from looking too thick on top of the image. Wait 20 minutes until moving on to the next step.
NOTE 1: If you are not familiar with Mod Podge, it will look white when you apply it like in the picture, but it will dry clear. I have found it to still look white after 20 minutes before, wait until it is clear before moving on to the next step.
NOTE 2: I have found that sometimes, no matter how careful I was in putting on the paper originally, I get small bubbles in the later steps. Once it has dried, press down on the bubble and it should smooth out again.
This project has been featured on If It’s Not Baroque!
I link up to the following parties, including Serenity Now, Shabby Nest, Whipperberry, Homecoming, Homestories A to Z, Finding Silver Pennies, Organizing Junkie, The Weekly Creative, and the Monthly Pinterest Challenge.