DIY Paper Pomander Ornaments make fun decor and pretty gifts!
Hi, Nerds!! I am dropping in today with a fun Christmas DIY that my sister actually made. Craftiness is definitely a family trait! She made these DIY Paper Pomander Ornaments a couple years ago as a gift, and I love them.
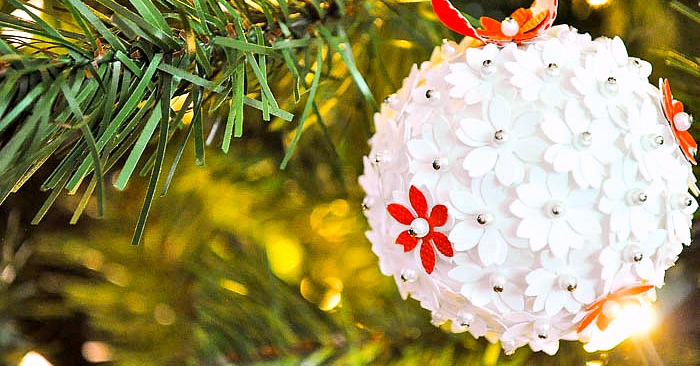
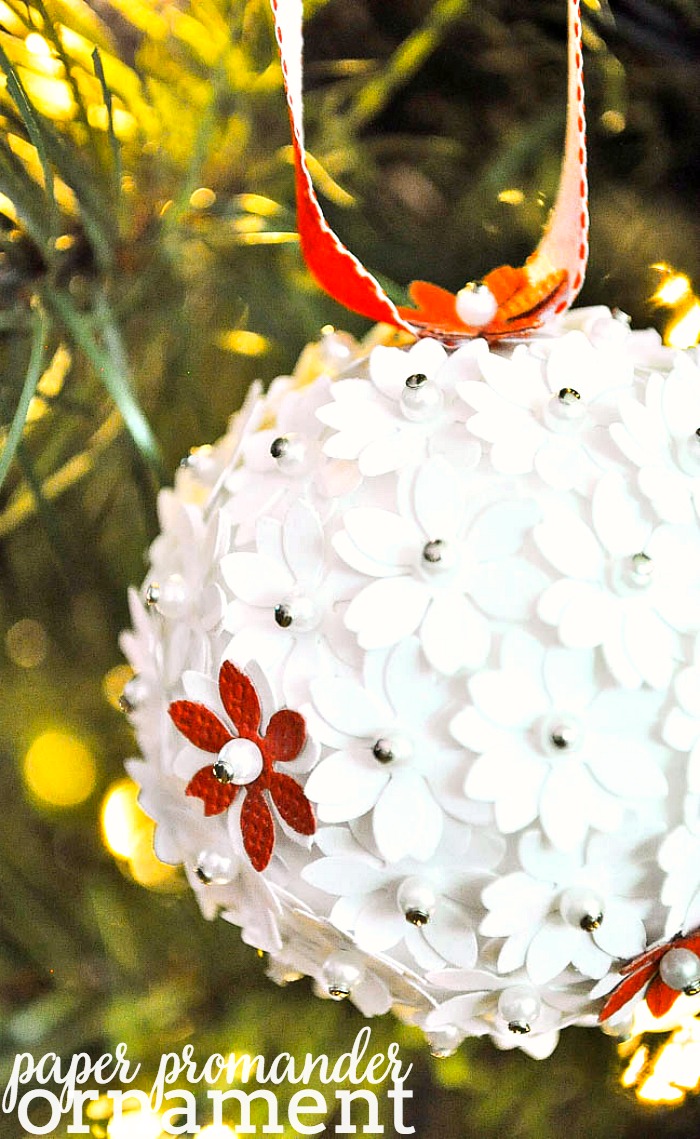
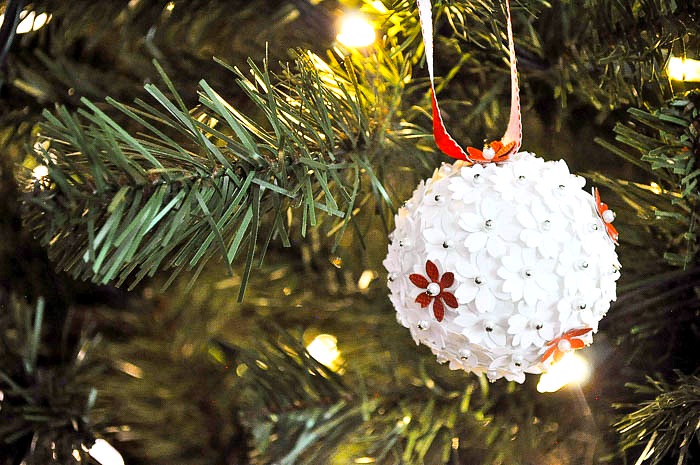
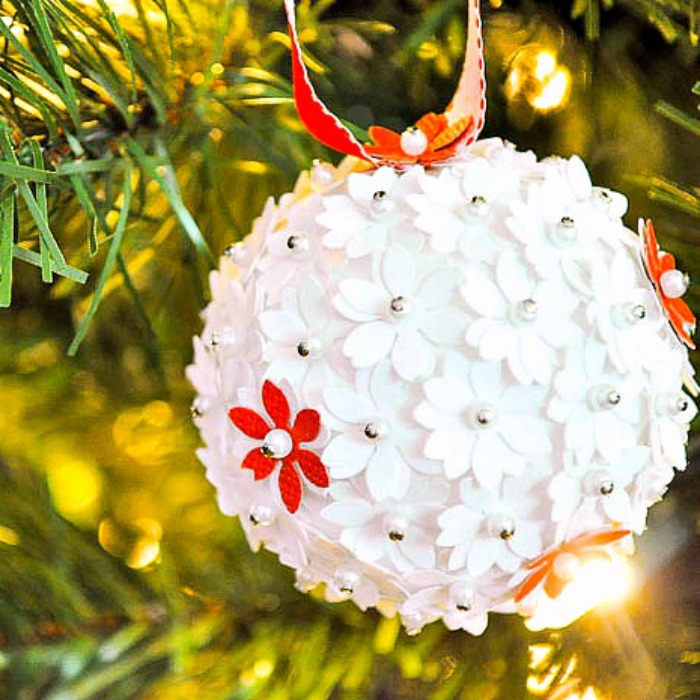
My favorite types of ornaments are those that are unique. They don’t have to be complicated or fancy, but I do want them to stand out. I love the texture all the little paper flowers have on this ornament, plus the accent flower really pops off the white. Want to know what’s even better? It is all paper and won’t break. We have a tendency of breaking at least 2 ornaments every year on our hard wood floor, but I never have to worry about this.
I love fun and fancy store ornaments. I just bought some yesterday. But I appreciate homemade ornaments so much more. My parents’ Christmas tree is filled with homemade ornaments, primarily from my dad’s mom – Grandma Margaret – and my own mom. They are a little fragile, filled with hundreds of pinned sequins, and gorgeous! They are some of the most precious keepsakes we have as a family and some of the only possessions we have of my Grandma who passed long before I was born. That is the power of DIY.
Then of course there is also some old school kid ornaments still floating around, too. Snowflakes made from popsicle sticks and such. Those are not as gorgeous, but still maybe precious in a different way.
MATERIALS
2” white Styrofoam ball or bigger if you want
90-100 pearl tipped corsage pins
Two sheets scrapbook paper
Flower Craft Punch
TUTORIAL
You’ll need to punch at least 200 of the petal shapes out of the scrapbook paper.
After the shapes are all punched, stack two of the flower petals together and curl the edges of the petal upward slightly to give them better dimension. Turn the two layers slightly askew to make them look like a full flower and then stick a pearled pin straight through the center of your petals.
Push the end of the pin into the Styrofoam ball and repeat all the way around until your ball is covered.
I suggest starting with a center row around the entirety of the ball and then creating a row going the opposite way. You ball would them be divided into 8ths and you can work on filling in each of the little sections. Keep the flowers close enough together to hide the Styrofoam ball. Make sure your flowers are close enough that the petals cover the Styrofoam. If you’re going to sit them flat by themselves on the table as I did for my centerpieces, you can leave about 2 inches on the bottom bare of flowers so the balls have a bit more stability. If you cover the entire ball, these would look pretty in a bowl or with ribbons pinned among the petals to hang them.
Find a center point you are happy with and take a pin through the flowers AND a piece of ribbon to make a hanger for the ornament.
ACCENT FLOWER: If you want to add an accent flower, I suggest adding an accent flower to each of your 8 sections, adding the different color petals on top of one of the other colors.
Where do you fall in the camp? Are you all store bought? All homemade? Or do you have a mix?
If you like this ornament, you might also like my other Christmas posts.
Leave a Reply