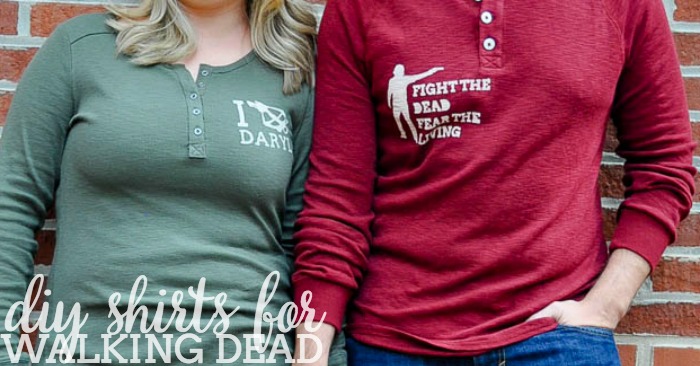
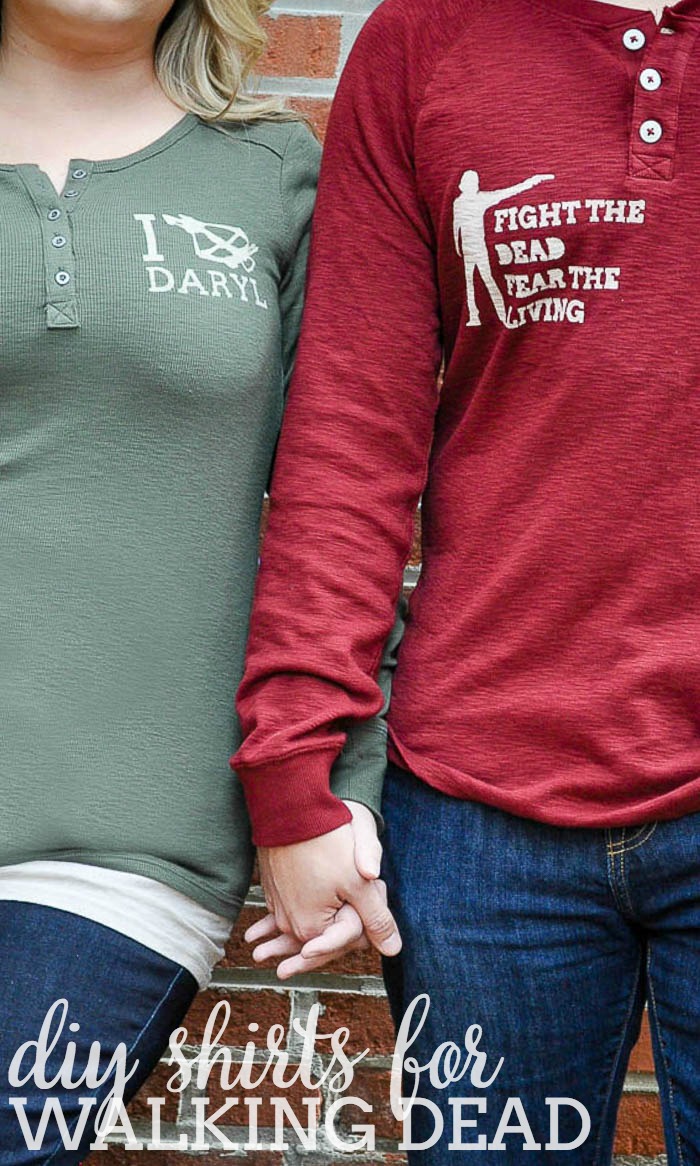
Make your own DIY Walking Dead Shirts for your Sunday Night Viewings!
To say that we are Walking Dead fans is an understatement. We have both read the graphic novels – in case you didn’t know, that is how this all started – and it’s the one show we watch live every week out of a mix of pure excitement to see what’s next and fear of spoilers if we wait. When you have a show that actively kills of characters, you often find yourself at the edge of your seat with anxiety. You find yourself really invested in their lives.
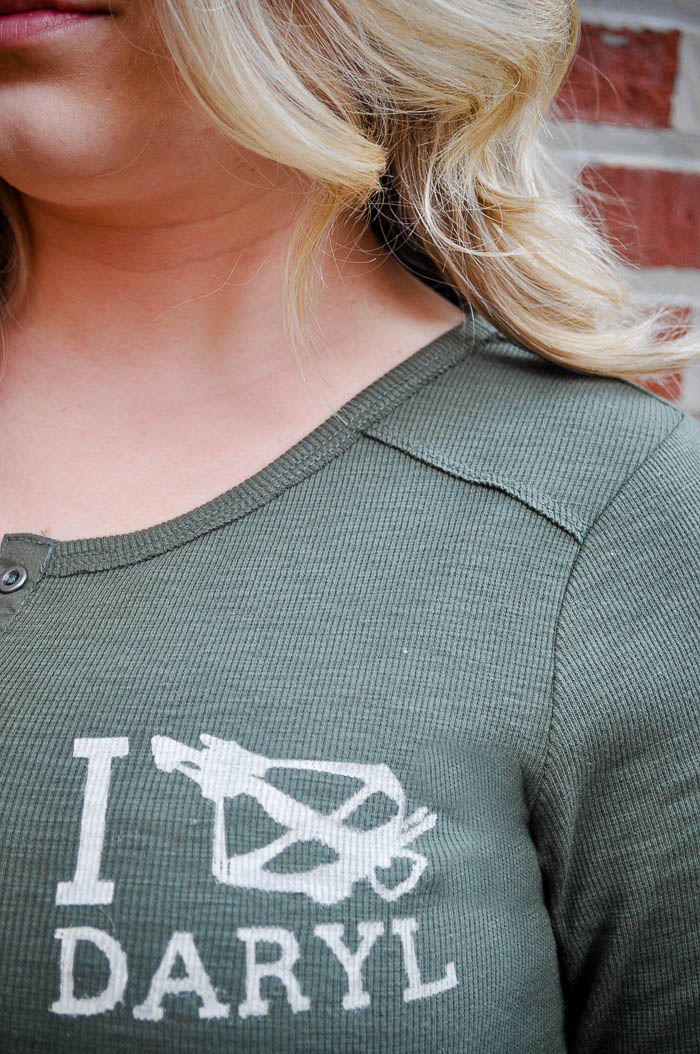
I am probably most invested in Daryl. Yes, I know he is not technically the main character but he is to me. He has had the most growth over the show and is the surprising break out character – especially since his character doesn’t exist in the graphic novels. Plus, how can your heart not melt when he gives baby Judith the name “little ass kicker”? He’s definitely my favorite character which is why my shirt today is dedicated to him.
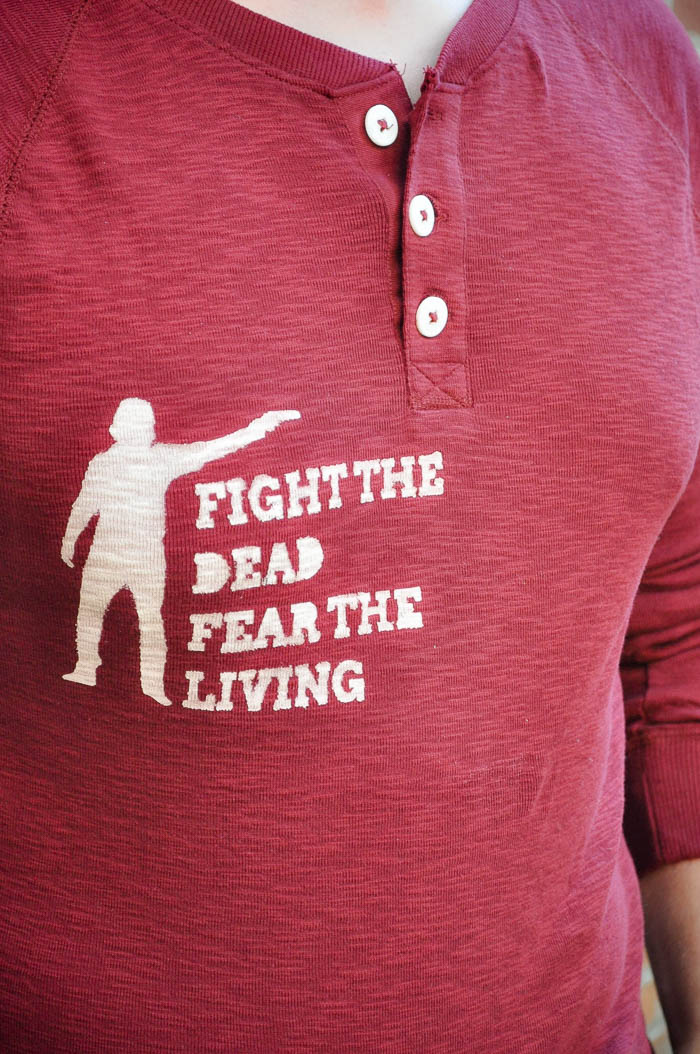
Bryan and I were debating about if we would have a harder time if the show lost Daryl or Rick. We have VERY heated debated about our nerddoms. From my previous paragraph, you should already know my answer. Bryan was a bit more torn though so I decided to put Rick on a shirt for him, honoring one of the show’s themes – who is scarier? The zombies or the people?
Now – to making the shirt. I love making DIY Shirts, so there are plenty of examples you can look at if you want to make your own design. I rely heavily on my Silhouette Cameo to make the stencil process easily, you can you buy or cut your own, too.
MATERIALS
- Shirt
- Fabric Paint (I use Tulip Soft Fabric Paint
)
- Reynolds Freezer Paper
- Stencil or Computer Design to cut out. a
- Sponge to apply paint
- Cardboard to put under shirt to make sure paint doesn’t bleed
- Iron
TUTORIAL
1. Cut out your design onto the Freezer Paper. Keep in mind that you will be ironing on the design shiny side down onto the fabric. However, if using a Silhouette, you will need to have the Matte Side facing up if you want it to stick on the mat. Therefore, any design that is not symmetrical will need to be flipped/mirrored horizontally for cutting it out.
2. Remove the access of the design after cutting and iron the freezer paper stencil onto the fabric shiny side down. Make sure the iron is set to no steam.
3. Put a piece of cardboard inside the shirt and then use a paint sponge to apply fabric paint onto the shirt. Make sure you put on a good amount of paint evenly over the design.
4. Let the paint dry for at least an hour and then peel off the stencil. At the time, you might want to do a couple small touch ups with a paint brush but those are pretty minimal. I actually like them when they have a little distressing.
Blood & Guts Cocktail by Sugar and Soul
Peanut Butter and Jelly Pull Apart Brain Bread by Cookie Dough and Oven Mitt
DIY Shirts for Walking Dead by The Love Nerds


Leave a Reply