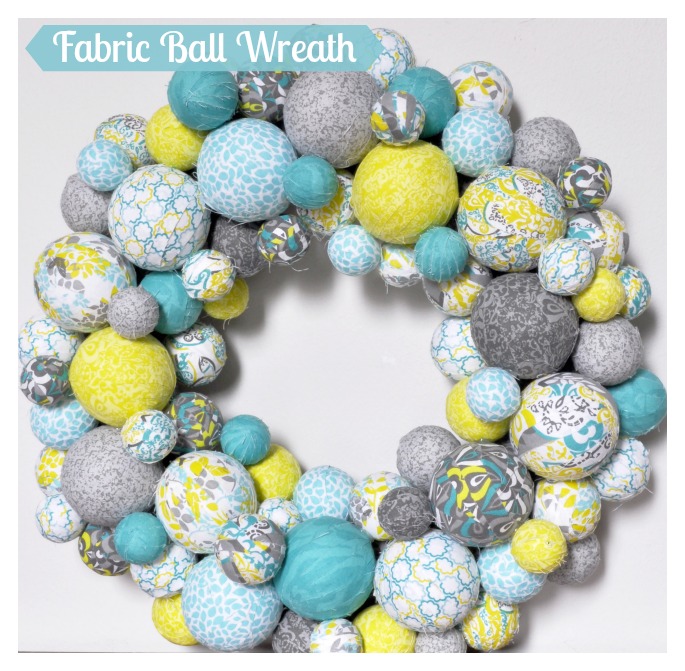
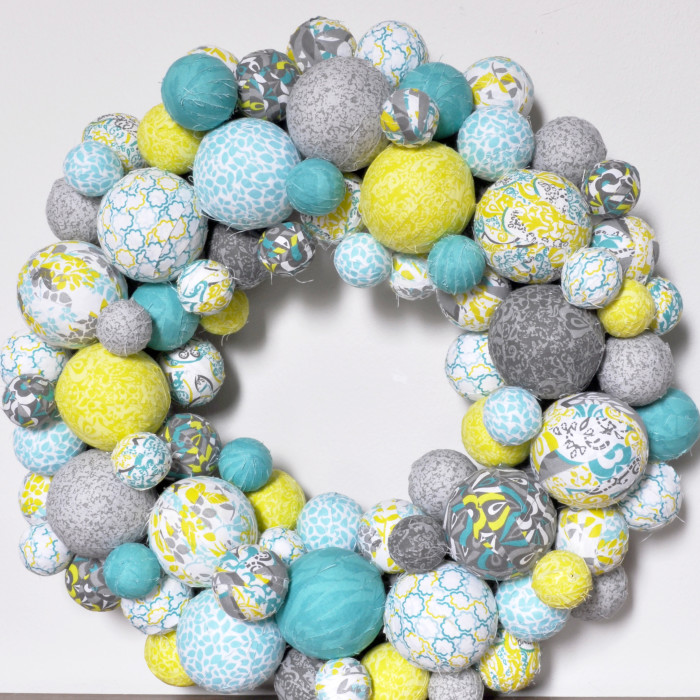
I am over winter and ready for color! I had seen a fabric ball wreath a long time ago on Pinterest, but I remember having a hard time finding the original link. It was always in the back of my mind as something I wanted to try, so why not now?! As I wondered around Joanns one day, I found this gorgeous collection of aqua, lemongrass green, and gray fabric. I just knew I had to finally make a fabric ball spring wreath!
MATERIALS:
18″ wreath form
10 designs with 2-3 2.5″x42″ strips each
Extra fabric of the pattern for the wreath form
15 3″ foam balls
35 2.5″ foam balls
24 2″ foam balls
Straight Pins
Hot glue gun and sticks
Scissors or pinking shears
I love an imperfect, more rustic look to my crafts, so I used scrissors for cutting the fabric. If you want a cleaner look, consider using pinking shears so the fabric doesn’t fray.
A friendly tip: this wreath is gorgeous and worth every penny, but you will want to buy your materials slowly using coupons. Styrofoam balls are surprisingly expensive – at least surprisingly to me. This might make complete sense to you.
DIRECTIONS:
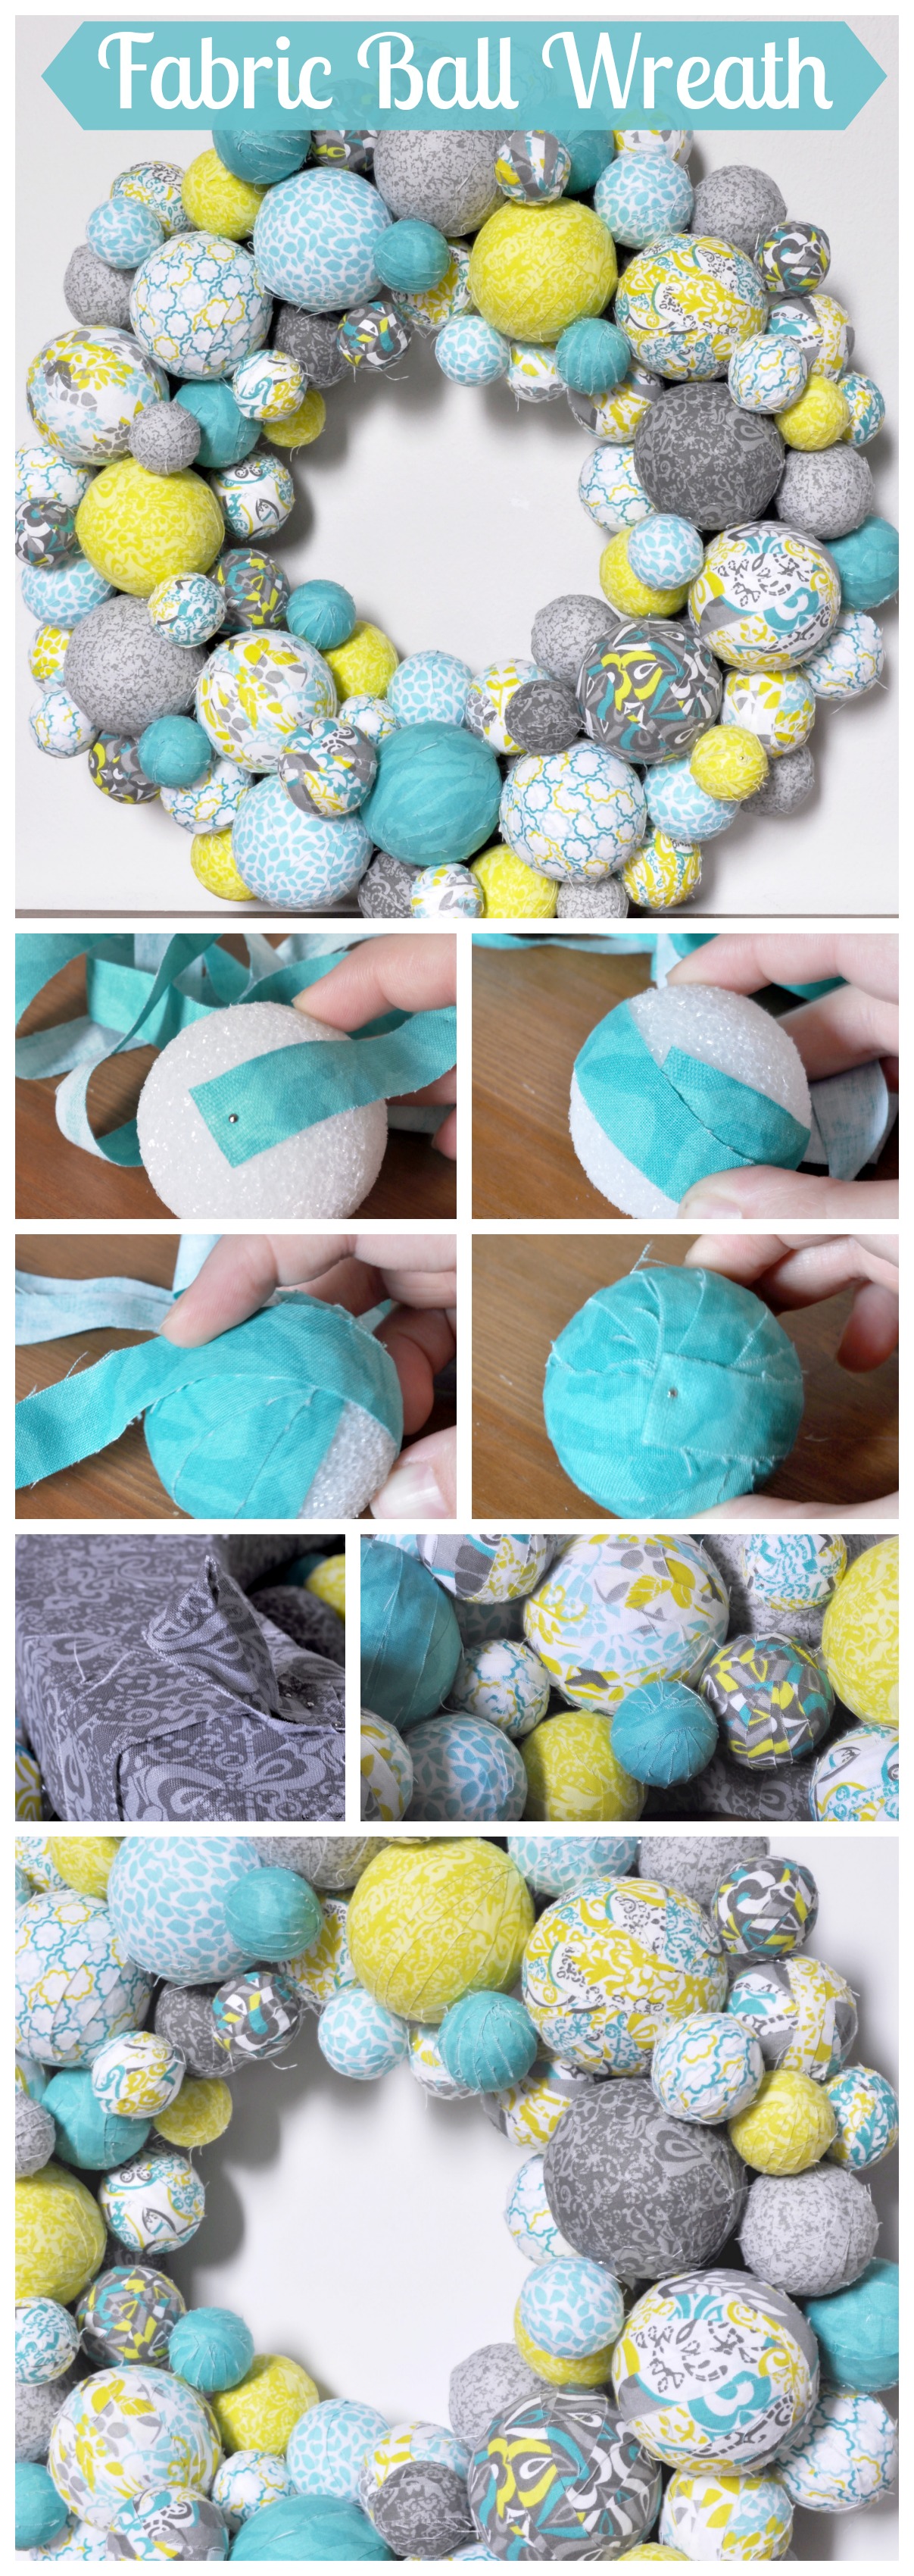
1. I wanted the wreath wrapped in a coordinating color, so I used one of the fabric designs to wrap the entire Styrofoam wreath form. I bought a little extra of this fabric though because the strips provided would not cover an 18″ form. I used straight pins for this entire process, putting 1 pin at the beginning and end of each strip.
2. Cut the fabric strips! This process is easy but takes a little time. For the 3″ and 2.5″ balls, I cut the strips into .6 wide strips. (Really, I cut in half and in half again.) For the 2″ balls, I cut in half once again, so about .3″ wide.
3. Wrap the Styrofoam balls with the fabric. I placed a pin at the start of the strip and began wrapping it around the ball. I used a criss cross pattern to get a more snug fit. Then, I used a pin at the end of the strip.
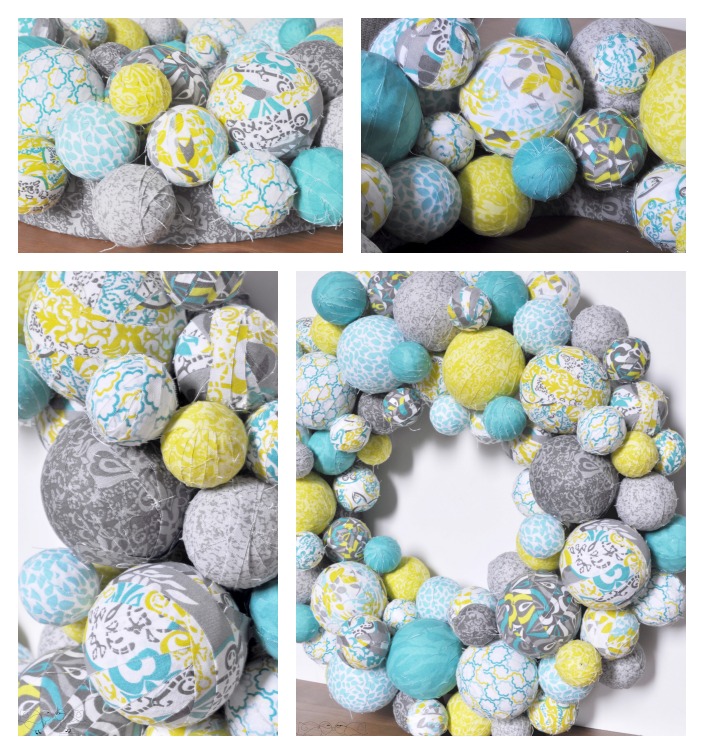
4. Once all the balls were wrapped, I placed the 3″ balls on the wreath using hot glue. I wanted to place the largest one on the wreath first and used a slight zig zag pattern. Then, I went to the next size and so forth. Hot glue as you go to secure them all in place!
5. Once I was happy with how it looked, I used a small piece of fabric to make a loop on the back to hang the wreath. I first hot glued the loop in place and then secured with straight pins.
Oh, and on a side note, if you would love to stay up to date with crafts like these or my other posts, sign up for my NEW email newsletter! I am so excited to finally offer this to all of you. You will be able to choose if you want to receive daily, weekly or monthly updates.
What colors are you loving for spring?


Amy W says
Yay! I wanted to let you know that I’ve featured this beauty on today’s Link it or Lump it link party! You’ve also been pinned to our feature Pinterest board. Be sure to stop by and grab a feature button!
http://www.delineateyourdwelling.com/2014/07/link-it-or-lump-it-party-number-45.html
Amy W says
This is crazy adorable!! I love the colors and patterns you selected for the wreath, too. Please please come share at our link party going on now.
http://www.delineateyourdwelling.com/2014/06/link-it-or-lump-it-party-number-44.html
Janet says
Love this wreath! If you have a Dollar Tree nearby, they have bags of balls with different sizes in each bag. Now I have to get to the store before they are all gone!!
Meg says
This is absolutely gorgeous! I love the colors and sizes and textures!
I’m featuring it this week at my Pinterest party – thanks for linking up!
Angela says
Stopping by from The Wednesday Roundup. A big thank you for joining our party and sharing this beautiful wreath! ~Angela @ LeMoine Family Kitchen
Emily @ Love, Pasta and a Tool Belt says
I love how this turned out! It’s so pretty!! I have some extra fabric laying around that could be perfect for a spring wreath. I might have to try this out! Thank you for sharing at The Wednesday Round Up and we hope to see you back next week!
Suzanne @Sprinkled Nest says
Super cute!!! I love the colors and fabric patterns you chose! I also love that you just have to wrap and pin the fabric. A very fun project. Cheers!
Sharon says
Your wreath is gorgeous! I love the colors, and the fabrics are beautiful. Sharing! Happy spring to you. Sharon
claudia krusch says
Beautiful wreath, love the idea and the colors!
Janeane Davis says
This is such a cute idea. I would like to try this with a few variations/
Christy says
I love this! Such a neat idea!
Debbie Denny says
Neat idea. Very crafty.
Rosie says
Wow it’s gorgeous! You’re a very talented lady 🙂 Love these colors too.
Rachel says
What a great statement piece! I especially love the colours 🙂
Danielle says
Oh my, this is absolutely gorgeous! My eight year old is crazy about art projects, she will love this.
Maggie says
That is so sweet! Thank you, Danielle!
Jen @ Girl in the Garage says
I already told you this on Instagram- but I love this wreath! The colors are gorgeous. Pinning 🙂