Easy and Cute Easter Cupcakes!!
A few weeks ago, I shared with you all the Funfetti Birthday Cookies my niece and I baked for Bryan’s birthday. When I was at Walmart picking up baking supplies for them, I had stocked up on Pillsbury Cake Mixes and baking supplies so I could do some later baking with the family. I am so glad I did because Easter has definitely snuck up on my family. Lemon always makes me think of spring – even though it totally snowed here in Chicago yesterday – so I grabbed my Pillsbury Lemon Cake Mix and got baking with my sister.
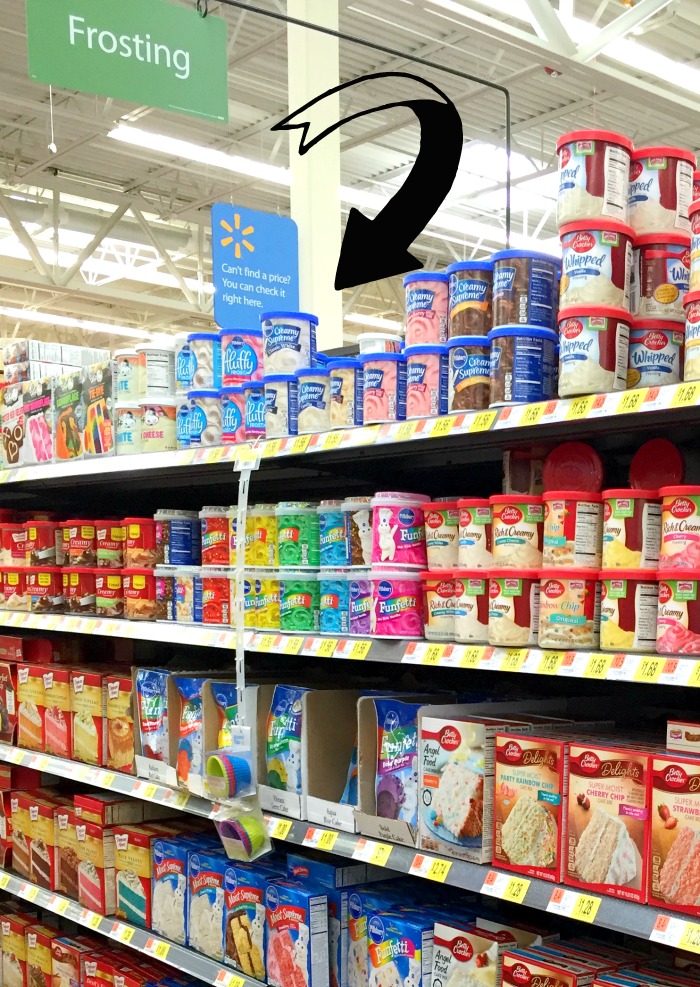
If you follow along pretty consistently with the blog, you will know that I strive for cute but simple. I just don’t have the time or energy to invest in complicated ideas and I don’t think most of you do either. I kept this in mind as I approached these cupcakes – simple process but cute for the holiday. With the Pillsbury line of colorful Funfetti icing, I found the process even easier because I didn’t need to spend the time dying icing. BLANK was the perfect shade for some “grass”.
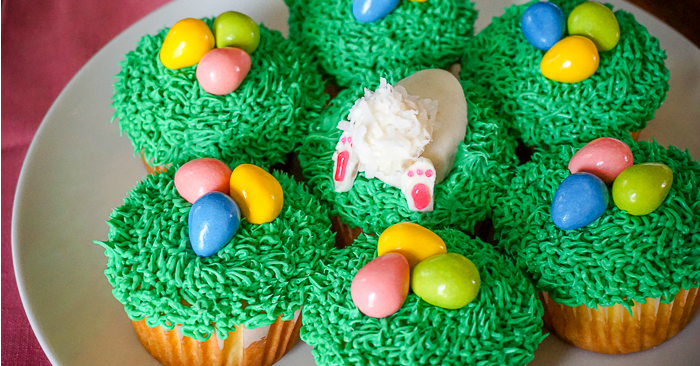
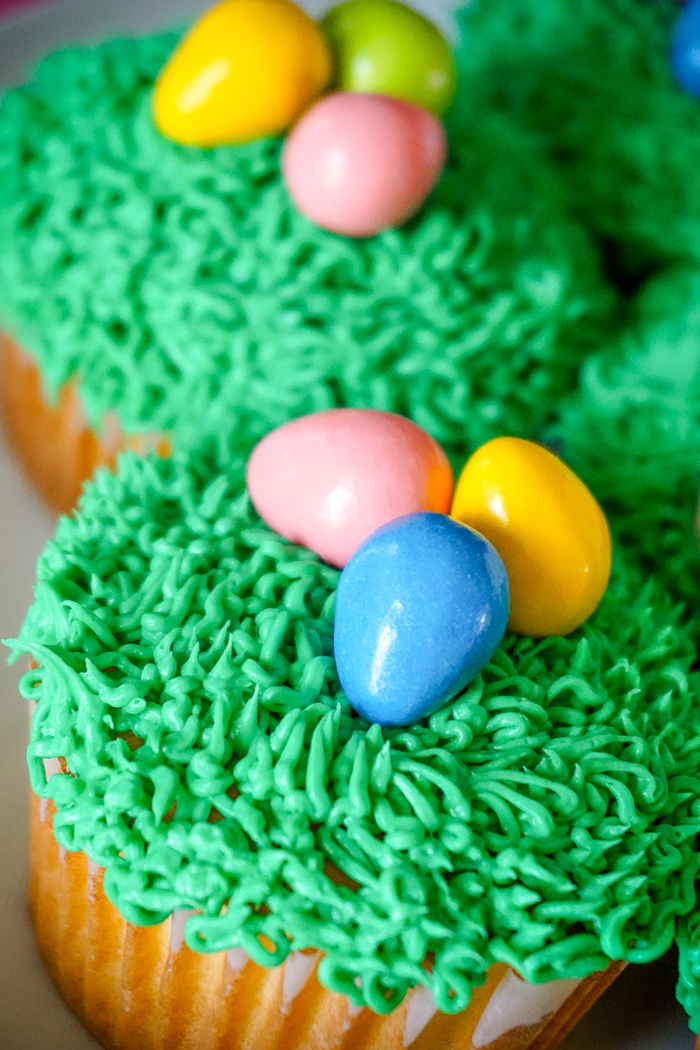
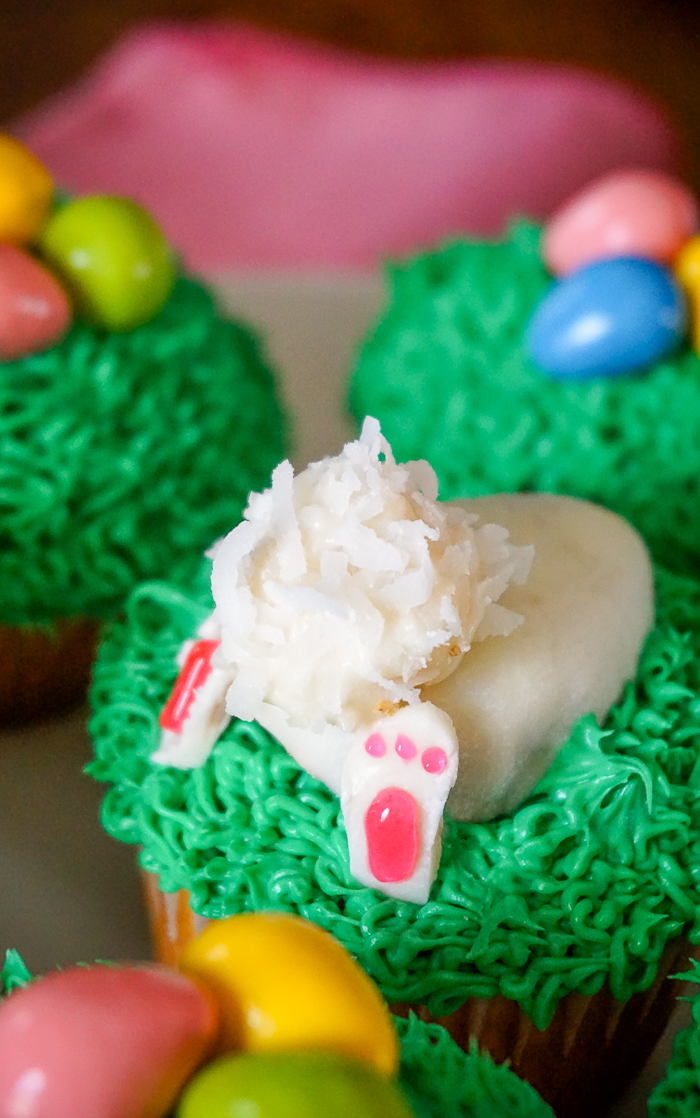
We made most of the cupcakes with grass icing and Easter egg candies for a topping. We wanted colorful, and I am super happy with how cheerful they turned out. I loved the idea of having a different design to throw into the mix though, too, and decided to make a little Bunny Butt cupcake, too.
This one took longer to put together which is why I just did one to put in the middle of the cupcake plate. There are two ways to make the base of the bunny. You can either use a candy piece in white chocolate or coated in white chocolate or you can make a cake ball, using melted chocolate poured into the destroyed cake to have the cake ball stick together and to coat the cake ball. I made a small cake ball coated in white chocolate and adding coconut to make the tail. Then, I put some of the melted chocolate in a medium to thick layer on parchment paper and let it cool. When mostly solid, I used a knife to carefully carve out two feet shape to add to the bunny then used pink icing to add the little detailing. It took about 15 minutes time overall but it was worth it to me. I loved the addition it added to the dessert.
I have so much fun coming soon with Pillsbury on the blog, so make sure you stop back by in a few weeks to see what’s next! In the meantime though, head over to see other ideas for how to Mix Up a Moment with Pillsbury! Plus, don’t forget to use this awesome COUPON to save on your own baking and head to Walmart now!
This is a sponsored conversation written by me on behalf of The J.M. Smucker Company. The opinions and text are all mine.

Leave a Reply