‘Tis the Season for holiday entertaining!! I’m sharing simple tips for creating easy holiday table decorations, including a DIY for customizable dinnerware.
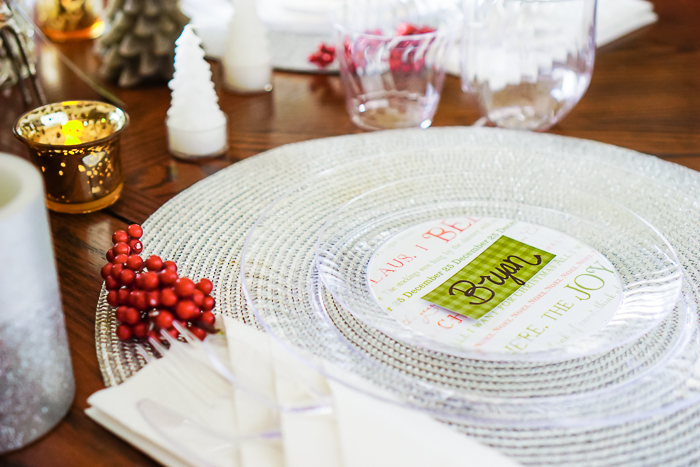
Tips for Starting your Easy Holiday Tablescape:
- Shop Your Own Holiday Decorations First: Look around at what you already have before you go out to buy something new. If you’re like me, you’ve probably acquired a lot of Christmas decorations over the years and a lot of other decor items that could easy be added in as well. You might even have a couple pieces that you normally like elsewhere in the house but could repurpose temporarily for your dinner party table.
- Pick a Simple Color Scheme: I find it easier to focus my holiday decorations when I decide what colors I want to focus on. A few years ago, you would have seen a lot more of the traditional red and green everywhere, but lately I’m leaning more toward white and metallics with greenery and lights. Once I decide that, it narrows my decor options and makes it easier to execute.
- Leave Some Ornaments Off the Tree: You’ll see that my main centerpiece for my holiday table is filled with ornaments and we still have more ornaments tucked away that didn’t make it onto the tree. Look around the house for a case, serving dish, or even a cake dome to fill with some ornaments for a gorgeous Christmas centerpiece. OR use an ornament as a napkin ring, a place card by tying a piece of paper with their name on it, or a tablerunner. The options are endless!
- Consider Using Fake Candles: I love real candlelight a lot, but with the mad dash of guests we will be hosting over the holidays, we would go through a lot of candles. We also have a toddler at home, so having live flame around makes life a bit more stressful. Using fake candles gives us the look and feel of candlelight without the work or maintenance.
- Turn to Chinet® Cut Crystal® Tableware for Entertaining: Pretty and easy to cleanup are the biggest reasons this makes it on my tip list! A simple, elegant swirl design on this clear disposable dinnerware collection makes it the perfect choice for holiday entertaining.
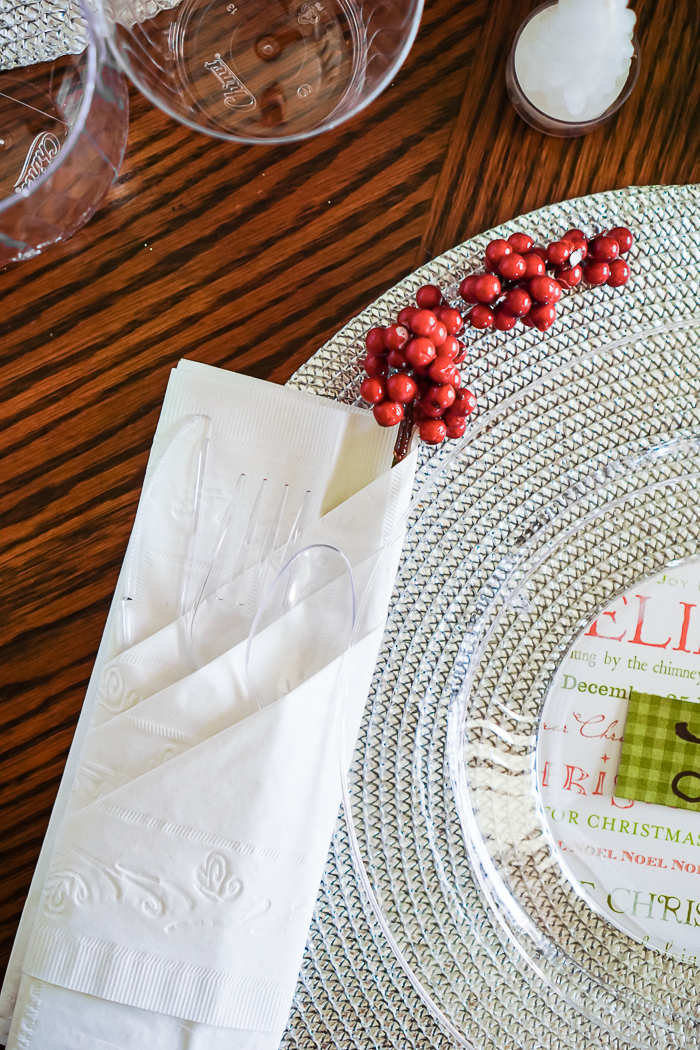
- Napkin Folding: It doesn’t take a lot of work to fold a napkin into something a little fancier than just setting it down on the table flat but it makes the whole dining experience feel a bit more elevated. With so many easy folding tutorials on Pinterest, it really is worth the extra few minutes.
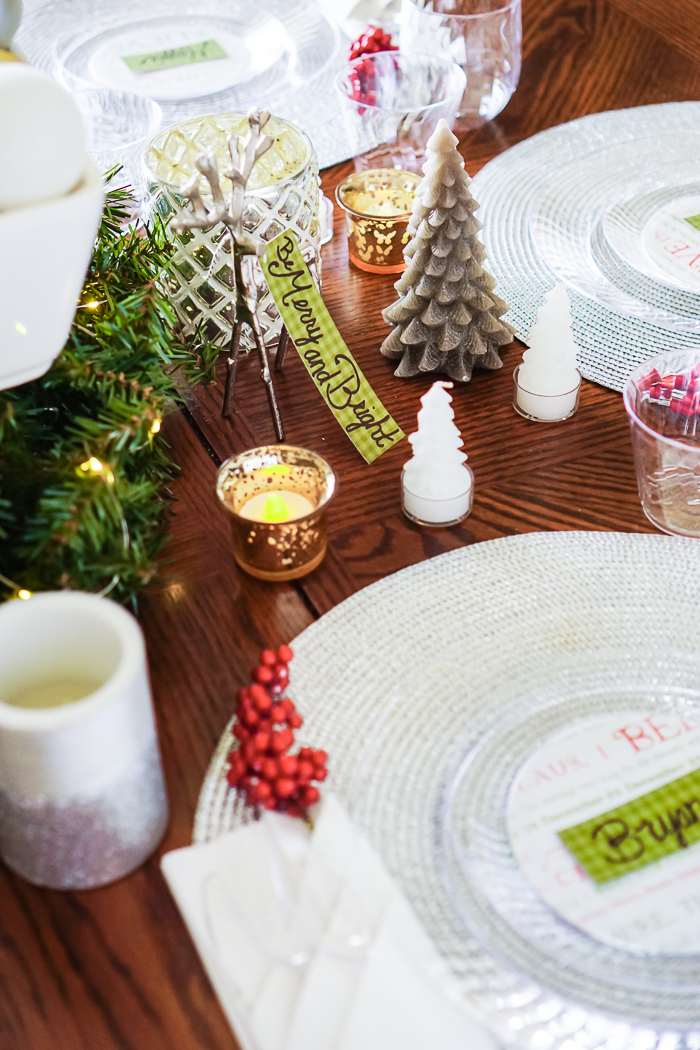
I like starting with the centerpiece and building out from there, so I used a large white pedestal bowl that I bought a long time ago at a consignment store. I have a glass globe with a snowy deer scene inside that I decided to put in the middle so I first put down a short drinking glass in the middle to serve as a flat space for the globe to sit on and then filled around the glass with ornaments. It felt a little to high and bare on it’s own though, so I put the footed dish inside a small greenery wreath that I embellished with battery operated lights. 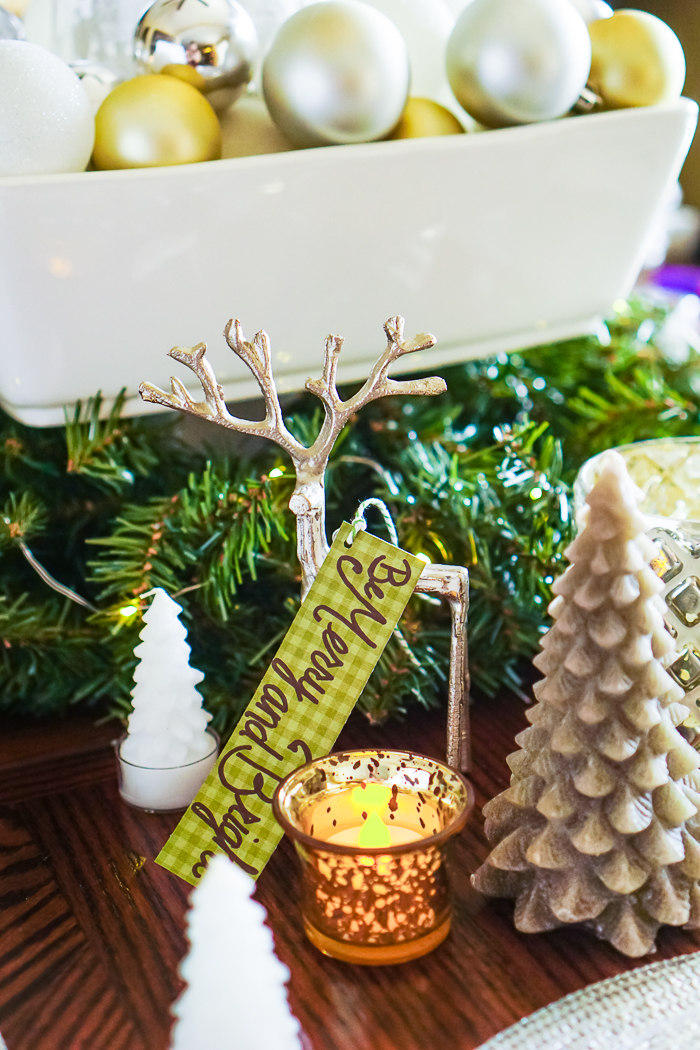
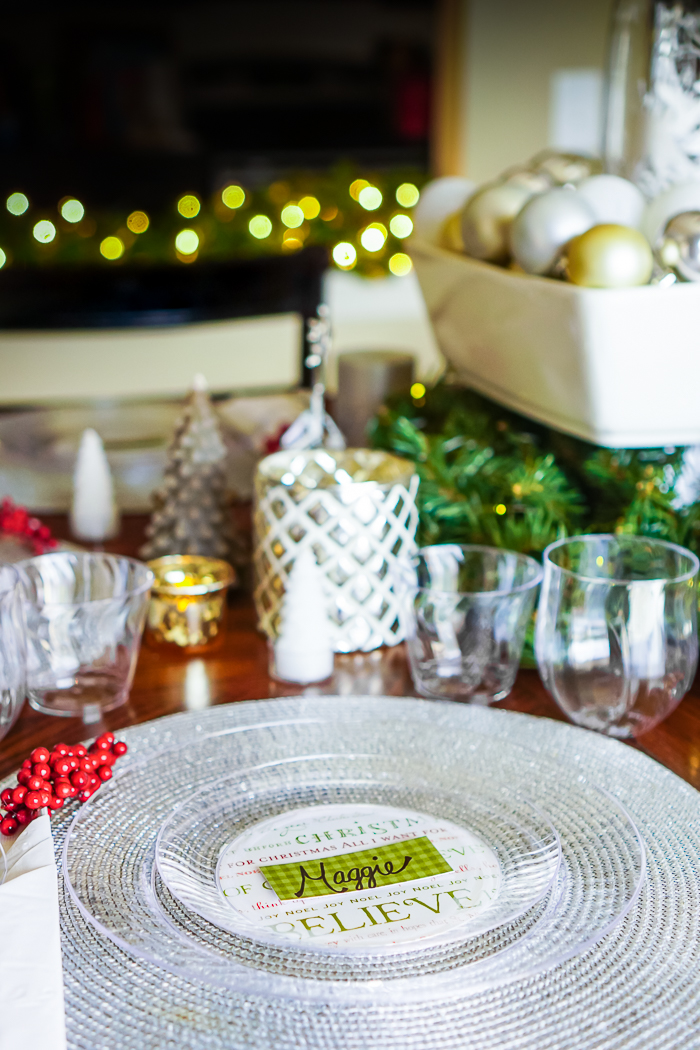
These are things I’ve been gifted or bought over the years. If you don’t have a lot to work with yet, consider looking at resale stores and finding good deals. If I decide to buy something new, it needs to be something unique. For me this year it was these tree candles that I thought worked perfectly for my green and metallic Christmas decor.
After the decor pieces are set, it’s time to start setting the dinnerware, and I always use Chinet products. Chinet® Cut Crystal® plates, cups, and cutlery have a clear design with a pretty swirl pattern that makes it feel a little more elegant for your holiday table. It really is a full line of coordinated disposable tableware, including their new stemless wine glasses! With quick clean up that’s recyclable and attractive, it really is my favorite way to entertain. Plus it’s made in the US. For lots of fun decorating, craft and recipe ideas, make sure you head over to the Chinet brand’s website to learn more!
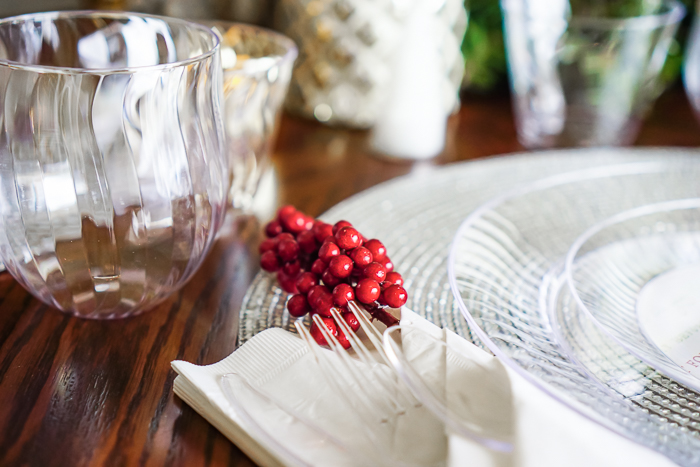
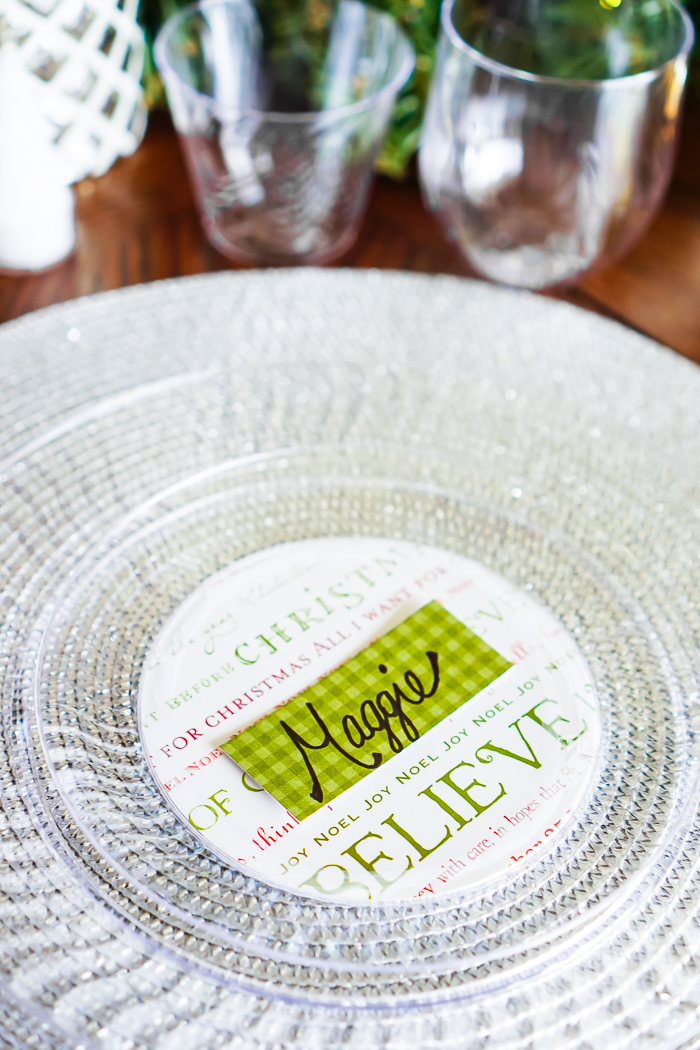
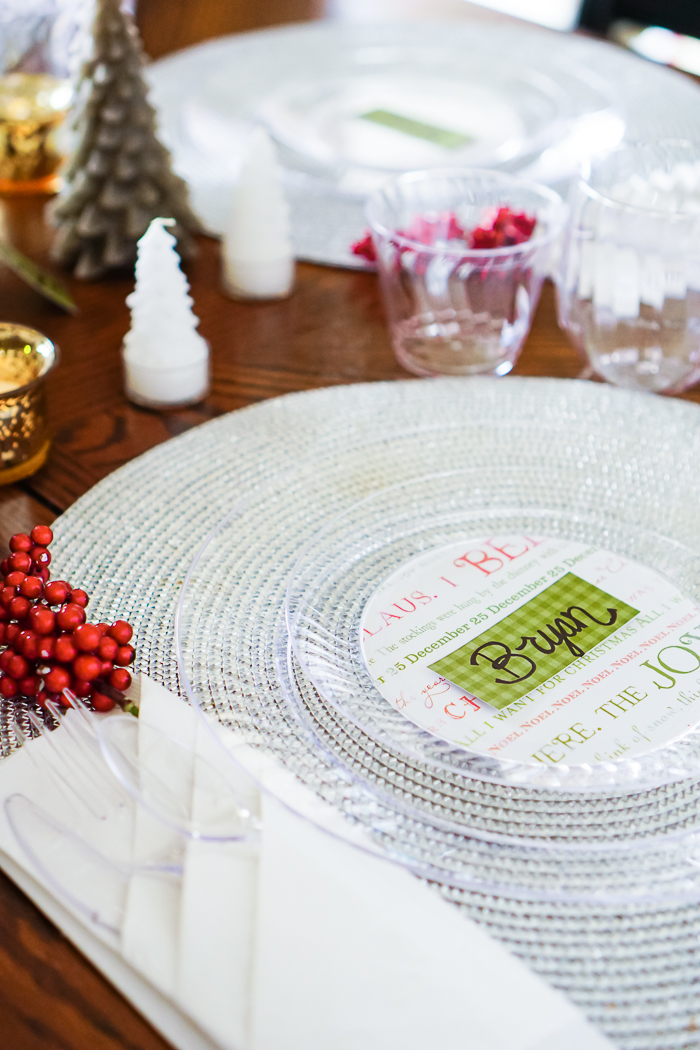
Adding a fun pattern to the plates was an easy project and I really do mean easy. It took me a total of 10 minutes to decorate the plates and I love them! Plus, it’s a diy that’s easy to use all year long! I see many custom party plates in my future! After decorating, I just finished the look off with a small paper place card in a color that complemented my DIY plates.
What You’ll Need for Making Your DIY Party Plates:
- Chinet® Cut Crystal® Plates
- Holiday Scrapbook Paper (if the paper is too heavily textured, such as glitter paper, you might have a harder time gluing the paper onto the plate.
- Clear Glue Stick
- Circle Cutter or Scissors and Pencil
How to Make Your Own Custom Party Plates:
- Decide which plate you want to decorate and which paper you want to use.
- If you have a circle cutter (which I love), measure the width of the inner circle of the plate you want to decorate and cut out a circle to fit in that space. If you do not have a circle cutter, flip the plate upside down, put a scrap piece of paper on top and trace the circle you want to cover with paper. Use scissors to cut out the circle following just outside the line you traced (you can always trim a little more off if you need to). Check how this circle fits and make adjustments as needed.
- Use this circle as a template for your other needed circles and trace out on your desired patterned paper.
- Using a clear dry glue stick, place glue on the bottom of the plate along the edge of the flat inner circle of your plate and carefully rub your paper circle into place with the design facing the top of the plate.
Leave a Reply