I just love this time of year! It’s the season of celebrations with Mother’s and Father’s Day, the end of another school year and graduations! I especially love graduations because it forces you to be reflective. Whether you are walking across the stage yourself or watching a loved one make this huge accomplishment, you pause to think about the hours of work, the stressful nights, the debates over books or politics, the moments of laughter, and the friends made.
I experienced 4 graduations: 8th grade, high school, college and graduate school. 8th grade didn’t feel like a big deal; my friends and I were moving on together to high school. I am also the youngest of 4, so all my siblings had already gone through college and I spent a LOT of time in that building at their games, choir concerts, etc. High school was exciting! I was ready to move on and experience a new adventure. College was the most emotional! I knew my friends would be dispersing across the entire country, and I really didn’t want to leave them all. Never again will you live so closely with so many friends. 6 years later I still miss them! Graduate school was the one where I felt most accomplished and proud of my work, even though the ceremony itself didn’t feel necessary. All very different occasions in very different moments of my life but all of them made me look back fondly.
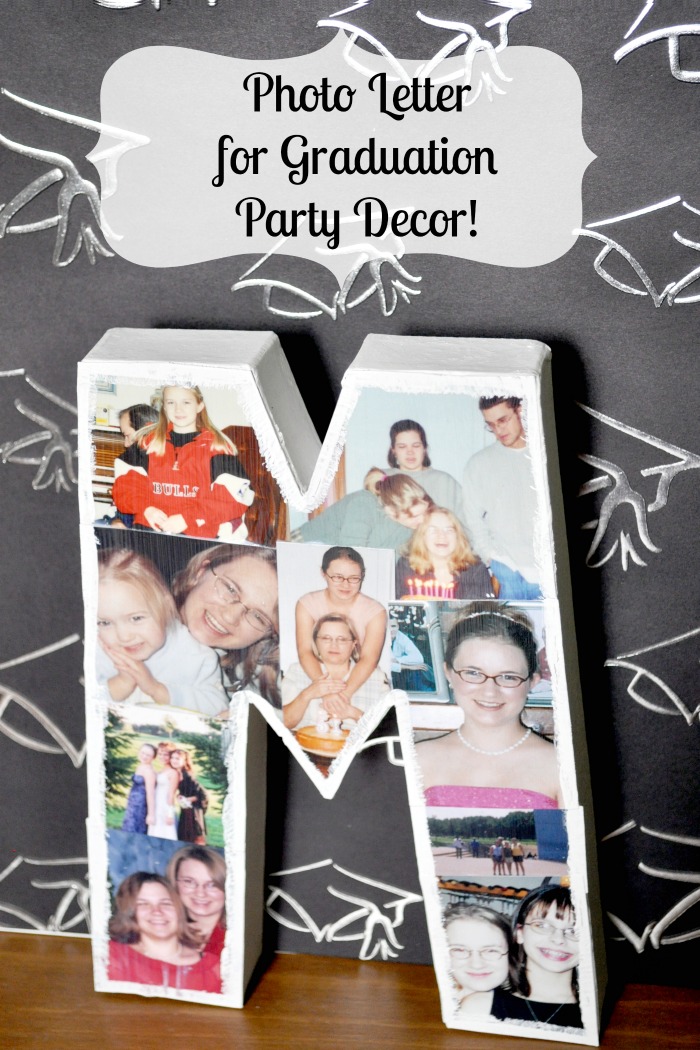
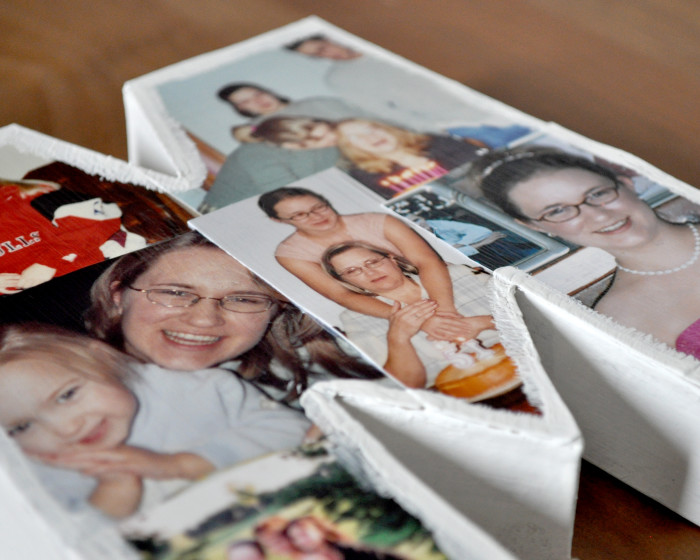
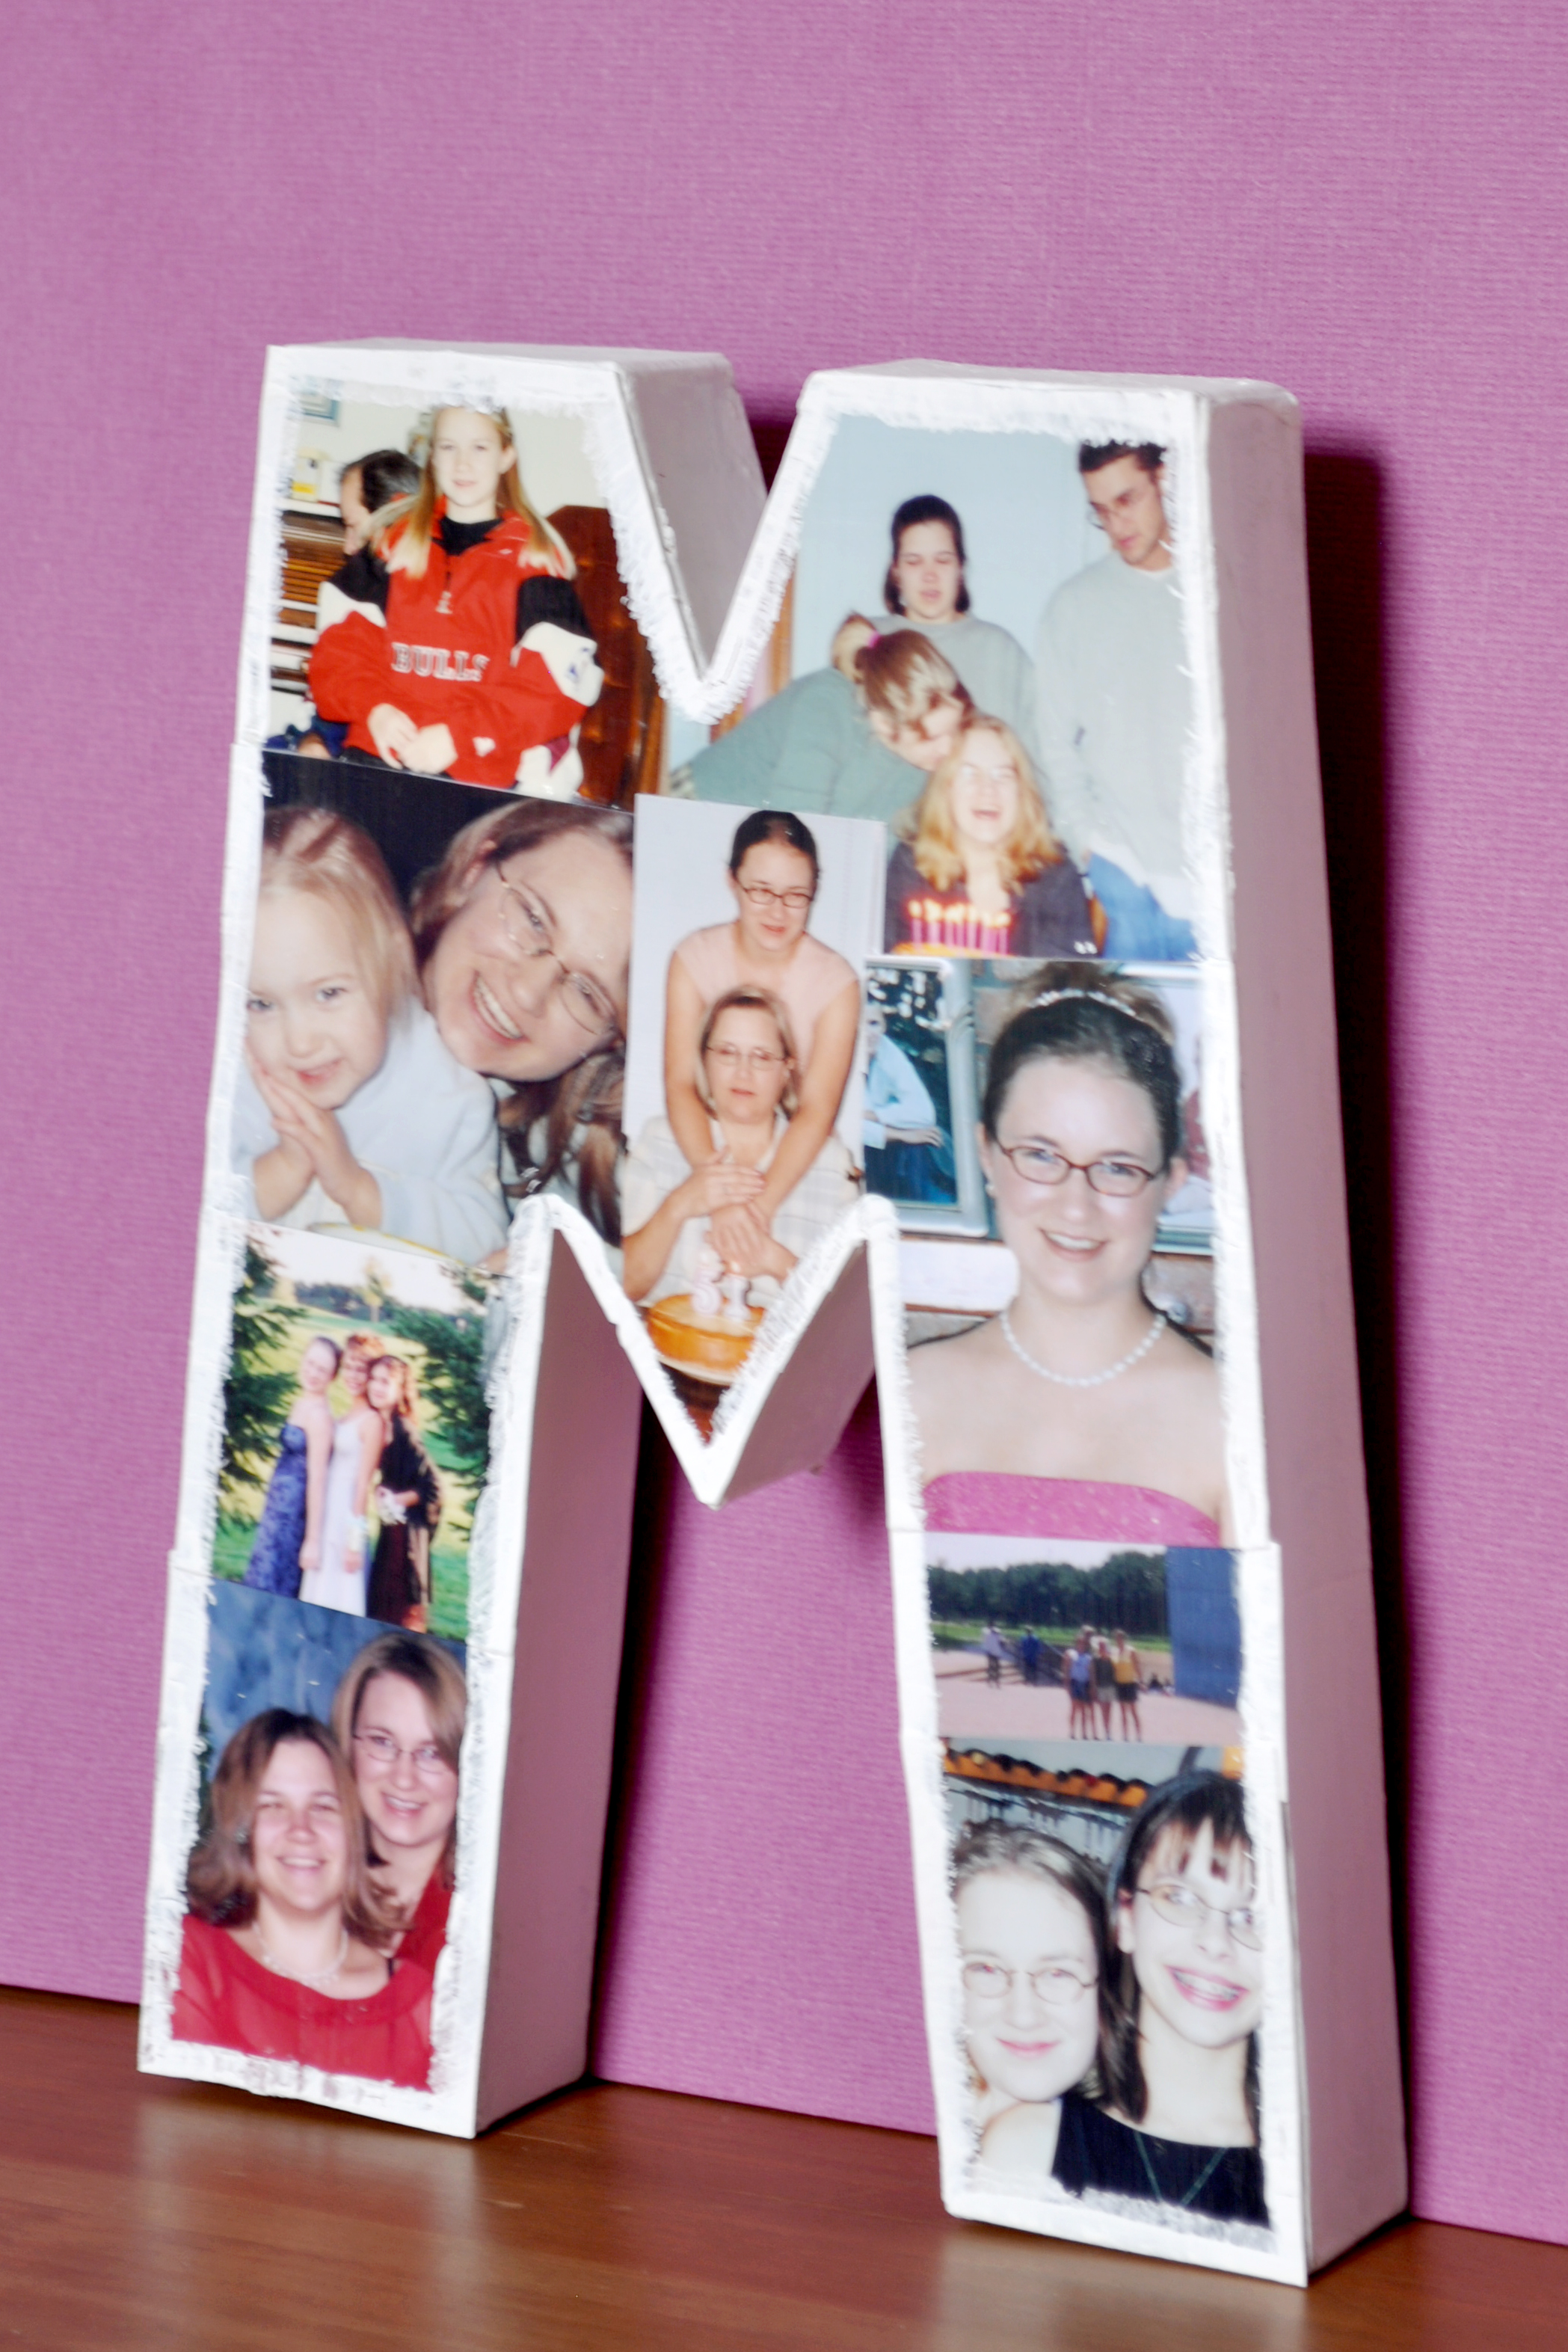
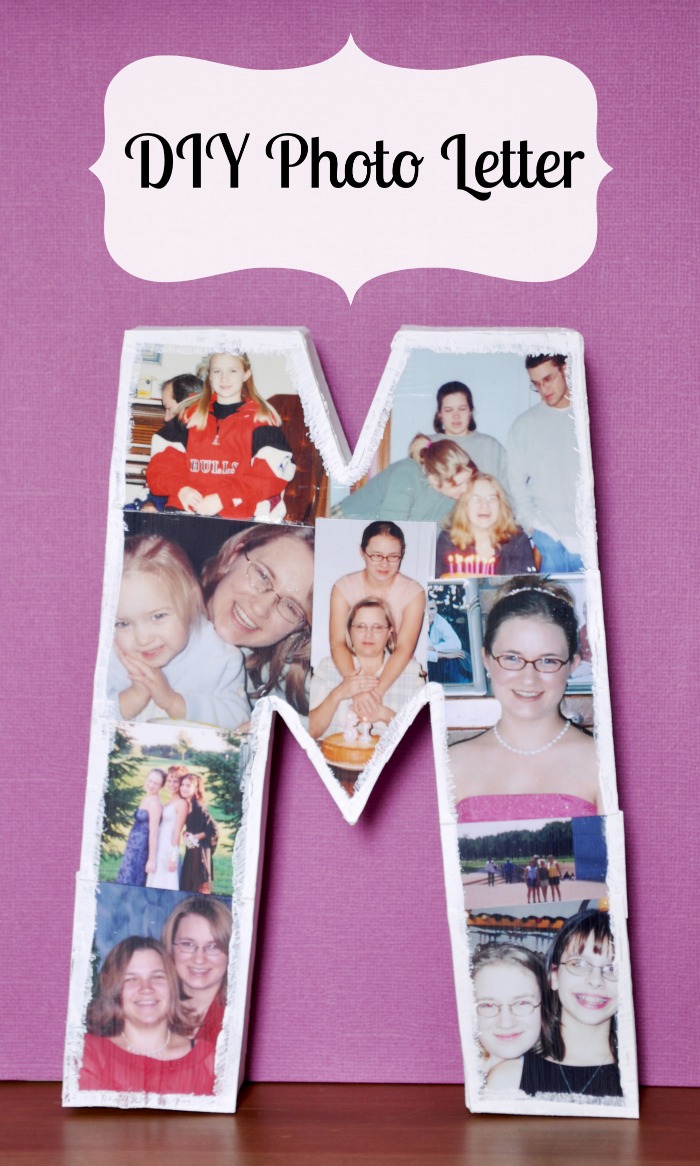
If you know a graduate this year, consider making them this Mod Podge DIY Photo Letter! It is a fun way to display photographs at a Graduation Party, showing fond memories and good friends. This is especially perfect for high school graduates because it becomes fun dorm room decor when they go off to college. Think how much they would love being able to display their favorite pictures in a personalized manner. Plus, letters and monograms are very “in” right now for room decor!
MATERIALS
Paper Mache Letter
Mod Podge (I used Matte)
Photographs
Scissors
Sponges or paint brushes
Paint for sides if you choose
Pen
DIRECTIONS
Paint your letter your desired color before adding photos.
Decide which photographs you want to use for this letter. Remember that you will want photos that are farther away in scope. Most likely if they are cropped tightly on the people, it won’t fit on the letter.
Start working with one picture at a time. I would pick a photo, decide where I wanted it on the letter, use a pen to make rough marks on where to trim the photo, cut it down and then attack with mod podge. I prefer having my photo trimmed a little wide when I put it on the letter because I can always trim it after it is attached but I can’t make the photo grow back.
MOD PODGE: You will want a medium layer of mod podge on the letter before attaching the photo. Hold down for a minute after placement to make sure it adheres well.
After all your photos are attached, check your corners and edges. If a photo isn’t attached strongly, add a little more mod podge underneath and hold. Then, add a layer of mod podge on top of the entire letter to help seal everything together! It will go on white but will dry clear.
What were your graduations like?


Kelsey says
This is such a cute idea! I just stumbled upon your blog and think I could find a lot of projects here!
Nice to meet you!
Lenze says
This is a great summer craft.
amanda says
This came out great! I think the kids would love to make one this summer!
Dawn says
I really love how this turned out! You are very creative!
Debi says
Love this. It makes a great room decoration
StacieinAtlanta says
I love this idea. The letters are just so cute! I know my daughter would appreciate something like this.